Crochet Flamingo Amigurumi Free Pattern – Long-Neck Pink Bird
Pink yarn and a bent neck give you something no shop sells for under twenty pounds. The curve is what makes this crochet flamingo pattern free work, and a pipe cleaner through the neck keeps it there for good.
The neck curves rather than standing straight, and that curve is what makes this crochet flamingo amigurumi free pattern read as a flamingo rather than a pink goose. It works as a long tube stuffed firmly to hold its bend, with a black-tipped beak angled down at the end. Two thin legs support a rounded body. Pipe cleaner run through the neck locks the curve permanently, since stuffing alone lets it straighten over time.
Crochet Flamingo Amigurumi
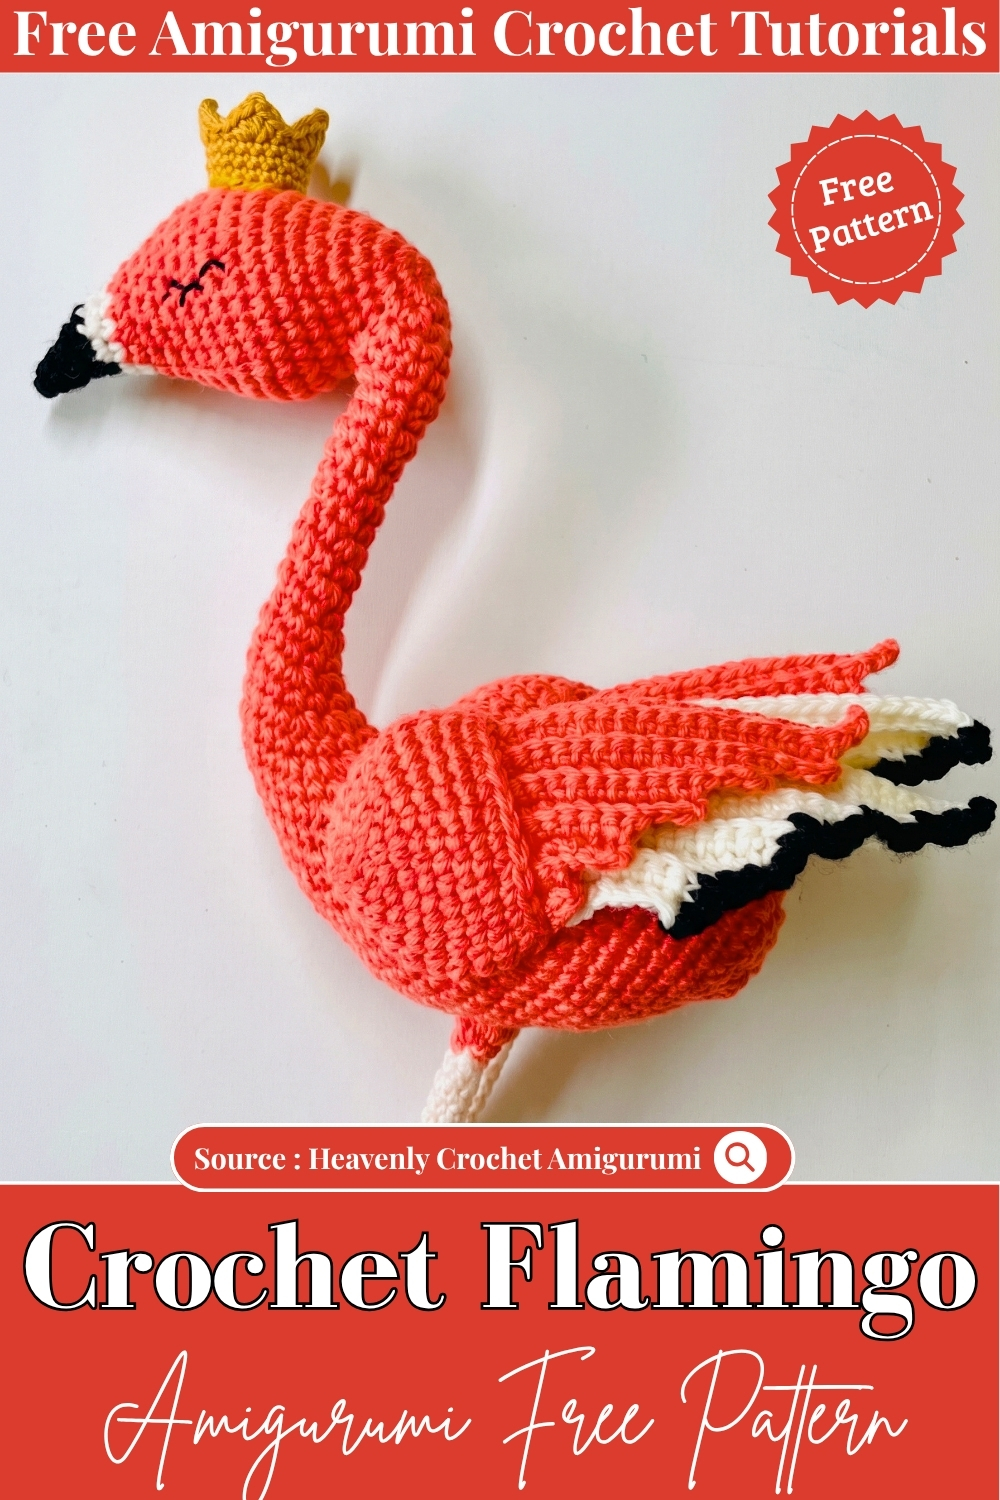
Pink is a statement colour indoors, so this bird needs a spot where nothing else is shouting. A bathroom shelf against white tile. The blank end of a bookcase. A shallow bowl on the console by the front door, where a long neck breaks up a row of flat objects. Worked in 4 mm cotton, the finished bird stands around seven inches from foot to crown, small enough for a windowsill and tall enough to read as deliberate rather than stray. Legs decide the look. Wire them and it stands upright. Leave them soft and it leans, which honestly suits a shelf better.
Countdown Block
- One flamingo, start to finish: 4 to 6 hours of actual hooking, split across two sittings. The head and neck run continuous and eat most of that.
- A batch of six: 22 to 28 hours. The second one is always faster than the first by about forty minutes, and by number four you stop counting rounds out loud.
- Latest safe start for one: five days out, working an hour an evening. That leaves room for the assembly night, which always takes longer than planned.
- Latest safe start for six: three weeks out. Wings and legs are ten small pieces across the batch and they are where people run out of time, not the bodies.
- If you are making these as party or shower decor, add a full day for wiring legs and blocking wings flat.
Where It Lives
- Tiered tray in a kitchen or bathroom, tucked on the top level so the neck has clearance above the rim.
- Bar cart, next to glassware. The colour does something good against clear glass and brass.
- Plant shelf, standing among trailing pothos so the legs half-disappear into leaves.
- Guest room dresser, paired with nothing else. One bird, one lamp.
- Summer wreath, wired on at the four o’clock position rather than dead centre, so the neck curve reads as movement.
- Nursery shelf, but only in the embroidered-eye version if the room belongs to a child under three.
- Window ledge above a sink, where the silhouette against daylight is the whole point.
- Gift topper on a wrapped box, legs bent around the ribbon so it grips.
Three or five together look better than two. Two reads as a pair and pairs want to be symmetrical, which these are not.
Pieces List
- Head, neck and body: 1, worked as one continuous piece
- Beak: 1
- Wings: 2
- Legs: 2
- Feet: 2, worked onto the leg ends
Materials
- Pink yarn as the main colour, plus a small amount of black or dark grey for the beak
- 3.0 mm or 4.0 mm hook, sized down from the yarn band so the stuffing does not show through
- Safety eyes, or black embroidery thread for the child-safe version
- Fiberfill stuffing
- Tapestry needle
- Stitch markers, at least three
- Scissors
- Optional: floral wire or pipe cleaners for the legs
Abbreviations used below: MR is magic ring, sc is single crochet, inc is two sc in the same stitch, dec is two stitches worked together, ch is chain, sl st is slip stitch, st and sts are stitch and stitches.
Safety Eye Timing
- Mark the eye positions at Round 12 and insert the eyes after Round 18, before you stuff. Once Round 19 closes the head down to 18 stitches you cannot get a hand or a washer inside, and prising the head back open costs you a round.
- Push the posts through from the outside, check the spacing by holding the head at arm’s length, then click the washers on. They do not come off. If the placement looks wrong at arm’s length it will look wrong forever.
- Skip safety eyes entirely for anyone under three, and skip them again for anything going into a treat bag, a party favour pile, or a classroom, where you have no control over who ends up holding it. French knots in black thread, or two small satin-stitch ovals, do the same job and cannot be worried loose.
The Pattern
Head and Neck
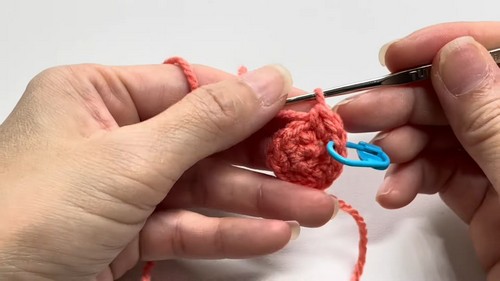
Worked in continuous rounds. Do not join, do not chain up. Move your marker every round.
- Round 1: 6 sc into a MR [6]
- Round 2: Inc in each st around [12]
- Round 3: (Inc, sc in next st) repeat around [18]
- Round 4: (Inc, sc in next 2 sts) repeat around [24]
- Round 5: (Inc, sc in next 3 sts) repeat around [30]
- Round 6: (Inc, sc in next 4 sts) repeat around [36]
- Round 7: (Inc, sc in next 5 sts) repeat around [42]. Checkpoint: this should still lie flat on the table like a coaster. If the edge is curling up into a bowl already, your tension is too tight and the head will end up egg-shaped instead of round.
- Rounds 8 to 11: Sc in each st around [42]
- Round 12: Sc in next 18 sts, place a marker, sc in next 8 sts, place a second marker, sc in remaining 14 sts [42] [CHECK — the three segments as given total 40, not 42. Count 18 and 8 from the round start, then work whatever remains to close the round at 42 and note the difference before you place eyes.]
- Rounds 13 to 15: Sc in each st around [42]. Checkpoint: you now have a straight-sided cylinder about as deep as it is wide. Look at it side on. Flat sides, no bulge, no taper.
- Round 16: Sc in next 12 sts, (dec, sc in next 2 sts) 6 times, sc in remaining 6 sts [36]
- Round 17: Sc in next 12 sts, (dec, sc in next st) 6 times, sc in remaining 6 sts [30]
- Round 18: Sc in next 12 sts, dec 6 times, sc in remaining 6 sts [24]. Checkpoint: the decreases are stacked on one side only, so the head should be closing on a slant rather than evenly. That slant is the back of the skull. If it is closing symmetrically you have lost your round start.
- Insert the safety eyes at the marked positions from Round 12 now, then stuff the head firmly before you go further
- Round 19: Sc in next 9 sts, dec 6 times, sc in remaining 3 sts [18]
- Rounds 20 to 22: Sc in each st around [18]
- Round 23: Sc in next st, dec 3 times, sc in next 4 sts, (inc, sc in next st) 3 times, sc in next st [18]
Upper Body Transition
- Rounds 24 to 26: Sc in each st around [18]
- Round 27: Sc in next st, dec 3 times, sc in next 4 sts, (inc, sc in next st) 3 times, sc in next st [18]
- Rounds 28 to 30: Sc in each st around [18]. Checkpoint: the neck should now hold an S-bend on its own, with the decrease column running down the inside of the curve and the increase column down the outside. Stuff it before it goes any further, because you will not get stuffing past this point cleanly once the body starts.
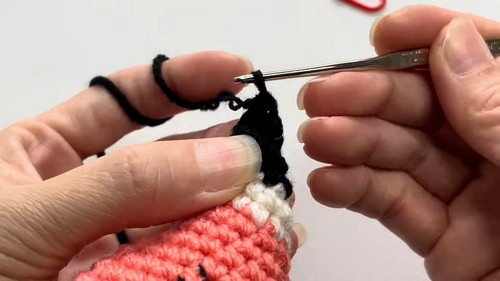
Rounds 23 and 27 are the whole design. They take the same stitch count in and out, and all they do is shift fabric from one side of the tube to the other. Work either of them a few stitches off your marker and the neck curves sideways instead of forward, which gives you a bird looking over its own shoulder. Some people prefer that. Just decide on purpose.
Body
- Round 31: Sc in next 4 sts, ch 16, sc 3 times into the 2nd ch from the hook, sc down the remaining chain sts, then join and continue working across the body base
- Rounds 32 onward: The body is worked outward from the Round 31 chain foundation, stuffed as it grows, and closed at the underside. Round counts, increase placement and final stitch total are not stated anywhere in the material provided.]
If you are working from the video alongside this, the body section is the part to watch frame by frame rather than trust in writing.
Beak
The beak is worked in the dark contrast yarn and sewn on.
- Foundation: a small MR or a short chain base, shaped to the curve
- Shaping: increases at the wide end, then a run of decreases pulling the tip down and forward into the hooked flamingo profile
- Fasten off leaving a long tail for sewing. Checkpoint: held between finger and thumb, the beak should already want to point downward with no help. If it points straight out, the decreases are spread evenly instead of weighted to the underside.
Wings
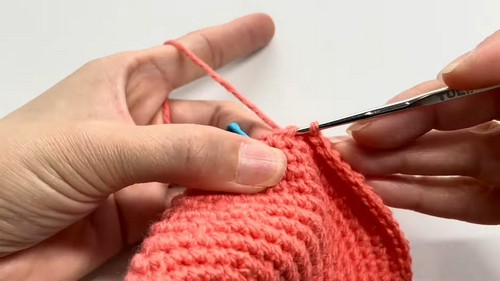
Make 2.
- Begin with a base ring or chain loop in pink
- Work increases along with taller stitches, hdc and dc, to build the feathered edge in layers rather than a flat oval
- Fasten off, leaving a tail for sewing. Checkpoint: laid flat, a finished wing should be slightly cupped, with the taller stitches along the outer edge and the shorter ones at the attachment edge. A wing that lies dead flat will stick out from the body instead of hugging it.
Legs and Feet
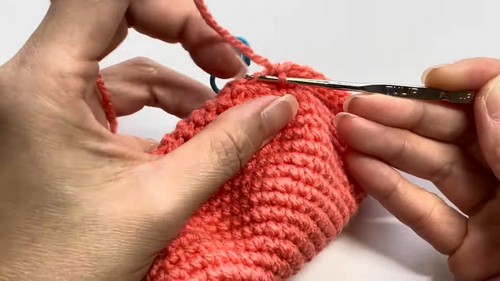
Make 2.
- Work tight rounds of sc into a narrow tube for each leg, in your chosen leg colour
- Slide in floral wire or a folded pipe cleaner before closing if you want the bird to stand
- Form the foot at the base of each leg using short chains and sl sts to make the toes. Checkpoint: the leg should be dense enough that stuffing is not needed and not visible through the stitches. If light passes through the tube, go down a hook size and redo it.
Assembly
Pin everything before a single stitch goes in. Pin, then walk away, then come back and look at it. Placement errors are invisible at close range and obvious from across a room.
- Finish stuffing the body and close the underside opening securely first.
- Beak next, sewn to the front centre of the head just below and between the eyes. Sew the top edge first, check the angle, then close the underside. A beak sewn all the way round in one pass usually ends up pointing off to one side.
- Wings after that, one on each side of the body, matched by eye against the back seam rather than measured. Whipstitch along the top edge only and leave the lower edge free so the wing sits away from the body slightly.
- Legs last, into the underside of the body. Set them further back than feels right. Flamingo weight sits forward because of the neck, and legs placed centrally will let it tip nose-down.
- Test it standing before you knot off. Adjust while the thread is still loose.
Stuffing
- Firm in the head, firm in the body, firm in the neck. This is not a squeeze toy and soft stuffing will let the neck fold under its own weight within a week on a shelf.
- The neck is the part that goes wrong. Push it in small torn pinches rather than one long plug, because two plugs meeting mid-neck leave a visible waist under the stitches that no amount of rolling will fix afterward.
- Wings stay unstuffed. Legs stay unstuffed, wired or not.
- Over-stuffing shows first at the eye washers, where the fabric stretches and the eyes start to bulge outward and lose their setting. If the eyes have gone proud, take stuffing out rather than accepting it.

The Character Dial
This design goes two very different ways, and the split is naturalistic versus lawn ornament.
- Push naturalistic and you are making a wading bird, not a toy. Drop the pink to something dustier, a greyed rose or a pale salmon with a hint of brown in it, and work the wings in a slightly lighter shade than the body so the edges catch light the way real feathers do. Make the beak longer than the pattern suggests and give it a two-tone finish, pale at the base and black only at the hooked tip. Wire the legs and bend one up against the body so the bird stands on a single leg. Skip the safety eyes and use a small black French knot instead, set closer to the beak than feels natural. Real flamingos have unnervingly small eyes and that is exactly what sells the look. Keep the neck curve shallow.
- Push the other direction and you are making the plastic garden bird on purpose. Hot fluorescent pink, the loudest one you can buy. Round the head slightly by adding an extra plain round before the decreases start. Exaggerate the neck curve by repeating Round 23 a third time. Make the beak stubby and comically oversized. Big glossy safety eyes, set wide apart and low. Straight legs, wired stiff, both on the ground, and if you want to commit fully, work the feet in bright orange rather than matching the legs. This version wants company, so make three at different heights and stand them in a row.
The middle ground is the only version that does not work. Pick a side.
Colourways
- Salt Flat: bone white body, sand-coloured wings, a beak in charcoal rather than true black. Reads as a shorebird and works in rooms where pink would fight the walls.
- Chalk and Coral: chalky off-white body with coral wings and a coral-tipped beak. The best one for bathrooms and tile.
- Storm: mid grey body, dusty mauve wings, black beak. Unexpected and the one people ask about.
- Vintage Lawn: unapologetic hot pink with an orange beak and orange feet. Kitsch on purpose, best in threes.
- Sun Bleach: two shades of the same faded peach, darker on the body, lighter on the wings, with a bone beak. Looks like it has been on a porch for a decade.
After The Season
Cotton amigurumi survives storage better than most things, but not if it gets squashed. The neck is the vulnerable part and a flamingo stored under weight comes out next summer with a permanent kink where the S-bend was folded. Stand it upright in a box with something soft on either side, or lay it flat with the neck fully extended rather than curled. A cotton pillowcase beats a plastic bag, which traps damp and leaves the stuffing smelling shut-in. Give the wings a quick press between damp palms when you bring it out and the stitches settle back within an hour.
Quick Answers
- Will it stand up without wire? Not reliably. Cotton legs at that width will hold the body for a while and then slowly splay, especially somewhere warm. If you want it standing on a shelf for a whole season, put wire in. If it is going in a bowl or leaning against a book, you can skip it.
- What size hook if I want a bigger one? Go up in yarn rather than hook. A bigger hook with the same yarn opens gaps and the stuffing shows through, which looks worse at scale than it does small. Aran weight with a 4.0 mm gives you a noticeably bigger bird with the same stitch counts.
- The neck is curving the wrong way, can I fix it? Only by ripping back to Round 23, unfortunately. The curve is built into where the decreases sit, so it cannot be corrected with blocking or stuffing. Good news is that it is only a handful of rounds back, and knowing exactly where your marker is the second time round makes it quick.