Crochet Camera Amigurumi Pattern Keychain
Chain 13 in charcoal grey and the oval base of your camera amigurumi keychain is already underway. Intermediate makers finish the whole piece in two to three hours on a 3/0 hook, with fiberfill keeping the box firm behind a black and cream lens.
Two tone body and a stitched lens mean the Crochet Camera Amigurumi Keychain comes together in stages, which keeps the making satisfying. Build the box, close it, then place the details. That last part is where the camera amigurumi keychain suddenly stops being a pouch and starts looking like a camera.
Crochet Camera Amigurumi Keychain
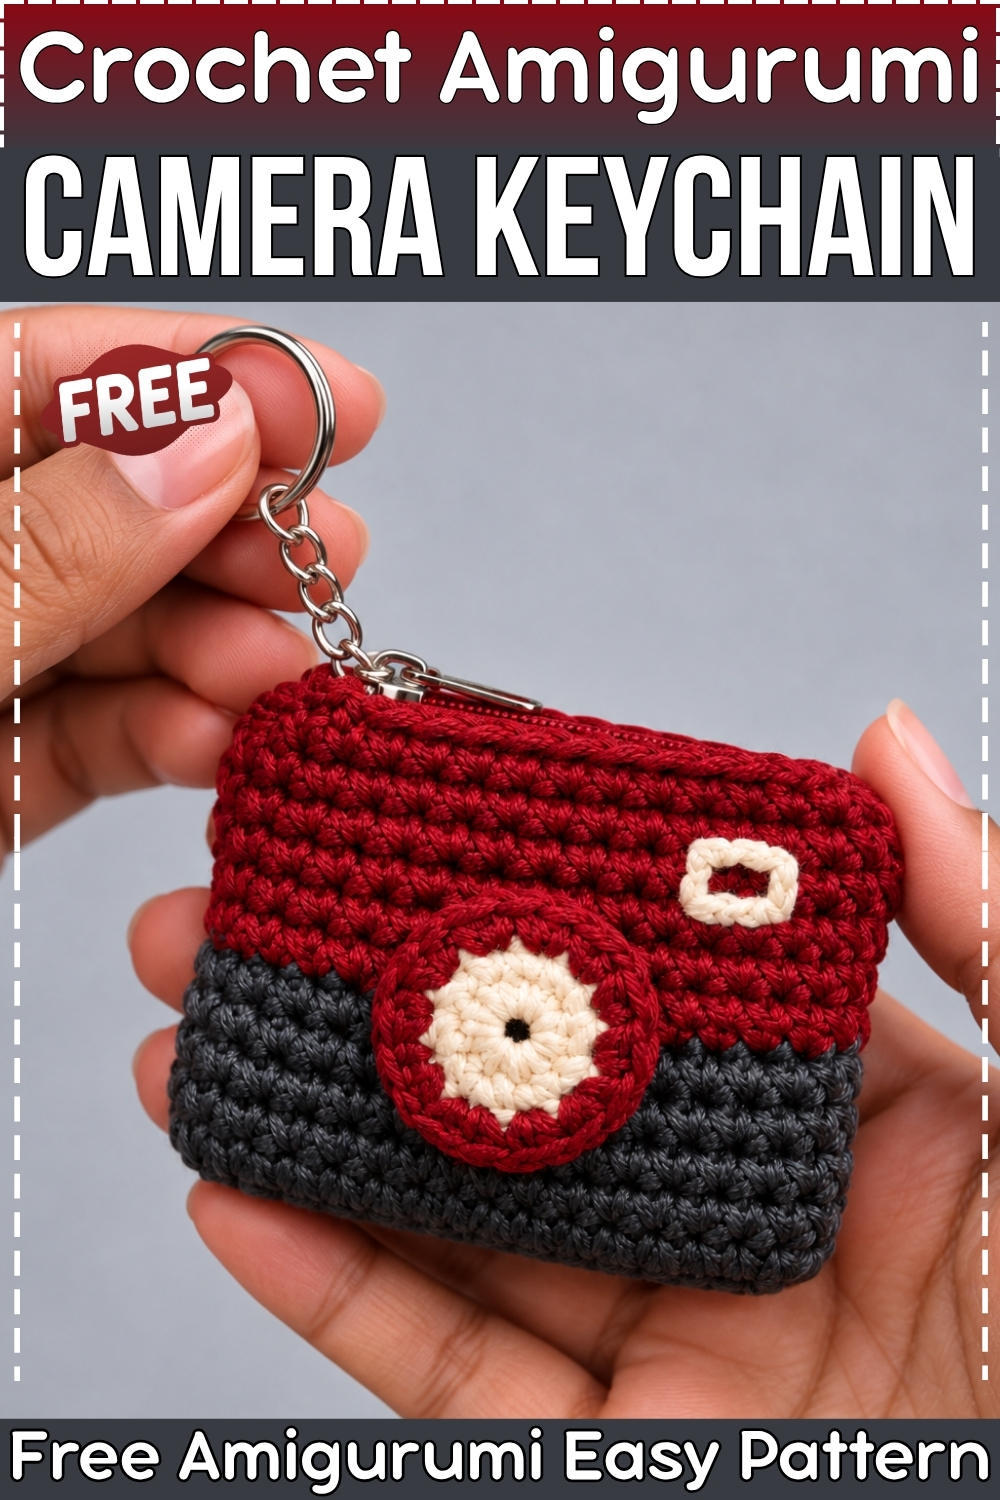
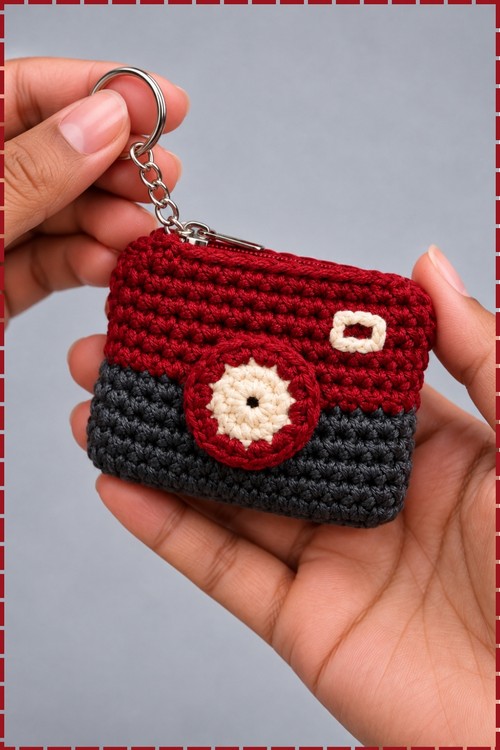
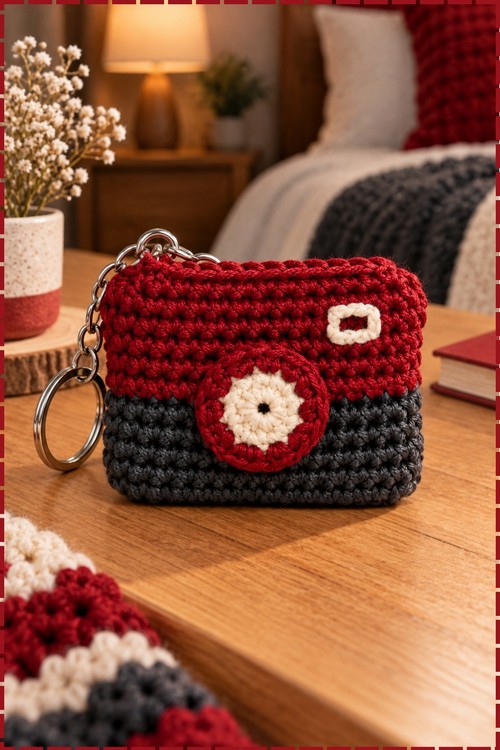
Oval shaping built from a foundation chain is what gives this crochet camera amigurumi keychain its boxy, realistic silhouette without a single seam. The body grows upward in continuous joined rounds, switches colour at the midpoint, then tapers closed at the top. A separate lens piece sewn onto the front and a small embroidered viewfinder finish the look before the keychain ring goes on. My version runs charcoal on the lower body and deep red on the upper, with a cream and red lens and a cream viewfinder outline on the top right corner. The whole piece fits in the palm of a hand.
Quick Facts
- Difficulty: Intermediate. The oval foundation and the colour switch are the two moments that need focus; everything else is plain single crochet.
- Time: From my own experience, around two to three hours spread over one sitting, including the lens and embroidery.
Customisation Ideas
Swap the charcoal and red for any two high contrast colours to match a bag or an outfit. Mustard and cream makes a vintage look. Black and white works as a classic film camera. Navy and tan reads more like a retro rangefinder. The lens colours can stay cream and red regardless of the body, since that combination reads clearly from a distance. Add a second jump ring and wear it as a bag charm rather than a keychain. Make a matching strap charm by chaining a longer cord through the ring.
Materials and Tools
- Polyester or cotton yarn in charcoal grey for the lower body
- Deep red yarn for the upper body
- Cream or off white yarn for the lens outer ring and the viewfinder embroidery
- Black yarn for the lens centre
- Fiberfill stuffing
- Tulip size 3/0 crochet hook, or whatever gives a dense fabric with your yarn
- Tapestry needle and scissors
- Silver keychain jump ring and short chain, as seen in my photo
- Optional: lighter for sealing polyester yarn ends, or use a knot and weave instead
THE PATTERN
Lower Camera Body
- Foundation: With charcoal grey yarn, make a slip knot and chain (ch) 13.
- Round 1: Working along the chain, work 11 single crochet (sc), then 3 sc in the last stitch to turn the corner, then 10 sc along the other side of the chain, then 2 sc increase in the last stitch, then join with a slip stitch (sl st) to the first sc [26 sts]. Those corner increases are what pushes the piece into an oval rather than a circle, so count them carefully.
- Round 2: Ch 1, work 1 sc increase, 10 sc, 3 sc increases, 10 sc, 2 sc increases, then sl st to the first sc [32 sts].
- Rounds 3 to 7: Ch 1, work 1 sc in each stitch around, sl st to the first sc [32 sts each round]. Cut yarn and secure the ends. These five plain rounds build the walls of the lower body, and mine are charcoal throughout.
Upper Camera Body
- Attach deep red yarn to the rim where the charcoal ends.
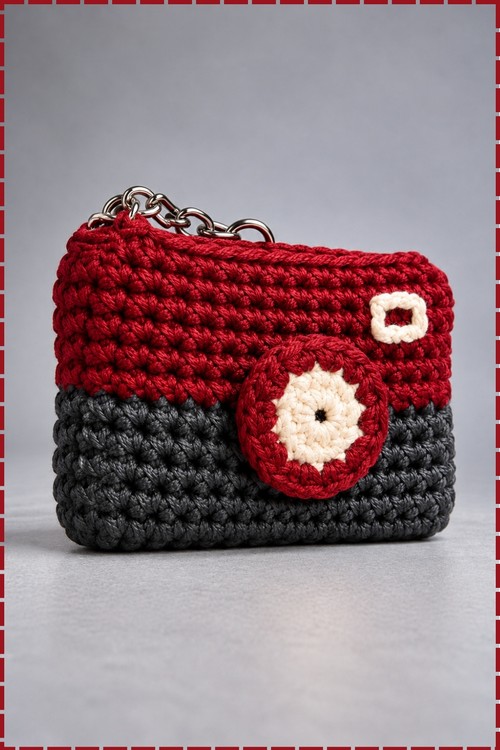
- Rounds 8 to 12: Ch 1, work 1 sc in each stitch around, sl st to the first sc [32 sts each round]. The colour split lands roughly in the middle of the body height, which is exactly where the red meets the grey on my piece.
- Round 13: Ch 1, work 1 sc decrease, 10 sc, 3 sc decreases, 10 sc, 2 sc decreases, sl st [26 sts]. A decrease is 2 sc worked together. The decreases mirror the corner increases from round 1 and begin closing the oval back in.
- Round 14: Ch 1, work 1 sc decrease, 9 sc, 2 sc decreases, 9 sc, 1 sc decrease, sl st [22 sts].
Viewfinder, Stuffing and Closing
- Using cream yarn and a tapestry needle, embroider a small rectangular viewfinder outline on the top right of the red section, matching the small cream outlined square visible in my photo.
- Secure the embroidery thread inside the body before stuffing.
- Stuff the camera body firmly with fiberfill, pressing it well into the corners so the oval shape stays square.
- Use red yarn and a needle to sew the top opening closed. Work from one end to the other so the seam stays flat against the top face of the camera.

Camera Lens
- Centre: With black yarn, make a magic ring, ch 1, work 6 sc into the ring, sl st to the first sc [6 sts].
- Outer ring: Ch 1, work 6 sc increases around [12 sts]. Fasten off the black yarn. This two round disc is the dark pupil of the lens.
- Cream outer border: Attach cream yarn, ch 1, then work (1 sc, 1 sc increase) repeated 6 times, sl st [18 sts]. Leave a long tail for sewing. The cream border is what gives the lens its starburst or gear like outline, which shows clearly in my photo.
- Using cream yarn and a needle, embroider a small starburst or highlight on the black centre to add dimension. My photo shows a white spoke pattern radiating from the centre of the black disc.
- Sew the lens onto the front of the camera body, centred slightly left of middle on the red section, which is where mine sits in the photo.
Keychain Assembly
- Attach the silver keychain jump ring to the top corner of the camera body. Mine clips to the top left corner, with the short silver chain hanging from it as seen in the photo.
Tips
- Work the oval foundation chain loosely. A tight chain pulls the base in and the oval never properly opens out during round 1.
- Count the corner increases on rounds 1 and 2 twice before moving on. Missing one increase here means the camera sits lopsided, which only becomes obvious several rounds later.
- Sew the lens on before attaching the keychain ring. Having both hands free makes it far easier to position the lens exactly where you want it and pull the stitches evenly.
FAQ
Where exactly does the colour change from charcoal to red happen? At the start of round 8. The charcoal runs from the foundation through round 7, and the red takes over from round 8 through to the closing. That puts the split roughly in the middle of the body depth.
My oval is coming out round. What went wrong? The corner increases are the key to the oval shape. Round 1 needs exactly 3 sc in the corner stitch at one end and 2 sc at the other, and round 2 repeats that pattern. If either corner only got one increase, the piece will circle up instead of elongating.
Can I use cotton instead of polyester yarn? Yes, and cotton actually holds the boxy shape a little better without blocking. Skip the lighter for sealing ends and just weave them in with a needle instead.
How do I get the lens to sit flat on the body? Block the lens piece briefly under a damp cloth before sewing. That relaxes any curl from the magic ring and the piece lies flat on the first pin. Sew through every other stitch of the outer cream border rather than just the edge.