Crochet Cherry Amigurumi Pattern Free
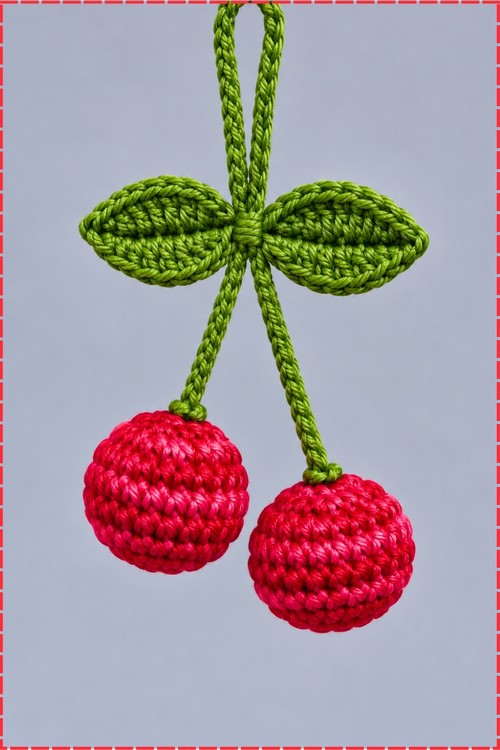
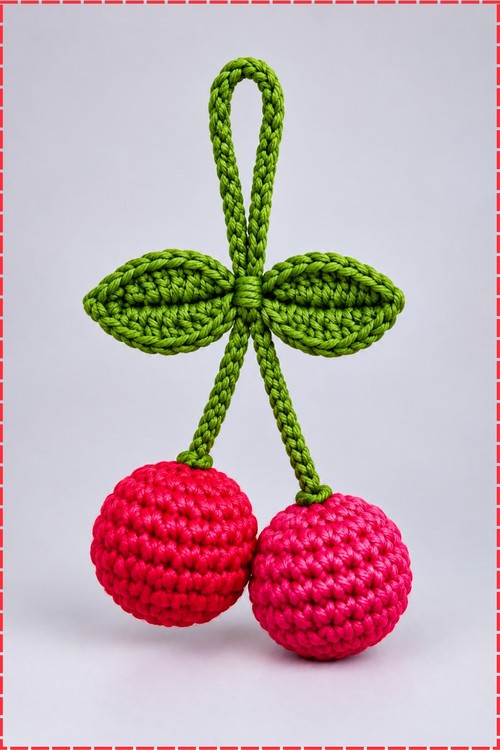
Rearview mirrors get a cheerful pop of red when the crochet cherry fruit amigurumi dangles from its loop, two round berries under a pair of wide green leaves. Long green stems let the cherry amigurumi swing freely as a bag charm, tree ornament or summer party favor.
Hang it off a zip and this crochet cherry fruit amigurumi bounces with every step you take. The two berries swing on their cords, cheeky and never still. Making a crochet cherry fruit amigurumi suits anyone who likes a toy with a bit of attitude in it.
Crochet Cherry Fruit Amigurumi
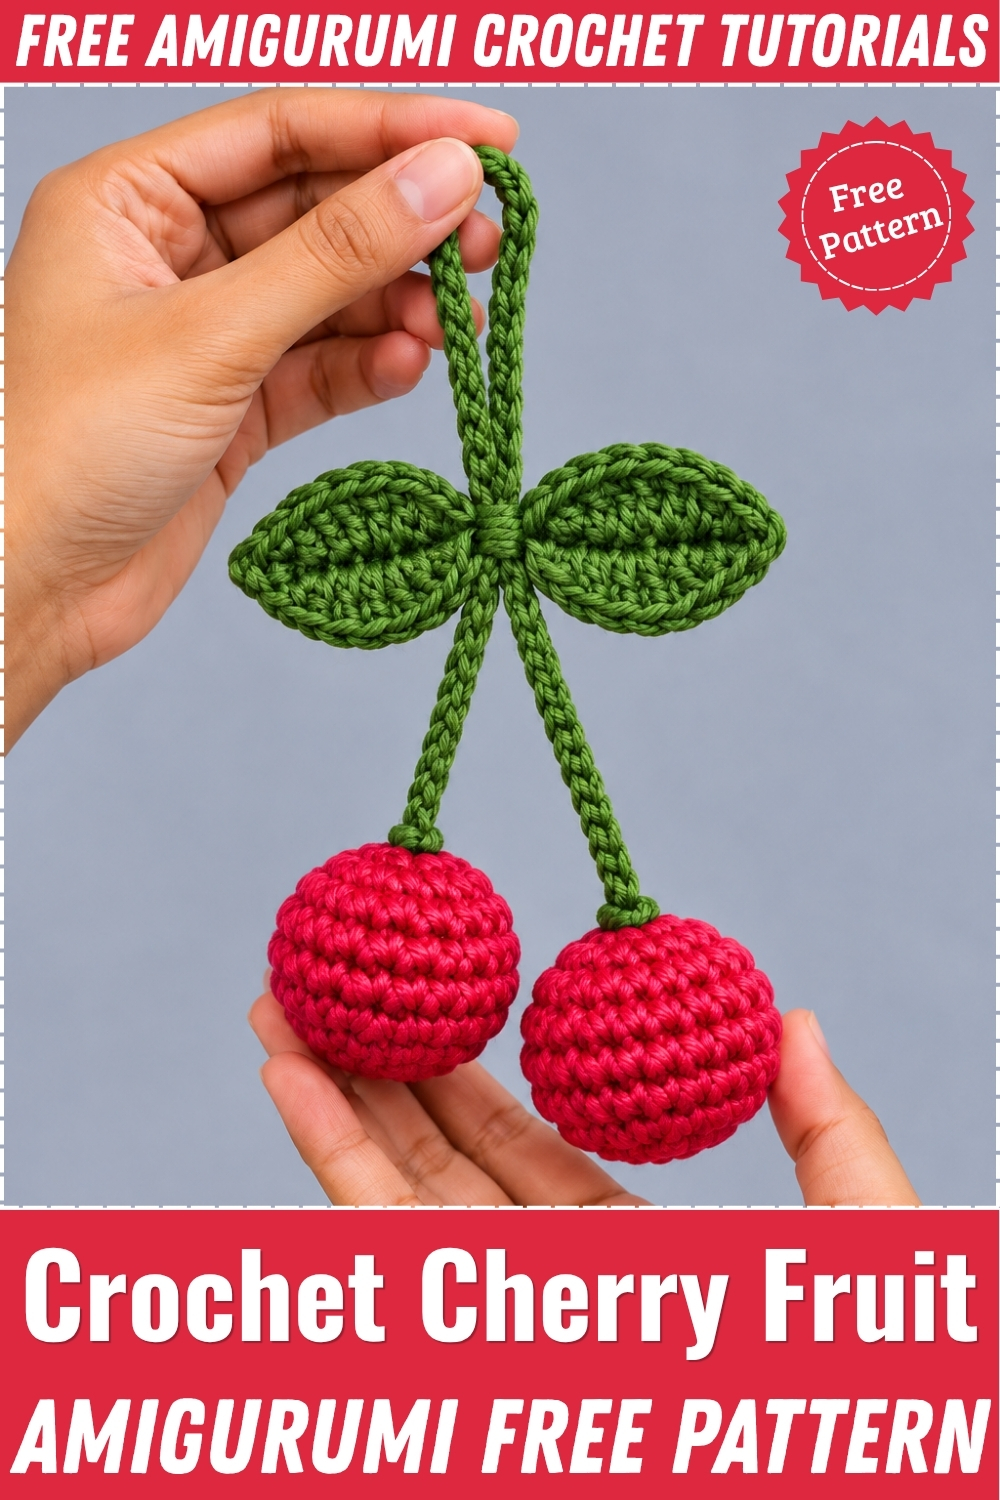
Two firm stuffed spheres hang from long chained cords that join under a pair of wide leaves, and that single join is what holds the whole piece together. Worked in continuous rounds, this crochet cherry fruit amigurumi comes off the hook in an evening and uses only scraps from your cotton basket. My version swaps the usual red and green for bright purple fruit and warm brown stems, which reads more like a decor piece than a play food. Beginners handle it easily since nothing here goes past a double crochet. Hang it from a shelf, a hook, or a bag strap once the ends are woven in.
Materials And Tools
- Fine or light worsted cotton yarn in bright purple for the two cherries
- Fine or light worsted cotton yarn in warm brown for the stems and leaves
- 2.5 mm or 3.0 mm crochet hook
- Polyester fiberfill or toy stuffing
- Tapestry needle
- Scissors
- Stitch marker
I used a smooth mercerized cotton for both colors. The tight twist is what keeps the stuffing from showing through the purple spheres, and it gives the brown leaves enough body to sit flat instead of curling.
Difficulty And Time
This one sits at easy and beginner friendly. From my own making, the two cherries took me around an hour together and the stem and leaf section added roughly thirty to forty minutes, though your pace with the magic ring will move that either way.
Abbreviations Used
- MR: magic ring
- ch: chain
- sc: single crochet
- hdc: half double crochet
- dc: double crochet
- inc: increase, meaning 2 single crochet in the same stitch
- dec: decrease, meaning single crochet 2 stitches together
- sl st: slip stitch
- st(s): stitch(es)
All instructions use US crochet terms.
Beginner Technique Notes
- Continuous rounds mean you never join or chain up. Place your stitch marker in the first stitch of each round and move it as you go, or you will lose count fast on the plain rounds.
- The magic ring gives you a closed start with no hole. Pull the tail firmly before you work round 2, because once the sphere is stuffed you cannot reach back in to tighten it.
- Working into both loops throughout is what gives these cherries their smooth, even surface.
The Pattern
Cherry Fruit Number One (Make 1)
- Using purple yarn, make a magic ring and work 6 sc into the ring, then pull the ring tight. (6 sts) The disc should close completely with no gap at the center.
- Round 2: work inc in every stitch around. (12 sts)
- Round 3: work [1 sc, 1 inc] six times around. (18 sts) The piece now curves into a shallow cup.
- Round 4: work 1 sc in each stitch around. (18 sts)
- Round 5: work 1 sc in each stitch around. (18 sts)
- Round 6: work 1 sc in each stitch around. (18 sts) These three straight rounds build the middle of the sphere, so keep your tension even or the cherry will come out barrel shaped instead of round.
- Round 7: work [1 sc, 1 dec] six times around. (12 sts) The opening starts pulling closed here.
- Stuff the cherry firmly with fiberfill before the opening gets any smaller. Push small pieces in at a time and shape the sphere in your palm as you go, since under stuffing is the most common reason these end up looking dented.
- Round 8: work 6 dec around to close the top. (6 sts)
- Fasten off leaving a tail, weave the tail through the front loops of the remaining 6 stitches, pull tight to seal, and weave the purple end down into the body.
Cherry Fruit Number Two (Make 1)
- Repeat every round from the first cherry to make the second purple sphere.
- Stuff firmly to match the first one, then fasten off and weave in all purple ends. Hold the two side by side before moving on, because a size difference shows clearly once they hang together.
Stems And Leaves
- Attach brown yarn to the top center of cherry number one with a slip stitch, working right into the sealed point so the stem sits upright.
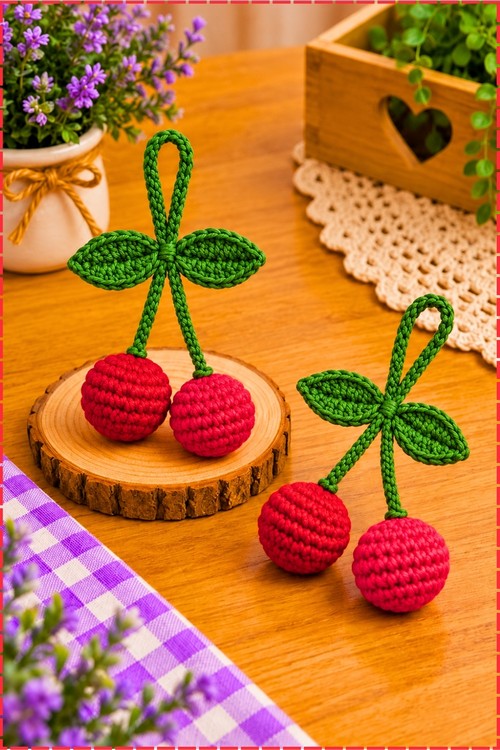
- Stem 1: chain 15 to 20 stitches, adjusting the chain length depending on how long you want your stems to hang. I worked mine on the longer end so the two cherries hang at slightly different heights, which is how they sit in my photo.
- First leaf: chain 8 extra for the leaf base.
- Starting from the 2nd chain from the hook, work 1 sl st, 1 sc, 1 hdc, 1 dc, 1 hdc, 1 sc, then 1 sl st in the last chain.
- Rotate to work along the opposite side of the same chain and work 1 sc, 1 hdc, 1 dc, 1 hdc, 1 sc, then 1 sl st at the point. The leaf now reads as a full oval with a point at each end.
- Second leaf: chain 8 again and repeat the same sequence, working 1 sl st, 1 sc, 1 hdc, 1 dc, 1 hdc, 1 sc, 1 sl st along the first side and 1 sc, 1 hdc, 1 dc, 1 hdc, 1 sc, 1 sl st back along the second side. Set this leaf so it mirrors the first and the two spread out to opposite sides.
- Stem 2: chain 15 to 20 stitches to match the length of stem 1.
- Attach the free end of stem 2 to the top center of cherry number two with a slip stitch.
Assembly And Finishing
- Tie a small secure knot at the point where both stems meet the leaves. That knot is the only thing carrying the weight of both cherries, so pull it firm and check it before hanging.
- Arrange the two leaves so they sit flat and face outward from the join, one to the left and one to the right, as they do on my finished piece.
- If you want a hanging loop, chain in brown until the cord reaches your preferred length, then join both ends at the leaf knot. I skipped a separate loop and simply hang mine by the stem arch above the leaves.
- Weave all remaining brown ends into the cherries or down inside the stems with a tapestry needle.
- Trim every tail cleanly so nothing pokes out at the leaf join.

Tips And Troubleshooting
Yarn Substitution
Any smooth cotton in a fine or light worsted weight works here. Acrylic is fine too and gives a softer, rounder cherry, though it shows stuffing more readily and blurs the stitch definition on the leaves. Avoid anything fuzzy or loosely plied, since the leaf points and the crisp sphere shape are the whole look of this piece. If you shift to a heavier yarn, go up a hook size and expect larger cherries with the same stitch counts.
Customization Ideas
- Make a cluster of three or four cherries and join all the stems under one pair of leaves for a fuller bunch.
- Try deep burgundy, hot pink, or classic cherry red if you want a more literal fruit look than my purple pair.
- Add a small brown or black bead at the base of each stem where it meets the fruit for a finished stem dimple.
- Attach a swivel clip or a split ring at the leaf knot to turn the whole piece into a bag charm or keyring.
- Work the leaves in a contrast green while keeping brown stems for a two tone finish.
- Scale the stems much longer and hang the cherries as a rear view mirror piece or a curtain tieback accent.
Frequently Asked Questions
Why do my cherries look lumpy instead of round? Uneven stuffing is almost always the cause. Add fiberfill in small pinches, fill the sides before the center, and roll the sphere firmly between your palms right before the last decrease round.
Can I make these without a magic ring? Yes. Chain 2 and work all 6 single crochet into the second chain from the hook, then pull the tail to close as best you can. The center will be slightly less tight, so weave that tail across the back of the closing stitches.
How do I stop the stems from curling up? Chained cords twist by nature. Work the chain a little looser than your usual tension, then steam or damp press the finished stem and let it dry flat under a light weight.
What size does this finish at? Mine came out with cherries roughly the size of a large marble using a 2.5 mm hook and fine cotton, with stems a few inches long. Your gauge, hook, and chosen chain length will shift that, so treat it as a rough guide from my own piece.
Is this safe for a small child? The stuffed cherries are safe enough, but the long stems make it a hanging decoration rather than a baby toy. Shorten the stems considerably and skip any clip or loop if you plan to hand it to a toddler.