Crochet Chocolate Strawberry Amigurumi Free Pattern
Bakery themed shelves gain a treat that never melts with the crochet chocolate strawberry, a red berry dipped in a rich brown coat beneath its leafy cap. Three dipped berries in a row make a playful chocolate strawberry trio for a sweet shop display or a teacher gift.
Anyone building a play kitchen will want this crochet chocolate strawberry in the fruit basket. Valentine gift makers too. Market sellers do well with a crochet chocolate strawberry because shoppers pick them up without thinking, and the crochet chocolate strawberry suits kids who like food toys that look properly finished rather than plain.
Crochet Chocolate Strawberry
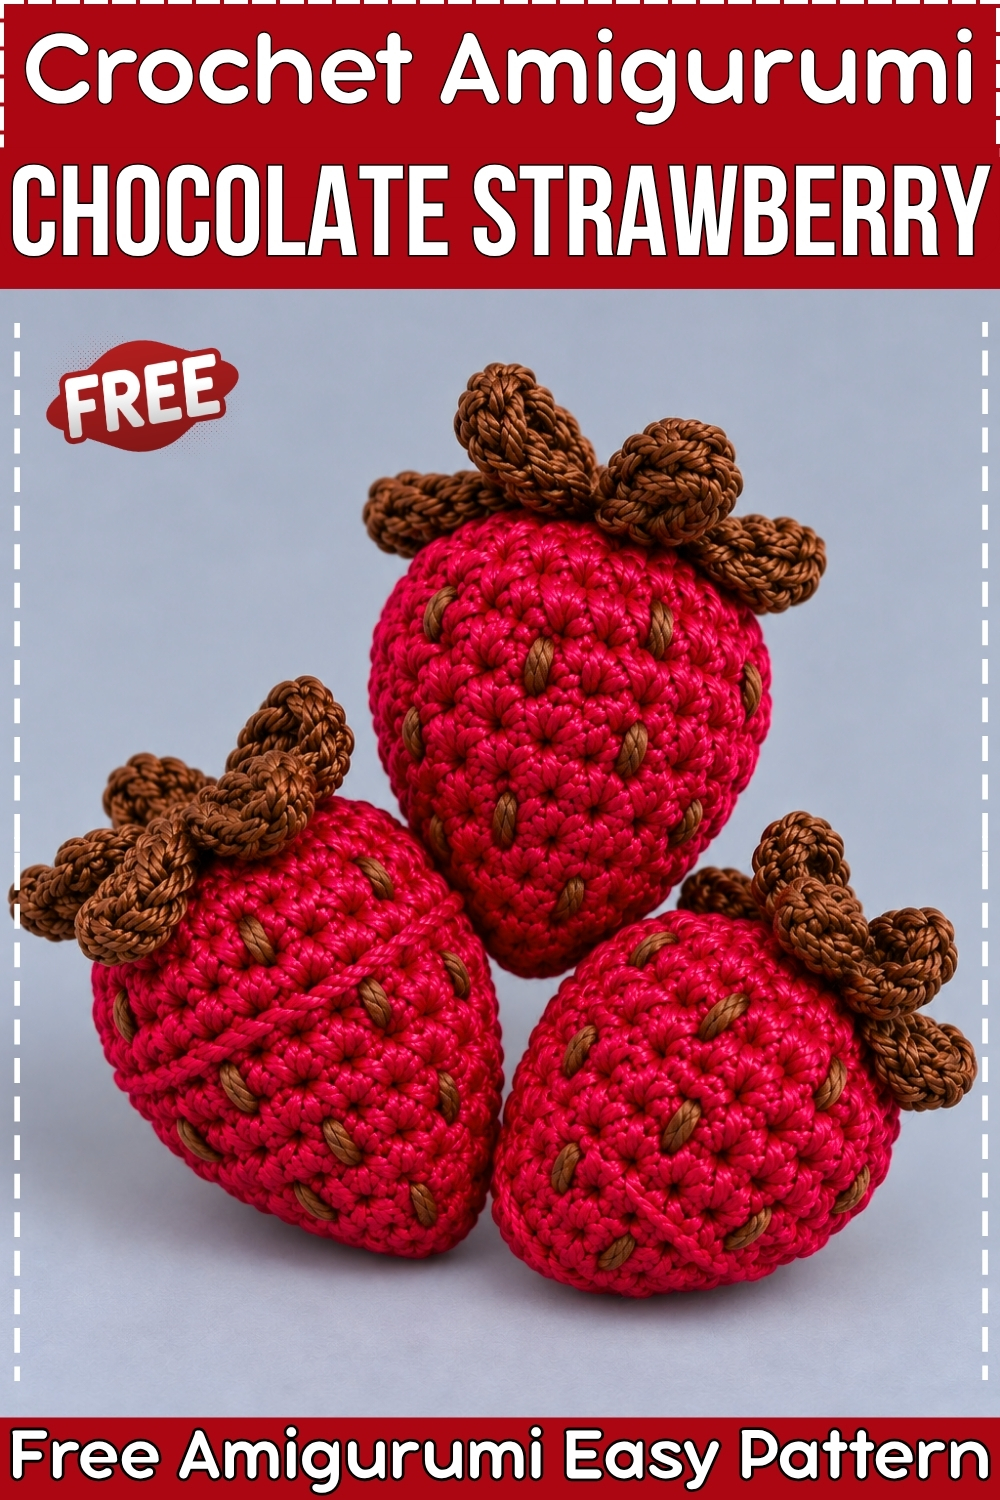
Starting from a magic ring, this crochet chocolate strawberry amigurumi builds from the stem end downward, with the chocolate section at the top and the fruit body filling out below it. A seamless color change mid-way through the rounds creates the clean dip line without any sewing. My set skips red entirely and runs three fruit body colors instead: teal, beige, and pink, all sharing the same brown chocolate top and brown leaf cluster. White drizzle stitches cross each berry after assembly. Beginners handle every part of this one since the shape comes purely from increases and decreases. Make all three colorways in a single session.
Materials And Tools
- Worsted or plush yarn in brown for the chocolate top and leaves
- Worsted or plush yarn in teal, beige, and pink for the three fruit bodies
- White yarn for the drizzle detail on each berry
- Crochet hook sized for your yarn
- Stitch marker
- Polyfill stuffing
- Darning needle
- Scissors
- Fabric glue or hot glue (optional, for attaching the leaf cluster)
My version replaces the pattern’s red strawberry body with teal, beige, and pink across three separate berries. The original pattern’s green leaves are replaced with brown throughout, matching the chocolate top color. The drizzle is white on all three.
Difficulty And Time
Easy. The color change is the only technical step that needs practice, and a test on a swatch beforehand is enough to get it right. From my own making, each berry took me under an hour, faster once the hand knows the decrease rhythm.
Technique Notes And Tips
- Work the magic ring firmly and pull the tail tight before beginning round 2. A loose center hole shows through the chocolate tip and cannot be fixed once the berry is stuffed.
- The seamless color change at round 6 is what makes the chocolate dip line clean. On the very last stitch before the change, pull the new color through the final two loops rather than finishing the stitch in the old color. Cut the old yarn leaving a short tail and push it inside the body.
- Use the invisible decrease throughout. Insert into the front loop of the next stitch, then the front loop of the following stitch, yarn over and pull through two loops, yarn over and pull through the remaining two. This keeps the decreases tight and invisible from the outside.
- Stuff in two stages: push a small amount into the pointed tip at round 8, then add more at round 10 before closing. Waiting until the end and trying to stuff a nearly closed opening always leaves the tip underfilled.
- The drizzle lines are surface stitching added after assembly. Keep the needle entering and exiting close to the color change line so the stitches sit over the fruit body section rather than drifting up into the brown top.
- For the brown leaf cluster, work the six leaf points all from the same magic ring center. Pulling the center ring tight before starting the first leaf stops the base from splaying open once the leaves are spread outward.
The Pattern
Part 1: Strawberry Body
Color note: start with brown yarn for the chocolate top section. The fruit body color (teal, beige, or pink) joins at round 6.
- Round 1: create a magic ring (MR) and work 6 single crochet (sc) into it, then pull the tail tight to close the center. (6 sts)
- Round 2: work 1 increase (inc, meaning 2 sc in the same stitch) in each of the 6 stitches around. (12 sts)
- Round 3: work 1 sc in each stitch around. (12 sts)
- Round 4: work 1 sc in each stitch around. (12 sts)
- Round 5: work [1 sc, 1 inc] six times around. (18 sts)
- Round 6: work 1 sc in each stitch around until you reach the second to last stitch, then on the final stitch insert the hook, yarn over with brown, pull up a loop so you have 2 brown loops on the hook, then grab your fruit body color yarn, loop it over the hook, and pull it through both brown loops to complete the stitch and join the new color. Cut the brown yarn leaving a short tail and push it inside. (18 sts) This is the chocolate dip line visible across all three berries in my photo.
- Round 7: using the fruit body color, work 1 sc in each stitch around. (18 sts)
- Round 8: work [1 sc, 1 decrease (dec)] six times around. For each dec, insert into the front loop of the next stitch and the front loop of the following stitch, yarn over and pull through two loops, then yarn over and pull through the remaining two. (12 sts) Pause here and push a small amount of polyfill stuffing into the pointed bottom tip before the opening narrows further.
- Round 9: work 1 sc in each stitch around. (12 sts)
- Round 10: work [1 sc, 1 dec] repeatedly around, adding any additional polyfill needed to round out the top section as you go. (8 sts)
- Fasten off leaving a long tail. Thread the tail onto a darning needle, weave in and out through the outer loops of the remaining stitches, pull tight to draw the opening completely closed, push the needle through the body to hide the tail, and trim.
Rounds 7 to 10
Part 2: Brown Leaf Cluster
- Using brown yarn, create a magic ring and work 6 sc into it, then pull the tail tight and slip stitch (sl st) into the first sc.
- Do not turn. Work 6 leaf points around the ring one at a time as follows:
- Chain 5, then starting in the 2nd chain from the hook work 1 sl st, then in the 3rd chain work 1 sc, then in the 4th chain work 1 half double crochet (hdc), then in the 5th chain work 1 hdc, then sl st into the next stitch of the magic ring. Repeat this leaf sequence 5 more times until all 6 leaf points are complete.
- Slip stitch into the base, cut a short tail, fasten off, and tie a secure knot on the back side. Trim excess yarn tails on the underside.
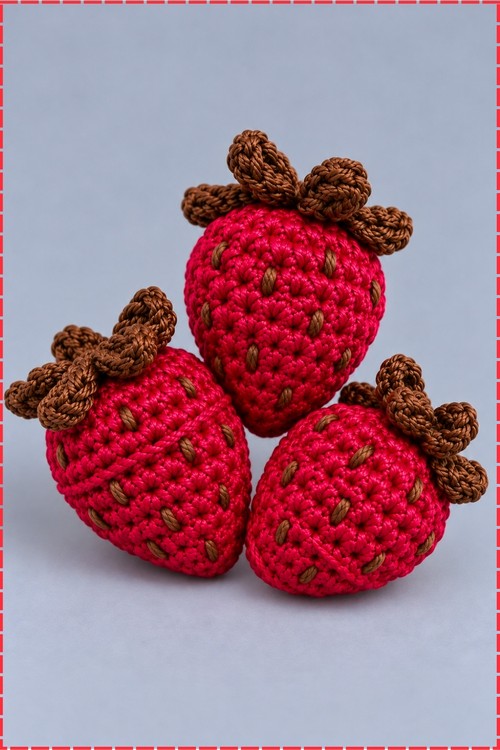
- Sew or glue the leaf cluster securely onto the flat closed top of the strawberry body, centering it over the closing point. All three berries in my photo have the brown leaf cluster sitting flat at the top with the leaves spread outward.

Part 3: White Drizzle Detail
- Thread a length of white yarn onto a darning needle.
- Insert the needle from the top of the berry, under the leaf cluster, and bring it out along the fruit body section below the chocolate dip line.
- Stitch horizontal or slightly diagonal lines back and forth across the body section to mimic drizzled white chocolate. My berries show several vertical and diagonal white lines running down from just below the dip line toward the tip.
- Tie off the yarn tails securely inside the body and hide the ends.
Yarn Substitution
Plush or velvet yarn gives a softer, rounder result at the same hook size. Standard smooth worsted shows the stitch detail more clearly and makes the dip line read crisper. Either works for this piece. Whatever you choose for the fruit body, use the same weight for the brown so the color change sits flat without puckering.

Customization Ideas
- Work all three berries in the same fruit body color for a uniform set.
- Try yellow, orange, or purple fruit body colors for a fantasy fruit spread.
- Add a small hanging loop at the leaf base to turn any berry into a bag charm or a keyring.
- Swap the white drizzle for a contrast color that matches one of your berry shades.
- Make a larger berry by adding extra even rounds between rounds 4 and 5, keeping the stitch count fixed, before the expansion round.

FAQ
Can I start with the fruit body color and dip just the tip? Yes. Begin with your fruit body color for rounds 1 through 5 and change to brown at round 6 to reverse the dip direction. That gives you a fruit colored strawberry with a brown tip, which is how the original pattern runs. My version flips it so the brown sits at the top where the leaves attach.
My color change line looks jagged. How do I fix it? A jagged line usually means the change happened a stitch early or late. Always complete the last stitch of the old color by pulling the new color through on the very final step, not one stitch before. Pulling too early or too late shifts the line by one stitch and shows on the outside.
How do I keep the leaf cluster from flopping sideways? Sew rather than glue if possible, working several stitches through both the leaf base and the closed top of the berry. A few passes with the darning needle and a firm knot on the inside hold it flat even with repeated handling.