
Crochet Bow Cushion Pattern Aesthetic With Shell Edging
Stuff only the two outer ends of the flat oval, then pinch the empty middle, and the crochet aesthetic bow cushion takes its shape without any shaping rounds. Dark chocolate chenille forms the body, while a cream band whipstitched at the back holds the cinch for good.
Scalloped edging is why the crochet aesthetic bow cushion keeps turning up in requests, since plain bow pillows read as flat next to it. Both loops stuffed, not one panel. The neutral brown and cream pairing suits most rooms. Makers keep asking for the bow cushion in new colour pairs.
Crochet Aesthetic Bow Cushion
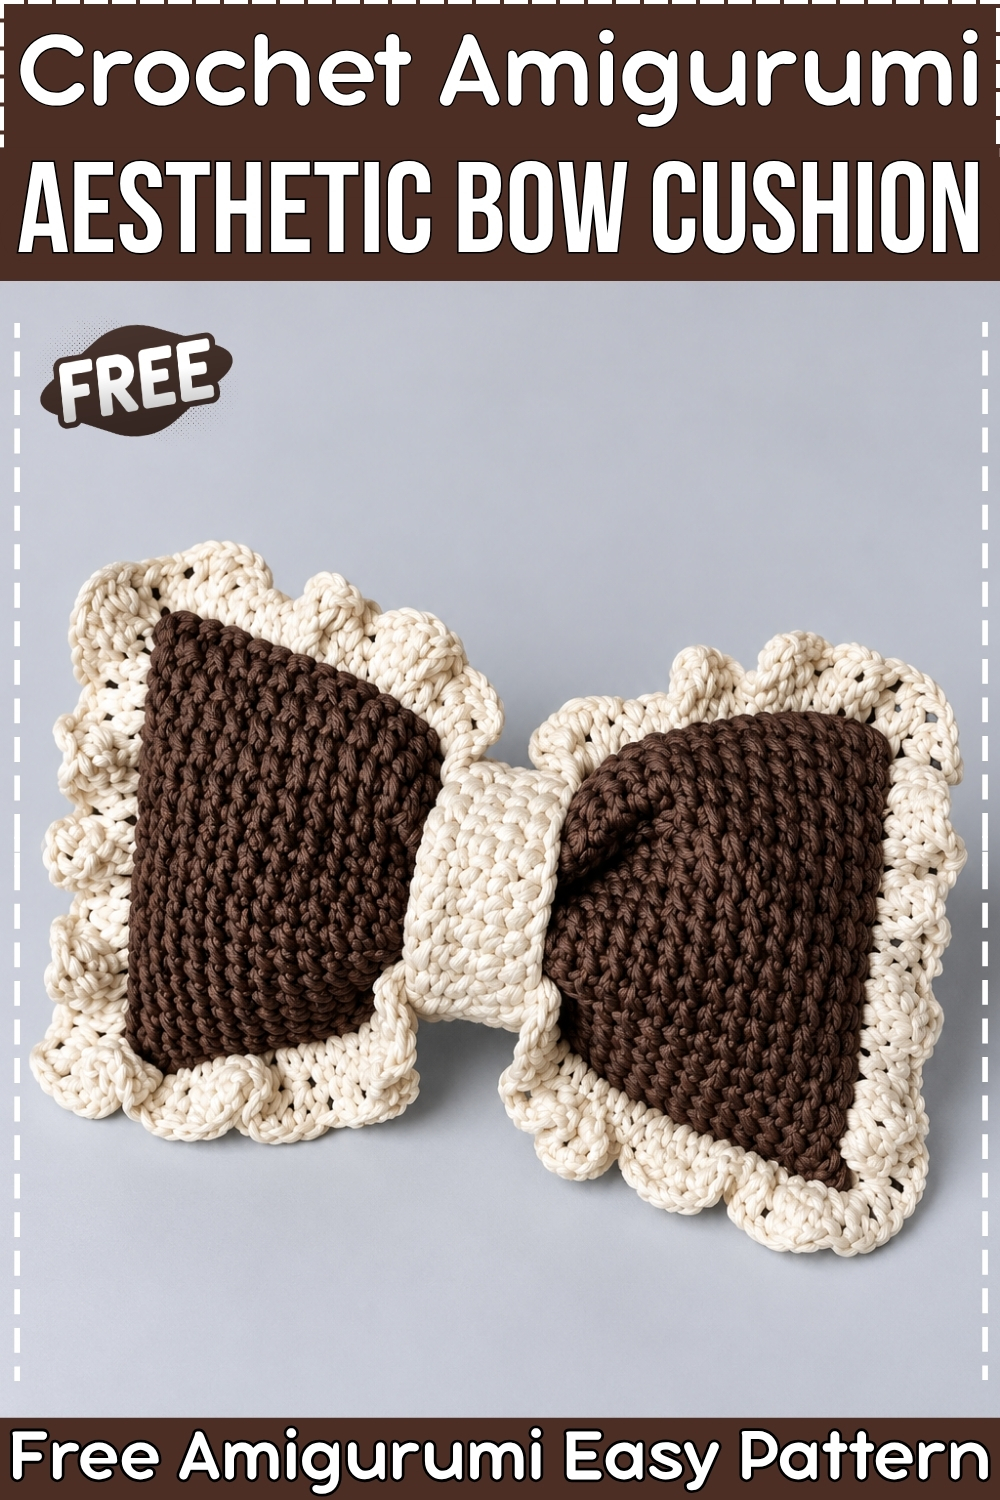
One flat oval works up in continuous single crochet rounds, gets seamed across the top, and then the two outer ends get stuffed while the centre stays completely empty on purpose. Pinching that empty middle and wrapping yarn around it is what creates the bow shape, so the structure does the work rather than any shaping rounds. Dark chocolate brown chenille makes up the pillow body on my version, and a cream cotton shell edging frames all four sides. A cream chenille center band wraps the cinched waist and whipstitches closed at the back to hold the bow permanently in place.
Difficulty and Time
This is a beginner friendly project even though it looks complex. The single crochet body is fully straightforward, the shell edging uses only double crochet and chain one spaces, and the center band is five short rows. In my experience the full cushion takes around three to four hours from first chain to finished bow.
Beginner Technique Notes
The foundation chain oval is the only step that might feel unfamiliar. Start with a long chain, work single crochets along one side of it all the way to the end, work three single crochets into the very last chain to turn the corner, then work back along the opposite side of the same chain. Those three corner stitches are what allow the piece to curve at each end rather than staying flat. Mark the very first stitch with a stitch marker because you will need to find it again when you attach the edging yarn. Working in continuous rounds means you never join or turn at the end of a round. Just keep going in a spiral and move your stitch marker up to mark the start of each new round. Without the marker you will quickly lose track of where one round ends and the next begins. The stuffing step is unusual because only the left and right outer thirds get fiberfill. The middle must stay completely empty so it can be pinched flat when you cinch the bow. This is the single most important thing to get right. Overstuffing into the centre prevents the bow shape from forming. The shell edging uses a V stitch pattern, which is two double crochets separated by a chain one space worked into the same stitch or space. Each corner gets two full V stitches in the same space to allow the edging to turn without pulling. The second edging round picks up into every chain one space from round one rather than into the double crochets themselves.
Materials and Tools
- Chunky chenille yarn in dark chocolate brown for the pillow body
- Cotton weight 3 yarn in cream for the shell edging and the cinch tie
- Chunky chenille yarn in cream for the center band
- 8.0 mm crochet hook
- Fiberfill stuffing
- Yarn needle and stitch marker
- Scissors
The Pattern
Part 1, Main Bow Body
- Make a slip knot and ch 35, then starting in the 2nd chain from the hook work 1 sc (single crochet) in each of the next 33 chains, marking the first stitch with a stitch marker [33 sts along side]
- In the last chain work 3 sc to turn the corner, then working along the opposite side of the foundation chain work 32 sc, then work 1 inc (2 sc in the same stitch) in the final chain space [70 sts total for round 1]. The piece should look like a long flat oval at the end of this round.
- Rounds 2 to 16: do not join; work 1 sc in each st around in continuous rounds [70 sts per round]. Continue for all 16 rounds. The finished piece should be roughly half as tall as it is wide before seaming.
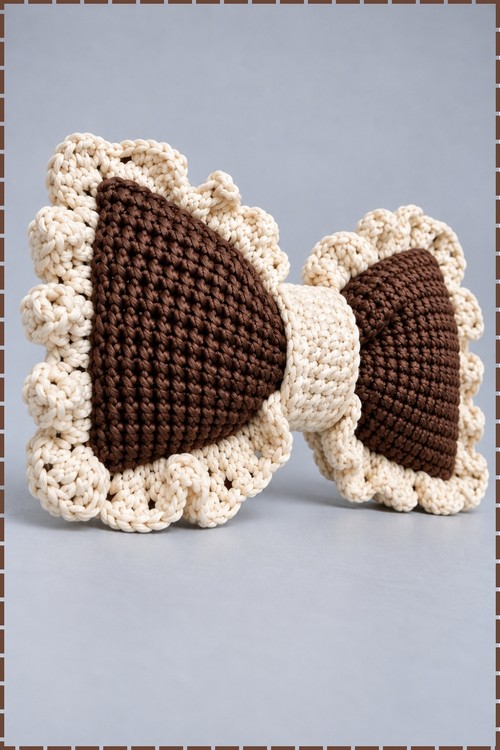
Part 2, Seaming and Stuffing
- Remove the stitch marker. Fold the piece flat so the front and back layers align, then insert the hook through both the front and back stitches and work 35 sc to seam the top edge closed.
- After a few seam stitches, pause and stuff fiberfill firmly into the far left corner only, then continue seaming to near the right end and stuff the right corner firmly. Leave the centre section completely empty of stuffing. This empty middle is essential for the bow pinch to work.
- Complete the remaining seam stitches to reach 35 sc total, then ch 1, leave a long tail for sewing, and cut the yarn.
- Thread the tail onto a tapestry needle and sew back and forth across 2 to 3 stitches at the dead centre of the seam to lock the empty space and prevent fiberfill from shifting inward over time. Secure and weave in ends.
Part 3, Decorative Shell Edging
Attach cream cotton yarn at the marked corner stitch.
- Edging round 1: pull up a loop, ch 3, then work 1 dc (double crochet) in the same stitch. Along the long side work [1 dc, ch 1, 1 dc] in each stitch across for 33 stitches. At the corner work [1 dc, ch 1, 1 dc] twice in the same stitch. Along the short side insert the hook into the end of each row and work [1 dc, ch 1, 1 dc] in each row space for 15 spaces. At the bottom corner work [1 dc, ch 1, 1 dc] twice in the same space. Along the bottom long side work [1 dc, ch 1, 1 dc] across for 33 stitches. At the final corner work [1 dc, ch 1, 1 dc] twice. Along the last short side work [1 dc, ch 1, 1 dc] into each row space for 15 spaces. Finish with [1 dc, ch 1, 1 dc] in the initial stitch space, then sl st (slip stitch) between the opening ch 3 and dc space to join.
- Edging round 2: ch 3, work 1 dc in the same space, then ch 1. In each ch 1 space around the entire pillow work [1 dc, ch 1, 1 dc, ch 1] to continue the shell pattern. Sl st into the initial space to join, then ch 1, fasten off, cut yarn, and weave in all ends. The two edging rounds together produce the layered scallop border visible on my finished cushion.
Part 4, Shaping and Center Band
- Accordion fold and cinch the empty middle of the pillow inward until the bow shape appears, then wrap a strand of cream cotton yarn tightly around the centre 3 to 4 times to hold the cinch. Tie a double or triple knot at the back and trim the ends.
- Center band: using cream chenille yarn, make a slip knot and ch 24. Starting in the 2nd chain from the hook work 1 sc in each of the next 23 chains [23 sts]. Work rows 2 to 5 by turning with ch 1 and working 23 sc across each row. At the end of row 5 ch 1, leave a long tail for sewing, and cut yarn.
Part 5, Assembly
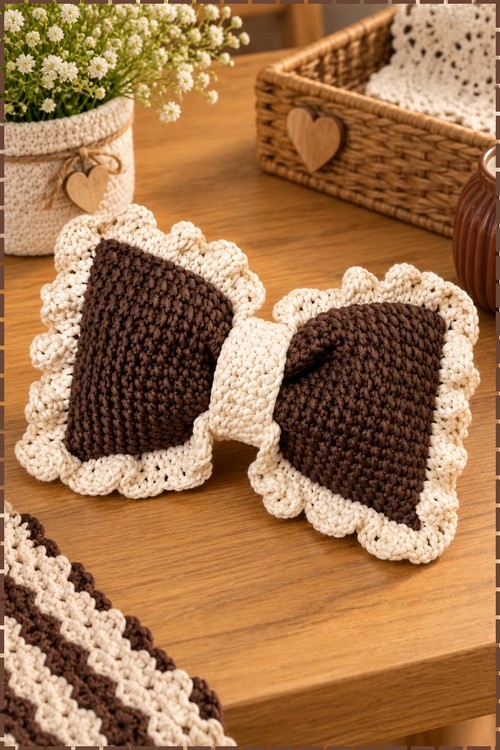
- Wrap the cream chenille center band around the cinched waist of the bow. Thread the long tail onto a tapestry needle and whipstitch the two short ends of the band together tightly at the back. Knot securely, weave in all remaining tails, and trim excess yarn.
Tips and Troubleshooting
- Use a stitch marker from round one and move it every single round without exception. Chenille hides the stitch lines completely and you cannot find a lost round by looking.
- Keep the fiberfill in small pinches rather than large handfuls. Dense even stuffing in both outer thirds keeps the bow lobes symmetrical; a lump of fiberfill on one side makes that lobe puff higher than the other.
- Cinch the centre very tightly before wrapping the yarn tie. A loose cinch lets the bow lobes sag inward and the cushion loses its crisp shape within a few days of sitting on a shelf.
- If the shell edging pulls the corners inward, the corner double V stitches were worked too tightly. Block the edging lightly with steam and the scallops will relax into their proper fanned shape.
- Sew the center band ends together with firm whipstitches rather than a loose join. The band carries all the tension of the cinched bow and a loose seam will eventually split open.
Yarn Substitution
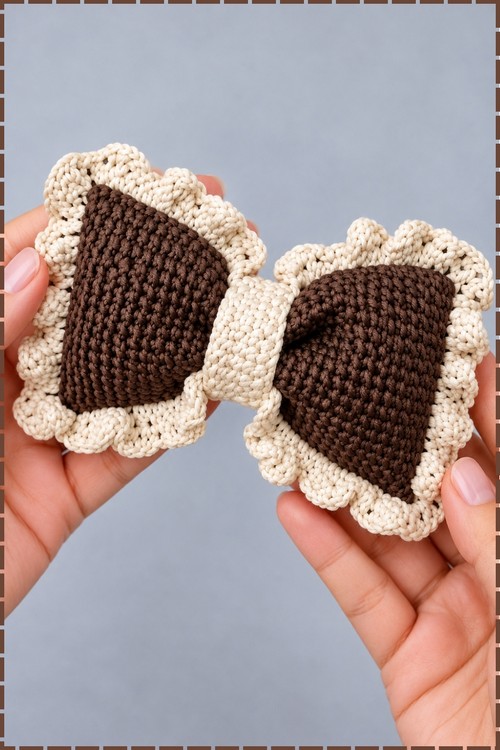
The body yarn weight matters more than the brand. Chunky chenille gives the bow its full rounded lobes and the distinctive textured surface visible in my photo. A bulky acrylic also works and is easier to source, though the surface looks smoother. Do not use a standard worsted weight at this hook size, since the fabric will be too loose to hold the bow shape after stuffing.
Customization Ideas
- Use dusty rose or sage green for a softer aesthetic room palette.
- Work the center band in a matching brown chenille instead of cream for a tonal finish.
- Add a small crocheted flower to the front center of the band.
- Make a smaller version by shortening the foundation chain and reducing the round count proportionally.
- Swap the shell edging for a simple sc border for a cleaner more modern look.

FAQ
What does it mean to work in continuous rounds? It means you never join with a slip stitch or turn at the end of a round. You simply keep crocheting in a continuous spiral, which is how a tube or flat oval grows without a visible seam line. Move your stitch marker up at the start of every new round so you always know where the round boundary sits. Why does my bow not hold its shape after cinching? The centre needs to be completely free of stuffing before cinching. If any fiberfill crept into the middle section during assembly, the pinch cannot pull the fabric flat enough to hold. Reach into the opening before seaming and clear the centre of any loose fiberfill. How do I keep the edging from curling? The V stitch edging curls when worked too tightly. Loosen your tension on the double crochets and make sure both corner positions receive two full V stitches rather than one. A light steam block after finishing settles the scallops flat. Can I use a different hook size? An 8 mm hook suits the chunky chenille. A smaller hook makes the fabric dense and stiff, while a larger hook makes it too loose to hold the stuffed shape. If you change yarn weight, adjust the hook to match the yarn label recommendation first and then swatch before committing to the full project. Why are there only two rounds of edging instead of more? Two rounds give the layered scallop shown on my cushion without adding so much bulk that the edging overwhelms the bow shape. A third round is possible but the border will widen noticeably and the bow lobes will look proportionally smaller.


