Crochet Christmas Wreath Earrings Free Pattern
Cotton thread on a steel hook keeps these crochet christmas wreath earrings light enough to wear all evening, unlike yarn versions that drag on the lobe. A small bow and a few red knots finish each one, and a pair takes under an hour.
Twelve pairs of earrings sounds like a lot until you realise each one takes about twenty minutes once you have the motion down. These miniature wreath earrings are worked in No. 8 crochet thread on a finger-wrapped foundation ring, built up with green rounds for the wreath body, then finished with tiny chained accents for leaves or berries.
Crochet Christmas Earrings
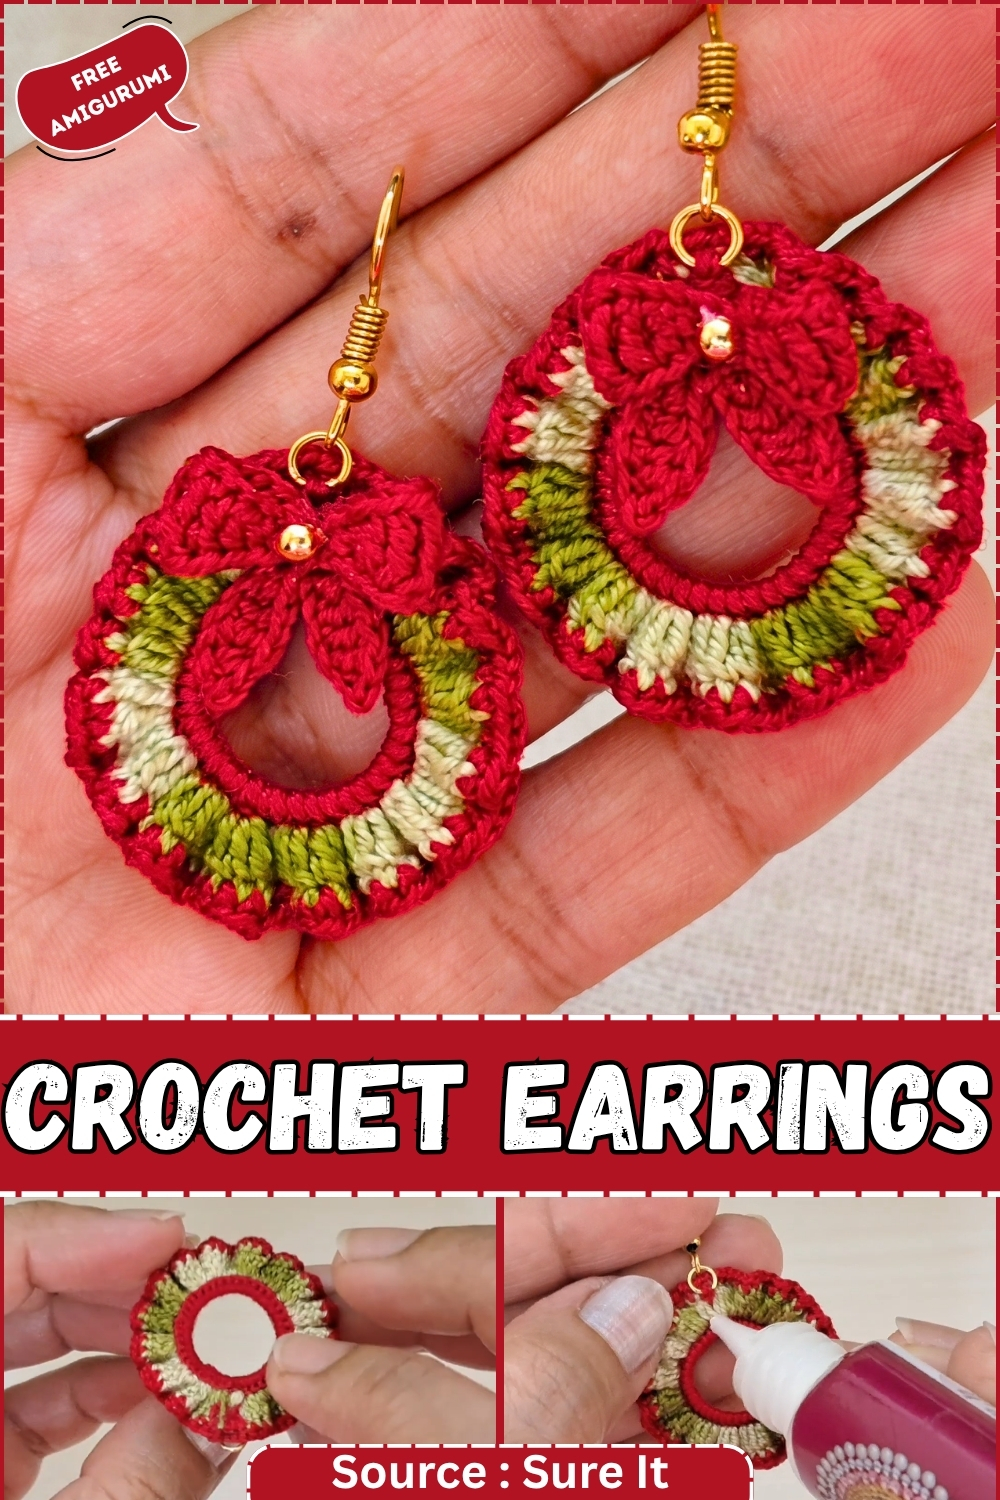
The stiffening step is the one people skip and then regret, a little fabric starch or craft glue is what turns a soft yarn loop into something that holds its round shape on an ear and still looks good in March. Budget the glue-drying time into your production schedule.
Countdown Block
- One pair, including stiffening and hardware: 40 to 50 minutes the first time, 20 to 25 minutes once the finger-wrap foundation feels automatic.
- Six pairs (twelve individual wreaths): roughly 3 to 4 hours of crochet, plus a full drying session that is easiest done overnight.
- Twelve pairs: 6 to 8 hours of crochet across two sessions. Plan one session for all the wreath bodies, one for all the accents, then an evening for hardware.
- Latest start for twelve pairs by Christmas Eve: ten days out if you are working in short evening sessions. Seven days if you can do a full weekend day.
- Do not starch and assemble on the same day you plan to give them. The glue needs at least four hours to cure fully before a jump ring goes through it without pulling.
Pieces List
Per pair:
- Wreath base — make 2
- Leaf or berry accent chain — make 2 (one per earring, or more if you want a fuller look)
- Jump rings — 2
- Earring hooks or findings — 2
Materials
- No. 8 crochet thread in green for the wreath body
- No. 8 crochet thread in red for berry accents, white or gold for bow or highlight details
- Crochet hook sized to your thread (the source mentions approximately 0.5mm; check your thread label — most No. 8 thread works best between 0.5mm and 0.75mm)
- Earring hoops or findings
- Jump rings
- Small pliers and a wire cutter
- Fabric starch, liquid starch, or craft glue (white PVA works; avoid anything that dries yellow)
- Tapestry needle or fine yarn needle for weaving ends
- A smooth surface or wax paper to shape and dry the stiffened pieces on
The Pattern
Wreath Base
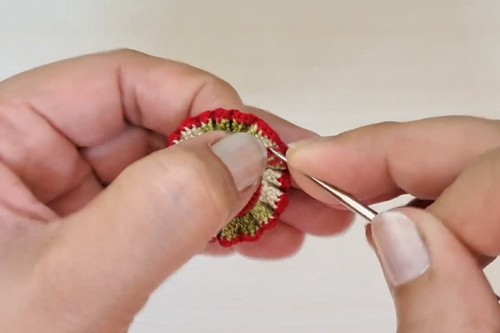
- Wrap green thread around your middle finger several times to create a foundation loop — aim for a loop that will sit as a firm ring once stitches are worked into it. [CHECK — the source states approximately 8 initial wraps but does not give a precise stitch count for the foundation round.]
- Insert your hook into the front of the loop, pull up a loop of thread, and begin working sc stitches around the ring until the ring is fully covered and the base feels dense and even. [CHECK — total sc count around the ring not stated in source.]
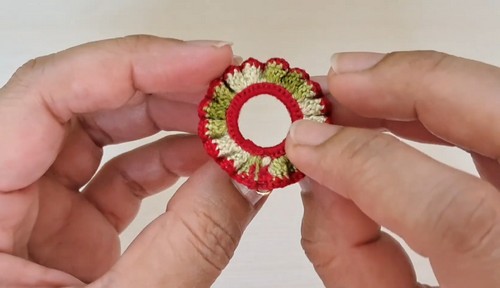
- Join to the first sc with a sl st. The ring should sit flat and feel firm, not floppy. If it is floppy, work another round of sc into the back loops only before moving on.
- Continue working additional rounds of sc around the wreath body to build thickness. [CHECK — number of additional rounds not stated; the source indicates working until the wreath has a visible, rounded body.]
- Join with a sl st, change to accent thread if adding a coloured round, and fasten off. Cut thread and pull tail to the back.
- Work sc stitches across any remaining chain portions to neaten the outer edge. [CHECK — this step is referenced in the source but not precisely described.]

Leaf and Berry Accent
- Ch 10. Skip the first chain, sc in the next chain, dc across the remaining chains to the end. [CHECK — exact dc count depends on chain length; source gives approximately 10 chains as the starting figure.]
- Fasten off with a tail long enough to attach the accent to the wreath.
- For a shorter berry or leaf variant: ch 7, skip the first chain, sc in the second chain, hdc in the next chain, fasten off. This gives a smaller teardrop accent that clusters better when you make two or three per earring.
If you’re new to reading crochet patterns, don’t worry, just follow along with the video tutorial below and use the written pattern as a reference!
Assembly-Line Running Order
This is where batch-making earrings is different from batch-making amigurumi. The hardware step is the bottleneck, not the crochet.
- Make all wreath bases first, one after another. Do not fasten off the final tail yet — leave it long for attaching accents. Stack them as you go.
- Make all accent chains next. Group them in pairs so matching earrings stay together. A small piece of tape with a number works better than trying to eyeball matching pairs at the end.
- Attach accents to all wreaths before you touch the starch. Use the long tails to stitch each accent into position at the top or side of the wreath, then weave the tail to the back.
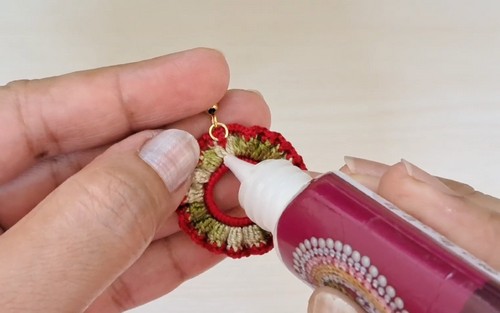
- Starch or glue all wreaths in one session. Lay them on wax paper, mold each one into a round shape with your fingers, and leave them completely undisturbed until dry. If you move them before they are set, you will be reshaping them again. Overnight is safer than four hours.
- Once dry, run through all hardware attachment in one sitting — open all jump rings first, then attach all rings, then add all findings. Doing it in sub-steps is faster than completing one earring fully before starting the next.
- Time per unit once the process is automatic: approximately 20 minutes of crochet, plus shared drying time.
The Character Dial: Rustic Versus Bright
- Toward rustic. Work the wreath body in an olive or sage green rather than bright Christmas green — No. 8 thread in those shades exists in most craft shops even if you have to look past the holiday display. Skip the red accent entirely and instead work a tiny ch-5 bow in natural cream or undyed thread. The jump ring hardware reads as copper rather than silver if you source antique brass findings, which are inexpensive and make the whole earring look less seasonal-craft and more considered. This version wears well past December.
- Toward bright. Lean into the contrast. Work the wreath in the most saturated green you can find, add two or three separate berry chains in red, and finish with a tiny looped bow in white or gold. Silver earring findings complete the look. If you want to push further, a round or two of the wreath body in variegated red-and-green thread before reverting to solid green gives the body an almost tartan texture when viewed closely.
Colourways
- Forest and Brass. Deep hunter green thread, cream accent chains, antique brass findings. Understated and easy to wear in January.
- Classic Panel. Bright holly green, red berry chains, silver findings. The version people will recognise immediately as Christmas.
- Snowbound. White or cream thread for the wreath body, a single small gold chain accent, gold findings. Works for winter without being specifically Christmas.
- Berry Heavy. Medium green wreath body, three red accent chains per earring rather than one, rose gold findings. Bolder and a little more festive than the standard version.
Display and Gifting Ideas
These are earrings, so display is mostly about presentation at the point of gifting.
- Lay a pair on a small square of kraft card and secure through a punched hole — the earring findings thread straight through the card and the whole thing is ready to hand over.
- A handful of pairs in a small glass jar with a ribbon makes a gift for someone who would want to pick their own colourway.
- Hung from a short length of twine strung between two nails, a row of finished pairs makes a reasonable product photo backdrop and a decent market display.
Stiffening: What Goes Wrong and Why
- The most common failure is applying too much glue and then trying to shape the piece while it is still wet, which stretches the stitches out of round. Apply starch or glue sparingly — you want the thread damp, not soaked — then shape once and leave it. A second light coat after the first is completely dry gives more body without distorting the shape.
- Fabric starch washes out. If these earrings are going to people who might rinse them, use a waterproof craft glue or jewellery-specific stiffener instead.

After the Season
Thread earrings store better than most people expect. A small ziplock bag per pair, labelled with the colourway, keeps them from tangling and from collecting dust. The glue or starch will hold through normal storage but not through crushing, so do not put anything heavy on top of them. A flat jewellery box or a small divided storage box is the cleanest solution. If the shape softens over summer storage, a very light mist of spray starch and a gentle reshape with your fingers brings them back.
Quick Answers
- Can I use regular yarn instead of crochet thread? You can, but the earrings will be much larger and softer-looking. Thread gives you the scale that makes these read as actual jewellery rather than craft ornaments. Size 10 thread is a good middle ground if No. 8 is hard to find.
- Do I need the starch step? Yes, genuinely. Unstiffened, the wreath flops flat against the ear and looks nothing like the finished version. Even a light coat of watered-down PVA makes a visible difference.
- How much thread do I need for twelve pairs? One standard ball of No. 8 green thread (roughly 150 to 200 metres) should cover twelve wreath bodies with thread to spare. Accent colours take much less — a small amount of red and white will stretch across a full batch.