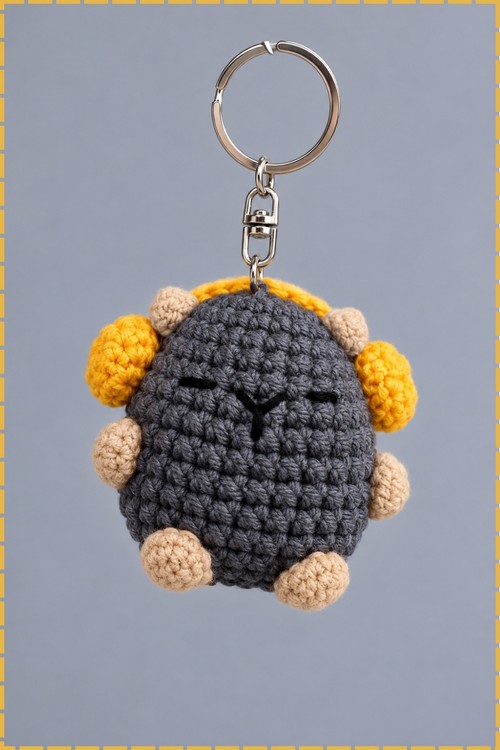
Crochet Mini Capybara Pattern Amigurumi In Grey & Yellow
Golden yellow ears, arms and feet sprout straight from the body rounds of a mini capybara amigurumi, worked on a 3.0 mm hook in weight 2 sport yarn. Easy mid round colour switches, a white belly patch and a tiny mandarin bring the total to roughly two hours.
Attaching yellow paws to the Crochet Mini Capybara is the part where you slow down and pin everything twice. The body itself flies. Cross stitching the nose is oddly satisfying. Working the Crochet Mini Capybara means finishing with scrap yarn and a strange urge to start another one immediately.
Crochet Mini Capybara
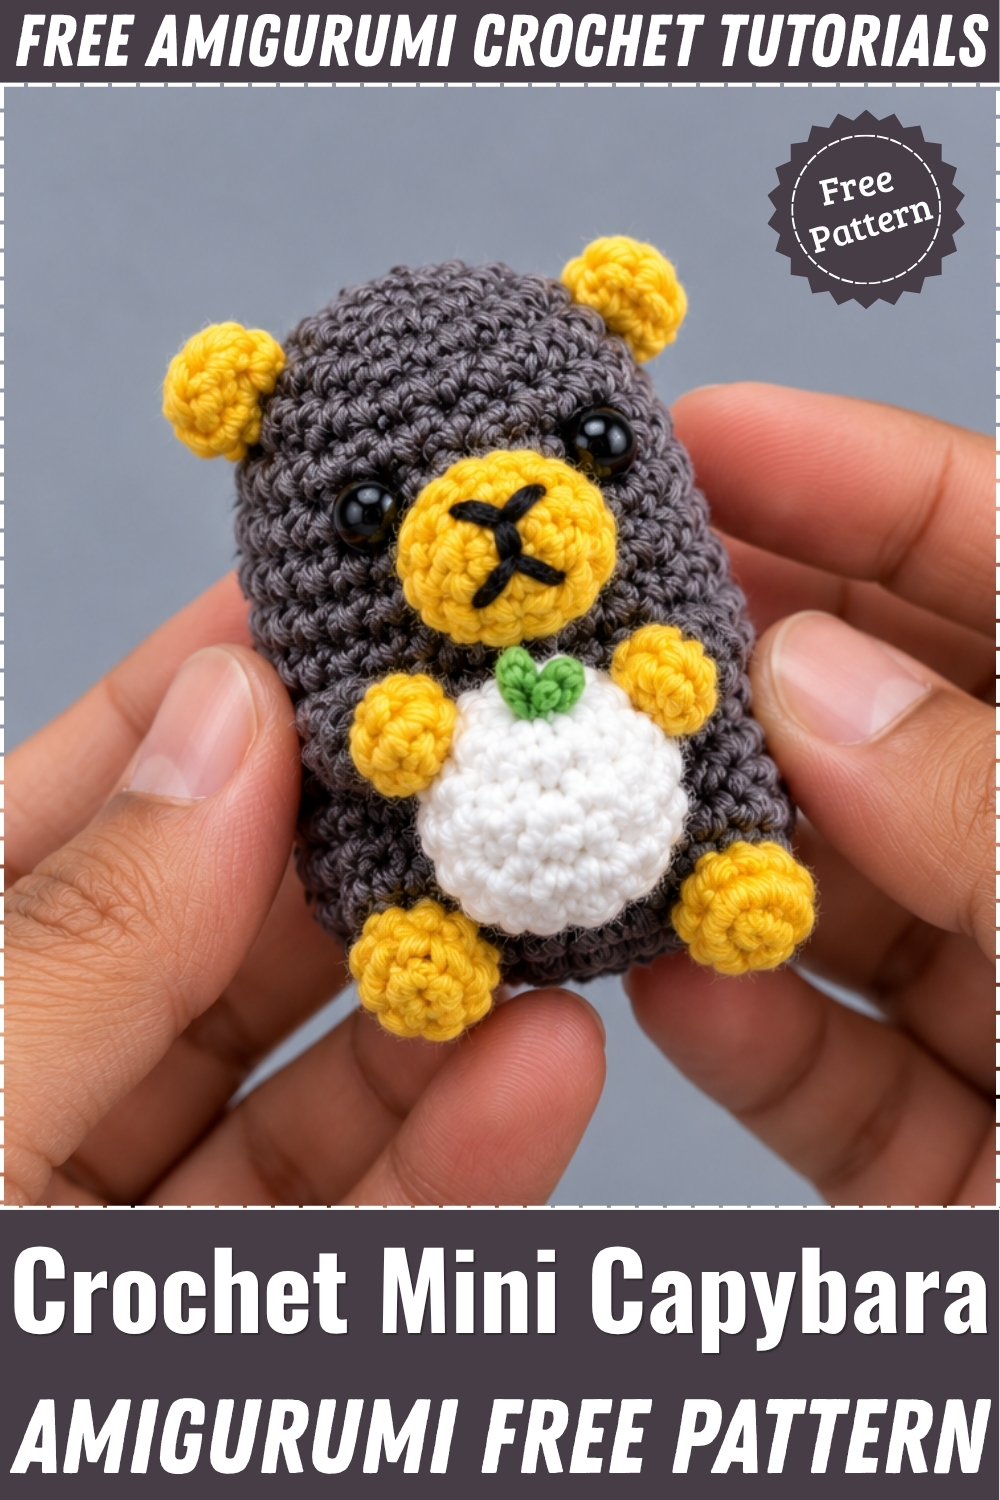
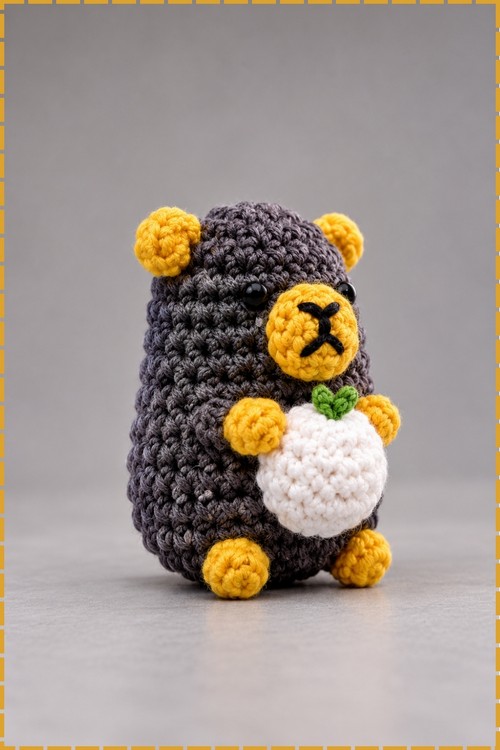
Ears, arms, and feet all grow directly from the body rounds of this crochet mini capybara, so chain loops worked mid stitch replace the sewing that most amigurumi patterns require for those parts. My version is dark grey throughout the body with bright golden yellow accents on the ears, arms and feet, plus a white circular belly patch and a small white mandarin with a green leaf stem nestled in the arms. Black safety eyes and an embroidered X nose finish the face. Everything is small enough to sit in a closed hand, which is exactly where it belongs.
Quick Facts
- Difficulty: easy, though the mid round colour switches take one or two practice attempts to feel smooth.
- Time: from my own making, the body with its built in parts takes around an hour and a half, and the snout, belly patch and mandarin add another thirty minutes. Those figures come from my experience and will shift with your yarn and pace.
- Hook and yarn: 3.0 mm hook with sport or baby weight yarn at weight 2.
Customisation Ideas
- Switch the accent colour from yellow to any colour you like. The original calls for dark brown, my version uses golden yellow, and the pattern does not care either way.
- Add a tiny bow, flower or fruit of a different type on top of the head instead of the mandarin, or position the mandarin between the arms the way I did.
- Leave the mandarin off entirely for a plain capybara, or make two mandarins and place one in the arms and one beside the figure.
- Change the body to light brown and keep the yellow accents for a warm two tone version that is closer to a real capybara’s colouring.
The Pattern
Body and Head
- Round 1: start with a ch 4 loop or magic ring, work 7 sc into the centre, and pull the tail end tight to close the centre hole [7 sts]. An increase throughout this pattern means 2 sc worked into the same stitch.
- Round 2: work 2 sc into the first stitch, then before finishing that second sc switch to golden yellow yarn. Ear 1: ch 4, then sl st back into the same stitch, and switch back to grey on the sl st. Work 2 sc into each of the next 3 stitches, then switch to golden yellow on the last sc. Ear 2: ch 4, sl st into the same stitch, switch back to grey on the sl st. Work 2 sc into each of the remaining 3 stitches [14 sts, not counting the ear chains]. The ears are chain loops that sit proud of the body, and switching back to grey on the sl st is what keeps the colour join from showing.

- Round 3: work 1 sc in each of the next 2 stitches, then skip the ear chain and sl st and work 1 sc in the next grey stitch, pushing the ear forward so it stands out. Work 1 sc in each stitch across until you reach the second ear, then skip its chains, push it forward, and sc into the next stitch. Finish with 1 sc in the remaining stitches [14 sts]. Pushing the ears firmly toward you as you skip past them in this round is what locks them in place facing outward.
- Rounds 4 and 5: work 1 sc in each stitch around for 2 rounds [14 sts per round].
- Round 6: (1 sc, 1 inc) around [21 sts]. At the end of this round the piece transitions from the narrower head section into the wider body.
- Round 7: work 1 sc in each stitch around [21 sts].
- Round 8: work 1 sc in the next 7 stitches, then switch to golden yellow on the 7th stitch. Arm 1: ch 4, sl st into the same stitch, then switch back to grey. Work 1 sc in the next 4 stitches, then switch to golden yellow on the 4th stitch. Arm 2: ch 4, sl st into the same stitch, then switch back to grey. Work 1 sc in the remaining 10 stitches [21 sts].
- Round 9: work 1 sc in each stitch around, pushing both arms forward so they stick out on the right side [21 sts]. Give each arm a firm push as you pass it so it sets in the outward position before the next rounds lock everything in place.

- Rounds 10 to 12: work 1 sc in each stitch around for 3 rounds [21 sts per round].
- Round 13: work 1 sc in the next 7 stitches, then switch to golden yellow on the 7th stitch. Foot 1: ch 4, sl st into the same stitch, then switch to grey. Work 1 sc in the next 6 stitches, then switch to golden yellow on the 6th stitch. Foot 2: ch 4, sl st into the same stitch, then switch back to grey. Work 1 sc in the remaining 8 stitches [21 sts].
- Round 14: work (1 sc, 1 inv dec) around, skipping the feet chains as you reach them and pushing the feet forward [14 sts]. An invisible decrease means inserting the hook through the front loops only of the next two stitches and completing a single crochet through both. Fasten off the golden yellow yarn at the end of this round.
- Stuff the body firmly with fiberfill now.
- Round 15: inv dec around until you reach 7 sts. Fasten off leaving a short tail, thread a needle through the front loops in a drawstring method, pull tight to close the hole, and weave in the end.
Snout
- Make a ch 4 loop and work 6 sc into it, then sl st to the first sc to close it into a small circle. Fasten off leaving a tail for sewing.
- Embroider an X shaped nose in the centre of the snout pad using black yarn. My version has a clear black X rather than a Y shape, which is what is visible in my photo.
- Sew the snout pad onto the front of the head between the ear and eye level, centring it on the face. My snout sits low and centrally, with the eyes above and to each side.
Eyes
- My capybara has large round black safety eyes rather than embroidered line eyes. Insert the safety eyes into the head above the snout, one on each side, before the snout is sewn on so you can judge their placement against the face. Lock the washers on the inside.
Belly Patch
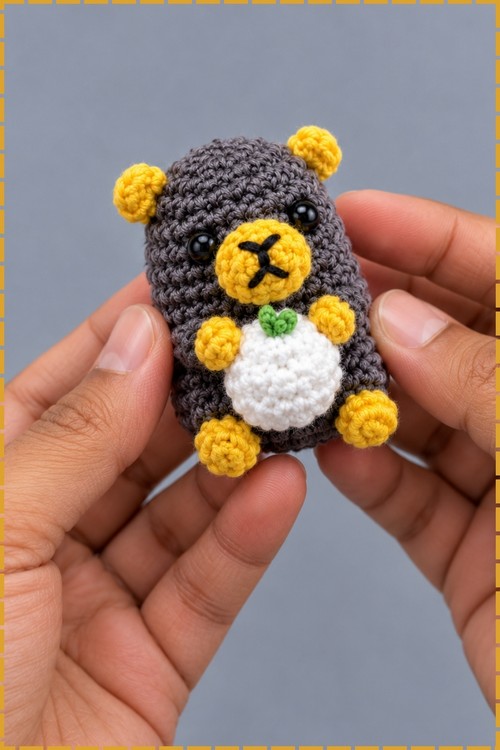
- Work a small flat circle in white yarn and sew it centrally onto the front of the body below the snout. My belly patch is roughly oval and covers the lower front of the body, which is the large white area visible in my photo. The original pattern does not include a belly patch, so make yours by working a magic ring and increasing rounds until the disc reaches the size that looks right against your finished body, then fasten off and sew it flat.
Mini Mandarin
- Make a ch 4 loop in white yarn and work 6 sc into it, then work 1 sc in each stitch around for 2 more rounds [6 sts per round]. My mandarin is white rather than orange, matching the belly patch colour. Fasten off leaving a tail, weave the yarn tails inside, and close the top with a drawstring stitch.
- Stitch a small green loop onto the top of the mandarin to form a leaf stem.
- Sew the mandarin between the arms on the front of the body so it sits nestled in the arms, as seen in my photo.
Tips
- The mid round colour switches feel awkward the first time. The key is completing the yarn over of the last stitch in the old colour and then pulling the new colour through. The moment of the switch is that final pull through, not after it.
- Push each chain loop appendage firmly outward as you work round 3 and round 9 past them. Once the following round is worked, the position is set and cannot be adjusted without frogging.
- Stuff before round 15, not after. The opening at 7 stitches is too narrow to pack fiberfill through cleanly, and trying to stuff through it distorts the shape.
FAQ
Why does the pattern use a chain loop instead of a magic ring for the foundation? Either works and the pattern offers both. A chain loop is slightly easier to control with fine yarn at a small hook size, since a magic ring can close very tightly and become hard to work into. Use whichever you find more comfortable.
My ears keep twisting sideways instead of facing forward. How do I fix it? The direction is set in round 3 when you push the ear forward and skip past the chain. If the ear is already twisted before round 3, pull it to face front before you skip past it, then sc firmly into the stitch on the other side to anchor the position.
Can I use safety eyes instead of embroidered eyes? My version uses safety eyes, which are the large black domed eyes visible in the photo. Insert them before sewing on the snout so you can judge placement with both features visible on the face at once.
Does the belly patch have to be white? No. The original pattern has no belly patch at all. My version adds one in white to match the mandarin. Use any colour or skip it entirely.