Crochet Christmas Tea Cozy Free Pattern With Festive Color Stripes
Measure your pot before starting and this crochet christmas tea cozy fits properly instead of gaping at the handle. Wool keeps the heat in far better than cotton, and stripes let you use up whatever red and green you have left.
Twelve of these in a weekend is not a stretch. That is what makes this particular make so useful for December: a single cozy takes about 45 minutes once you have the pattern in your hands, the mesh body works up faster than it looks, and the color rotation handles the festive part without any appliqué or finishing detail to slow you down.
Crochet Tea Cozy Christmas
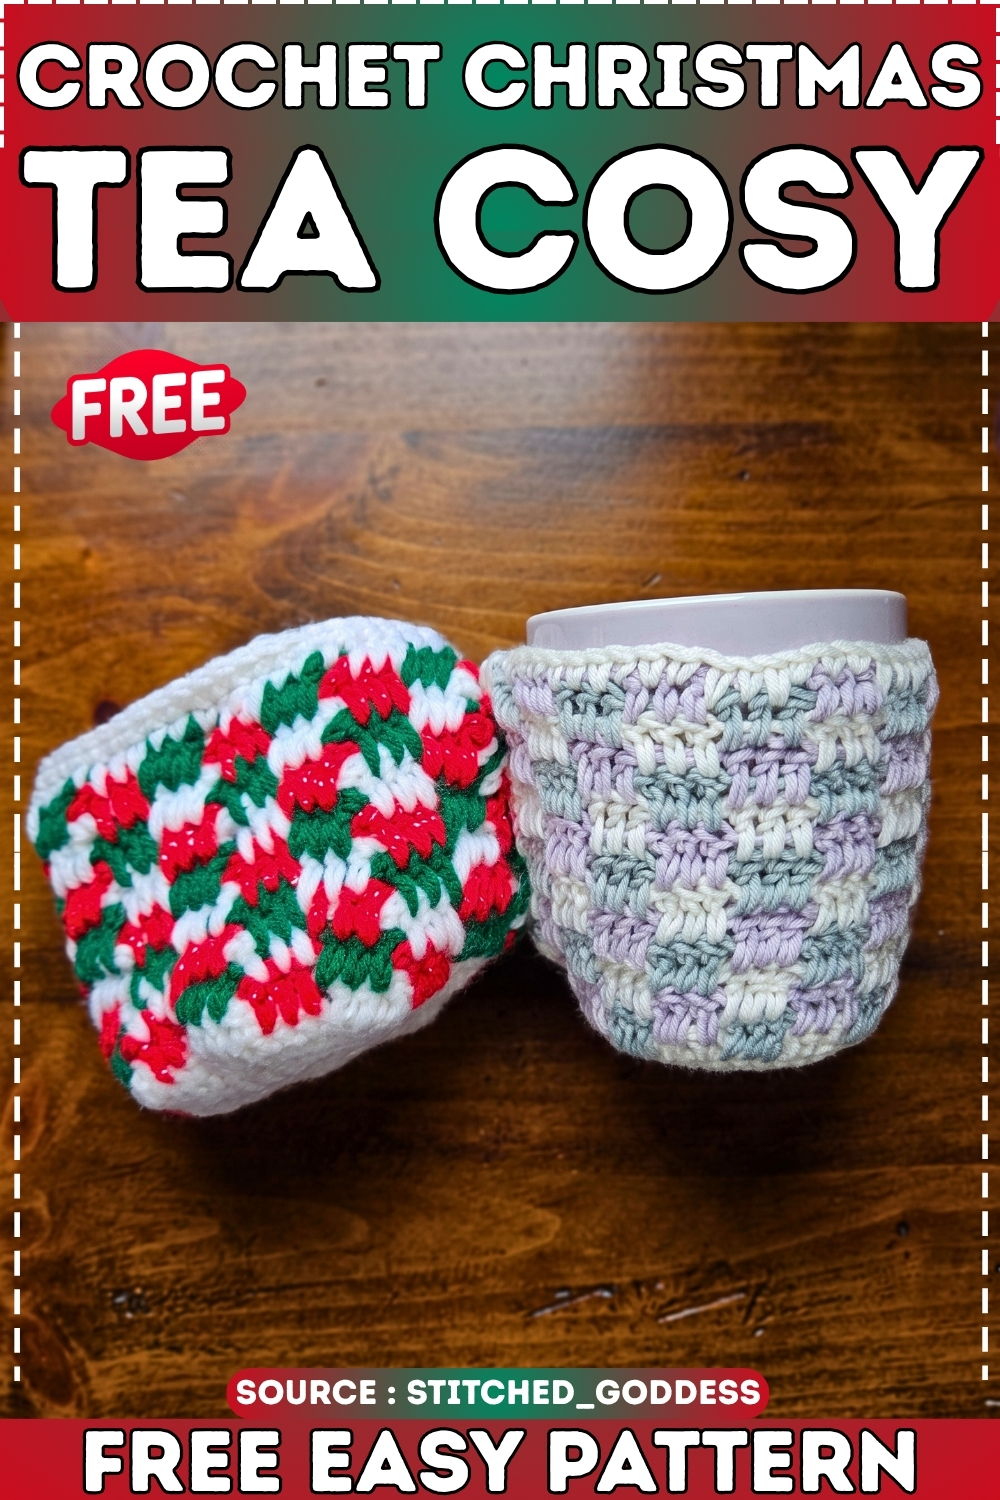
They stack flat in a gift bag, they Cozy almost nothing in acrylic, and every single person who gets one actually uses it. Practical gifts that look handmade always win the table.
The Countdown
- One cozy: 45 minutes to 1 hour, including darning in ends. Faster after the second one.
- A batch of twelve: 9 to 12 hours total. Two solid weekend sessions, or four evenings of about two and a half hours each.
- Latest sensible start: five days out if you are making six or fewer. Ten days out if you are making twelve, because blocking time and hand fatigue are real.
Time Per Unit and Yarn for Twelve
- Allow 50 minutes per cozy as your planning number, including color changes and finishing.
- Each cozy uses roughly 40 to 60 metres of yarn total across all three colors. For twelve cozies in the same color rotation, buy three skeins of each color — a standard 200-metre skein covers about four cozies at the lighter weight used here.
Pieces List
- Base disc, make 1 per cozy
- Mesh body, worked continuously from the base, 1 per cozy
- Top edging, worked directly onto the final body round, 1 per cozy
- Side edge border, worked along the vertical opening, 1 per cozy (optional but recommended for a clean gift finish)
What You Need
- 100% acrylic yarn in three coordinating colors. The source uses Dollarama Knit It yarn; Red Heart Super Saver or any similar smooth worsted-weight acrylic works.
- A 4.0 mm crochet hook.
- A yarn needle for darning ends.
- Scissors.
Abbreviations
- ch — chain
- sc — single crochet
- dc — double crochet
- sl st — slip stitch
- inc — 2 sc in the same stitch
- sp — space
The Pattern
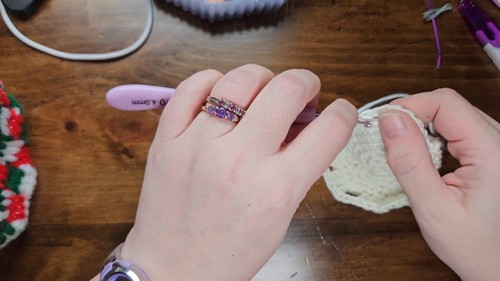
Base Disc
Work this piece first for every cozy in your batch before moving to the body. It is the fastest part and having twelve bases done before you start the mesh means you stay in rhythm.
- Make a magic ring with Color 1. [6]
- Round 1: ch 2 (does not count as a stitch), work 6 sc into the ring. Sl st to join, ch 2. [6]
- Round 2: Work 2 sc in every stitch around. Sl st to join, ch 2. [12] — By the end of this round the disc should lie flat with no cupping at the center.
- Round 3: Work [1 sc, then inc] around. Sl st to join, ch 2. [18]
- Round 4: Work [1 sc in each of the next 2 sts, then inc] around. Sl st to join, ch 2. [24]
- Round 5: Work [1 sc in each of the next 3 sts, then inc] around. Sl st to join, ch 2. [30] — At this point, hold the disc against the bottom of your cup. It should sit flat inside the base without buckling or extending past the edge.
- Round 6 (size check round, work only if needed): Work [1 sc in each of the next 4 sts, then inc] around. Sl st to join, ch 1. [36] — Skip this round for smaller cups. Work it for standard tall travel mugs or wider-based cups.
Darn in the magic ring tail securely before moving to the body. Do this on every base before you start the mesh section — loose tails get impossible to find once the mesh rows are on top.
Mesh Body
The body builds upward from the final round of the base in a repeating cluster-and-chain mesh. All color changes happen at the end of a round, not mid-round. Keep your joins loose enough that the mesh does not cinch in at the join point.
- Round 1 (first mesh row, Color 1): ch 3 (counts as 1 dc plus 1 ch sp), work 3 dc into the base round. [ch 3, skip stitches below, 3 dc] around. Close the round with a couple of chains as needed to align with the starting ch-3. Sl st to join. [CHECK — exact stitch count and number of mesh clusters not stated in source; adjust to your base round count so clusters sit evenly]
- Change to Color 2 (e.g., green).
- Round 2 (Color 2): ch 1, 3 dc into the first ch-3 sp below. [ch 3, 3 dc into next sp] around. Sl st to join.
- Round 3 (Color 2): Repeat Round 2 in the same color.
- Continue rotating through your three colors, working approximately 2 rows per color per rotation, until the body reaches the full height of your cup. The source works roughly 6 rows of the main background color total. Hold the cozy against your cup after every second row — mesh stretches more than sc fabric and it is easy to overshoot.
- The body is done when it reaches the lip of the cup with light tension. Too tight and it will not slide on. Too loose and it will slide off.
Checkpoint: mid-body, the mesh should drape slightly rather than standing rigid. If it is stiff, your tension is tight and the finished cozy may not slip over the cup base easily.
Just starting out with crochet? The video tutorial below is a great place to begin, or challenge yourself with the written pattern below!
Top Edging
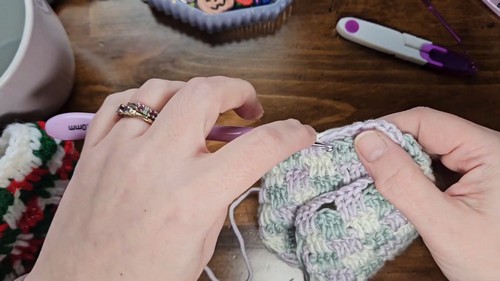
- Final body round complete: ch 1, work 1 sc into each chain loop and gap all the way around the top edge, capturing every open space so the edge is solid and full. Sl st to join and fasten off. — This round should close up the mesh openings at the top into a clean, finished band.
Side Edge Border
- With any color, join yarn at the top corner of the vertical opening (the gap where the cup handle sits, or simply the opening if your cozy is worked flat).
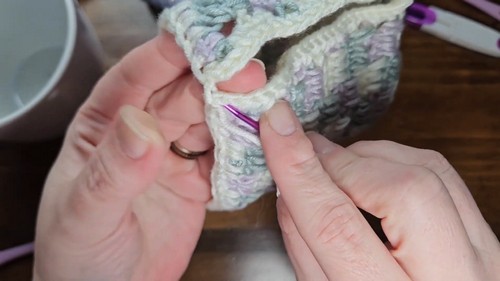
- Work sc evenly down the full height of the edge, one stitch per row end or chain loop.
- If the gap is wider than you want, ch a small bridge across and sc into it to draw the opening in. [CHECK — exact bridge length not specified; work 3 to 5 ch and adjust to your cup’s handle gap]
- Fasten off, darn in ends on the inside.
Assembly-Line Running Order
- Do not finish one cozy at a time. You will lose speed every time you change gears.
- Session 1: Work all twelve base discs. Magic ring through Round 5 or 6 on every single one, darn the center tails, stack them.
- Session 2: Work the first mesh round on all twelve bases before advancing any of them. This keeps your tension consistent across the batch because you are in the same mental groove for each one.
- Session 3: Continue the mesh body on all twelve, rotating colors in the same sequence across every cozy so you buy the right yarn quantities and the batch looks coordinated.
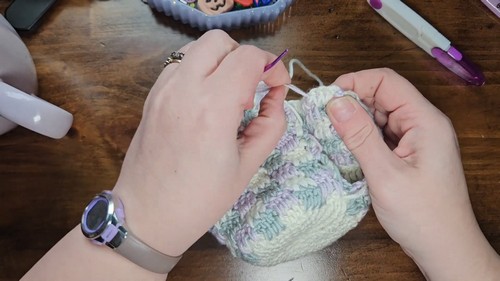
- Session 4: Work the top edging on all twelve in one pass, then the side border on all twelve. Darn every end in this session.
- One specific thing nobody mentions: the border pass is the most tedious part of the batch, not the mesh. Set it up while watching something good.
The Character Dial: Rustic Versus Bright
- Rustic end: swap the kelly green and primary red for sage, rust and undyed cream. Work the mesh in one neutral and use the other two only for a single stripe each so the color is an accent rather than the pattern. A thicker yarn on the same hook gives the mesh a looser, heavier drape that reads as intentional texture. Ditch the contrast top edging and work it in the same yarn as the final body row so it disappears. The whole thing looks like something from a Scandinavian market, not a craft fair.
- Bright end: go full contrast. White mesh over a red base, with green only on the top edging, hits differently than rotating all three evenly because the mesh itself becomes a design element instead of background. Add a small crocheted star or button at the join point instead of a plain sl st — one button, not a row of them. Work the side border in red so it frames the opening deliberately. If you want it to read louder, use a chunky-weight yarn on a 6.0 mm hook and the mesh opens up into bigger diamonds that carry from across the room.
- The trap is the middle — three colors worked in equal stripes reads as generic. Choose a dominant and let the other two play accent.
Colourways
- Spruce Market. Deep forest green, oatmeal, and a warm rust red. Less Christmas card, more wreath from a real spruce tree. Works past December.
- Snow at Dusk. Pale grey, white and icy blue. No red anywhere. The mesh in white over the grey base is the visual, and it reads as winter without committing to a specific holiday.
- Candy Cane Reverse. Red base disc and body, white mesh, no third color. Faster to work because you are only managing two, and the effect is stronger than a three-way rotation for this particular item.
- Warm Cabin. Mustard, chocolate brown and cream. Nothing about this says Christmas until you give it with a bag of good coffee, and then it says exactly the right thing.
Display Ideas
- On the cup itself, obviously. But for gifting and staging: stack six finished cozies in a large clear jar or a wide-mouth mason jar on a kitchen shelf. They fan out slightly at the top and look intentional.
- For a market or craft fair table: display one cozy on an actual cup with a fake sprig of holly tucked into the mesh. It shows scale and function in two seconds.
- Gift pairing: cozy plus a small bag of good loose leaf tea or a single-serve coffee packet, rubber-banded together. Total cost under five dollars, looks like effort.

After the Season
Acrylic washes on a cool gentle cycle, but the mesh will stretch in a machine bag if it is packed tightly. Wash each one flat or in its own small bag. Dry flat, reshaped around a cup if you have the patience, or just over the handle of a mug set upside down. Store flat, not rolled, because rolled mesh holds the curve permanently. A zip-lock bag per cozy keeps the colors from bleeding onto each other if any dye runs on first wash, which Dollarama yarns occasionally do. Check the edges after storage — the top edging sometimes works one stitch loose over twelve months and it is a thirty-second fix in November.
Quick Answers
- Will this fit any cup size? The base rounds scale to your cup — stop adding increase rounds once the disc sits flat against the bottom without going past the edge. The mesh body stretches enough to cover most standard travel mug shapes, but check the fit after Round 1 of the body before you go further.
- Best yarn for a batch of twelve on a budget? Any smooth worsted acrylic at 4.0 mm gives you the mesh tension this pattern needs. Red Heart Super Saver is the most consistent. Avoid anything fluffy or textured — the mesh chain spaces disappear into hairy yarn and you lose the whole effect.
- How do I stop the color changes from looking messy? Always change on the last yarn over of the final stitch before the join, not at the chain. Pull the new color through on that last pull, then chain up. The join will be cleaner and the color stripe sits at the right row.