Crochet Baby Seal Free Pattern Amigurumi With Side Flippers
Split tail fins and a stitched black nose make this crochet baby seal amigurumi a winter make that fits the season without a single snowflake on it. Good through the cold months, the holiday gift pile, the January stretch when nothing else is happening. Arctic enough for December, plain enough to keep out all year.
Crochet Baby Seal Amigurumi
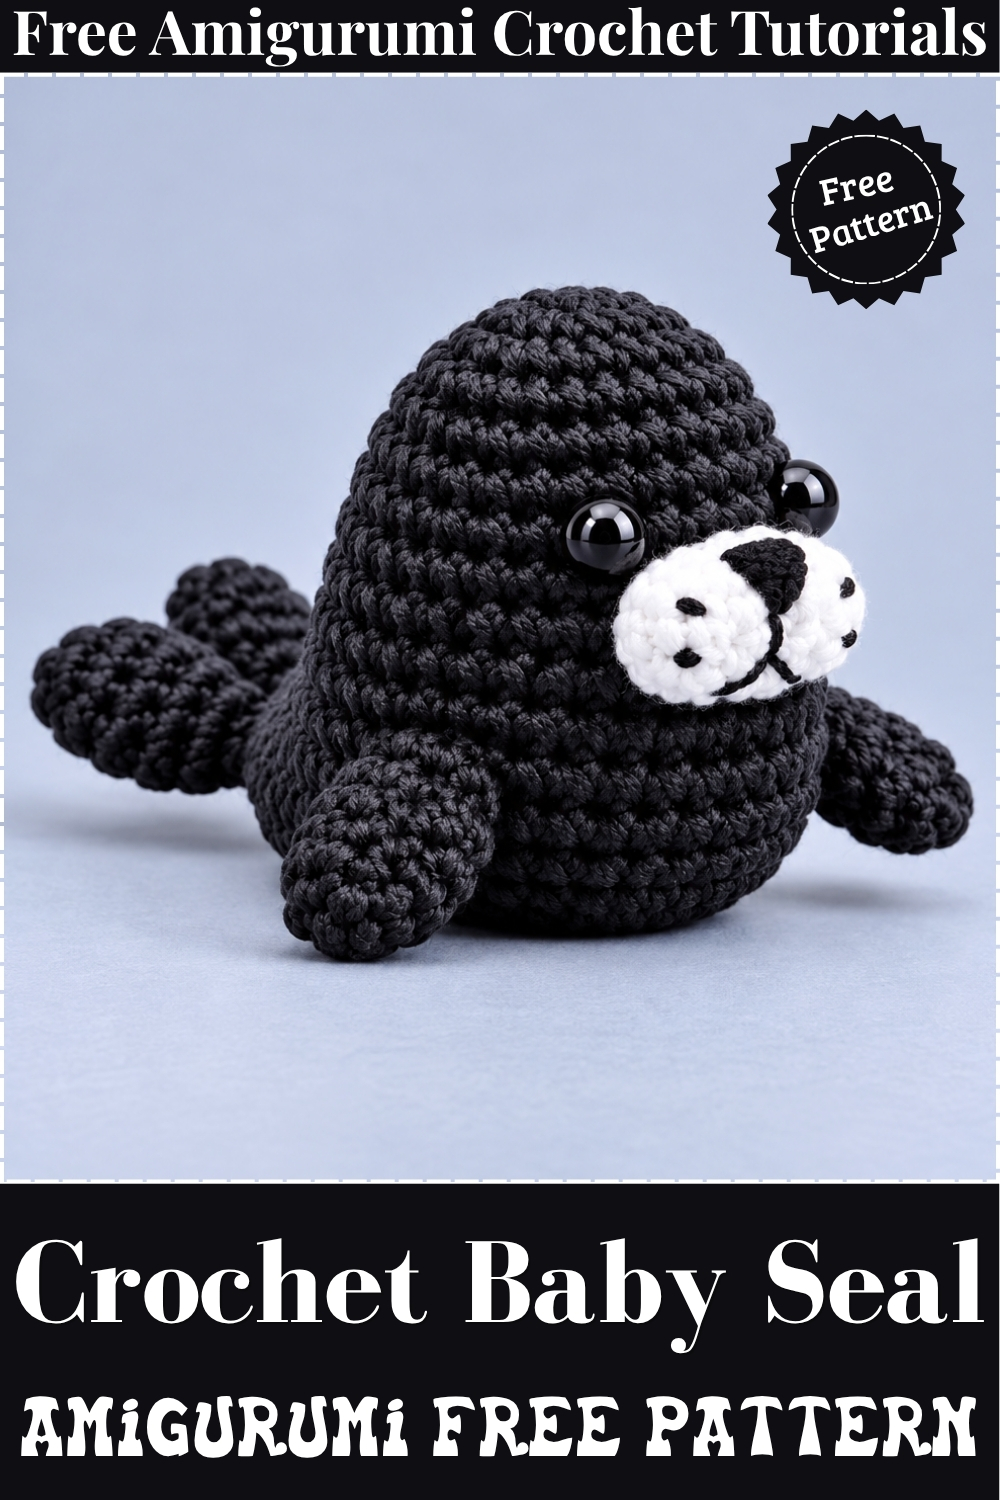
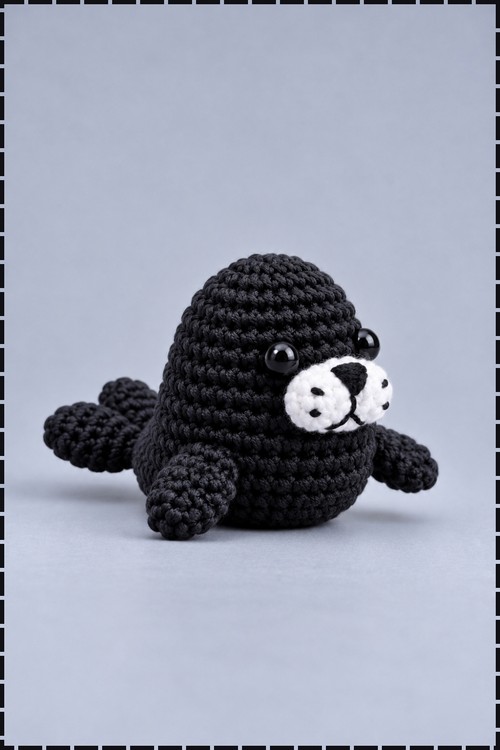
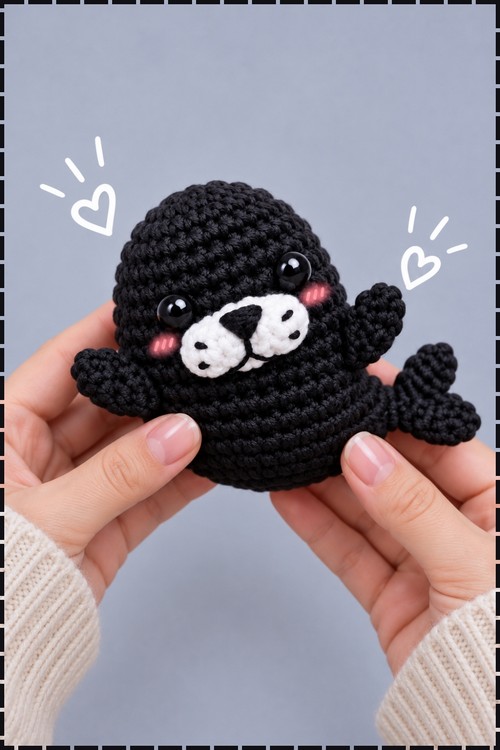
Popcorn stitches built right into the head rounds give this crochet baby seal amigurumi its raised nose without any separate piece to sew on. Head and body grow out of the same continuous spiral, so the whole figure comes together with almost no assembly. My version is crocheted in dark charcoal yarn with a white muzzle patch that makes the black safety eyes and embroidered nose pop against the dark face. Sitting on a shelf it reads like a real harbour seal pup. Clip it to a bag and it still holds its own at that size.
Why I Love This One
Dark yarn against a white muzzle patch is a combination that photographs well no matter the background, and the popcorn nose keeps its shape even after the figure gets handled. Every time I pick this seal up I end up holding it for a few minutes longer than I planned.
Materials and Tools
- 4-ply yarn in dark charcoal for the entire body, head, and flippers.
- A small amount of white 4-ply yarn for the muzzle patch.
- Black yarn and black embroidery thread for the nose, mouth, and whiskers.
- 3.0 mm crochet hook.
- Two 4 mm safety eyes with backings.
- Polyester fiberfill stuffing.
- Yarn needle, scissors, stitch marker or paperclip, and pins.
- One keychain jump ring if you want to add the keychain finish.
THE PATTERN
Head and Body in Dark Charcoal
- Round 1: Start with a magic ring (MR), chain 1 (this chain does not count as a stitch), and work 6 single crochet (sc) into the ring. Pull the tail to close the hole tightly. [6 stitches]
- Round 2: Work 1 increase (inc, meaning 2 sc in the same stitch) in each stitch around. [12 stitches]
- Round 3: Work 1 sc then 1 inc, repeated 6 times around. [18 stitches]
- Rounds 4 to 5: Single crochet in each stitch around for 2 rounds. [18 stitches per round]
- Round 6 nose round: Sc in the first 7 stitches, work 1 popcorn stitch (4 half-closed double crochet stitches completed together in one stitch) in the next stitch, sc in the next stitch, work 1 popcorn stitch in the next stitch, sc in the remaining 7 stitches of the round. [18 stitches total] The two popcorn bumps sit side by side at the front of the face and become the base of the nose.
- Round 7: Single crochet in each stitch around, working normal sc directly on top of each popcorn stitch. [18 stitches]
Attaching the Safety Eyes
- Insert the 4 mm safety eyes between Rounds 4 and 5, placed directly next to the nose area with about 3 stitches of space between them. Press the backings on firmly from inside before you continue, because you cannot reach back in comfortably after Round 8.
Muzzle Patch
- My version adds a white muzzle patch that sits over the popcorn nose area, which the original pattern does not include. To add one, join white yarn and work a small oval or rounded shape in sc, sized to cover the two popcorn bumps and the space between them. Fasten off and sew the patch in place centred over the nose area before embroidering the facial details. The patch on my piece covers roughly the lower quarter of the face.
Continuing the Body
- Round 8: Working in front loops only (FLO), work 2 sc then 1 inc, repeated 6 times around. [24 stitches] Working in FLO creates a visible ridge that marks the join between head and body and helps the head stay rounded above it.
- Rounds 9 to 10: Single crochet in each stitch around for 2 rounds. [24 stitches per round]
Crocheting the Tail
- First tail half: Chain 7. Starting from the 2nd chain from the hook, work 1 sc, 1 half double crochet (hdc), 1 sc.
- Second tail half: Chain 4. Starting from the 2nd chain from the hook, work 1 sc, 1 hdc, 1 sc.
- Single crochet into the remaining 3 base chains of the tail to join the two halves.
Integrating the Tail Into the Body
- Round 11: Continue working 1 sc in each stitch around the main body, then work 3 sc along the side chains of the tail, turn and work 3 sc along the other side of the tail. [30 stitches total]
Decreases and Stuffing
- Round 12: Work 3 sc then 1 invisible decrease (inv-dec, meaning sc 2 stitches together through front loops only), repeated 6 times around. [24 stitches]
- Round 13: Work 2 sc then 1 inv-dec, repeated 6 times around. [18 stitches]
- Round 14: Work 1 sc then 1 inv-dec, repeated 6 times around. [12 stitches]
- Fill the head and body firmly with fiberfill at this point, pushing stuffing up into the top of the head so the dome holds its shape. Getting the stuffing right here is worth pausing for.
- Round 15: Inv-dec in every stitch around. [6 stitches] Fasten off and leave a long tail, then weave the tail through the front loops of the remaining 6 stitches, pull closed, and bring the yarn up through the centre to the top of the head for the keychain loop.
Flippers in Dark Charcoal, Make Two
- Join charcoal yarn with a slip stitch (sl st) into the body between Rounds 10 and 11, aligned vertically with the sides of the nose.
- Chain 4.
- Starting in the 2nd chain from the hook, work 3 hdc.
- Sl st back into the body 2 stitches over from the join point.
- Fasten off and pull both yarn tails inside the body. On my piece the flippers sit close to the body and angle slightly downward, which is what gives the seal its settled, resting look from the front.
- Repeat on the opposite side.
Keychain Attachment
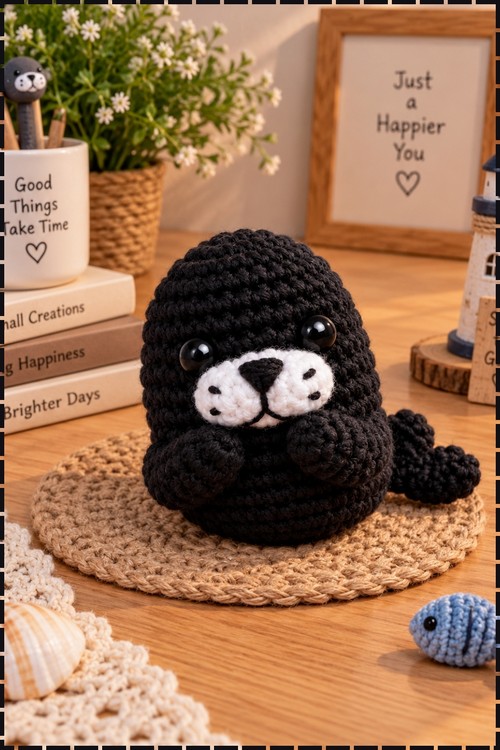
- Use the long yarn tail gathered at the top of the head to loop securely through the jump ring of your keychain, then tie off and hide the tails inside the body. Skip this step if you prefer a shelf figure, as mine is styled in the photo.
Facial Embroidery
- Using black yarn and a needle, embroider a small triangular nose directly in the space between the two popcorn stitches, working the stitches over the white muzzle patch. On my version the nose sits centred on the patch and reads as a solid dark triangle against the white background.
- Using thin black thread or a single strand of split black yarn, embroider a short vertical line downward from the nose for the mouth and loop around the popcorn stitches to form small whiskers on either side. Tie off the thread tails and hide them inside the body.
- Four small dots of black thread at the corners of the muzzle patch add the spotted texture visible on my version. Work them as single straight stitches rather than French knots so they stay flat.
Tips and Troubleshooting
- The popcorn stitch pushes to the outside on its own, but working the sc on top of it in Round 7 with a slightly looser tension stops the bump from getting flattened. It should still stand proud after Round 7.
- If the head pulls out of round during the decrease rounds, the stuffing is uneven. Pull it out and repack before closing rather than hoping it settles.
- Pin the flippers symmetrically before fastening off. Looking at the figure straight on and checking both sides are level takes thirty seconds and saves unpicking later.
- Dark yarn makes it harder to see individual stitches. Count every round with a stitch marker moving forward rather than trying to recount from the join.
- The muzzle patch needs to sit flat and centred. Whipstitch it around the full edge before embroidering so it does not shift while you work the nose.
Customization Ideas
- Work the entire figure in white for the classic white pup version.
- Use grey yarn with a pale muzzle for a spotted seal look.
- Embroider small spots across the body before closing to suggest a leopard seal.
- Add a ribbon bow at the neck for a gift version.
- Leave off the keychain ring and add a safety pin backing to turn it into a brooch.

FAQ
- Can I use a thicker yarn and larger hook? Yes, the same counts will produce a bigger figure. DK yarn on a 3.5 mm hook gives a noticeably larger seal while keeping the head shape.
- What makes the popcorn stitch different from a bobble? A popcorn is made by working 4 or more double crochet into the same stitch and then slipping the first one over the last to close the bump outward. A bobble closes all the stitches together without that final slip, so it sits flatter. The popcorn pops toward you more aggressively, which is exactly what you want for a raised nose.
- My muzzle patch edges are curling. What went wrong? The patch is curling because the edge tension is too tight. Work the border stitches a little looser or block the patch flat and pin it to the body immediately while sewing it down.
- Is this pattern no-sew as the original tutorial title says? Almost. The head and body are worked in one piece, so there is no main seam. The flippers join directly into the body stitches, which avoids sewing them on. The muzzle patch I added does require sewing, and the keychain tail gets tied rather than sewn.