Crochet Bunny Peep Free Pattern Amigurumi With Upright Ears
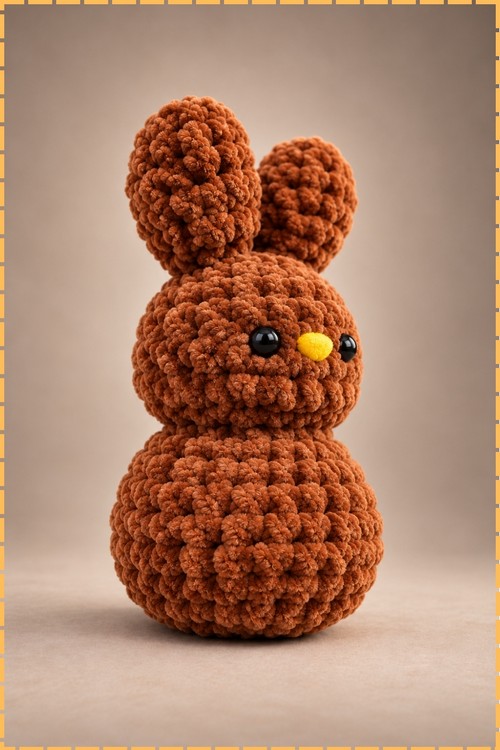
Joining both ears first lets the crochet bunny peep amigurumi grow downward into head and body in one piece, closing with a single seam. Rust velvet yarn, a yellow triangle nose and a firmly stuffed base keep it standing proudly in any Easter basket.
Beginners looking for something that works up fast will get on well with this crochet bunny peep amigurumi. No arms, no legs, nothing fiddly to attach. The chenille forgives loose stitches, so newer makers finish with a neat toy. Kids handle the bunny peep easily too, since there is nothing to snap off.
Crochet Bunny Peep Amigurumi
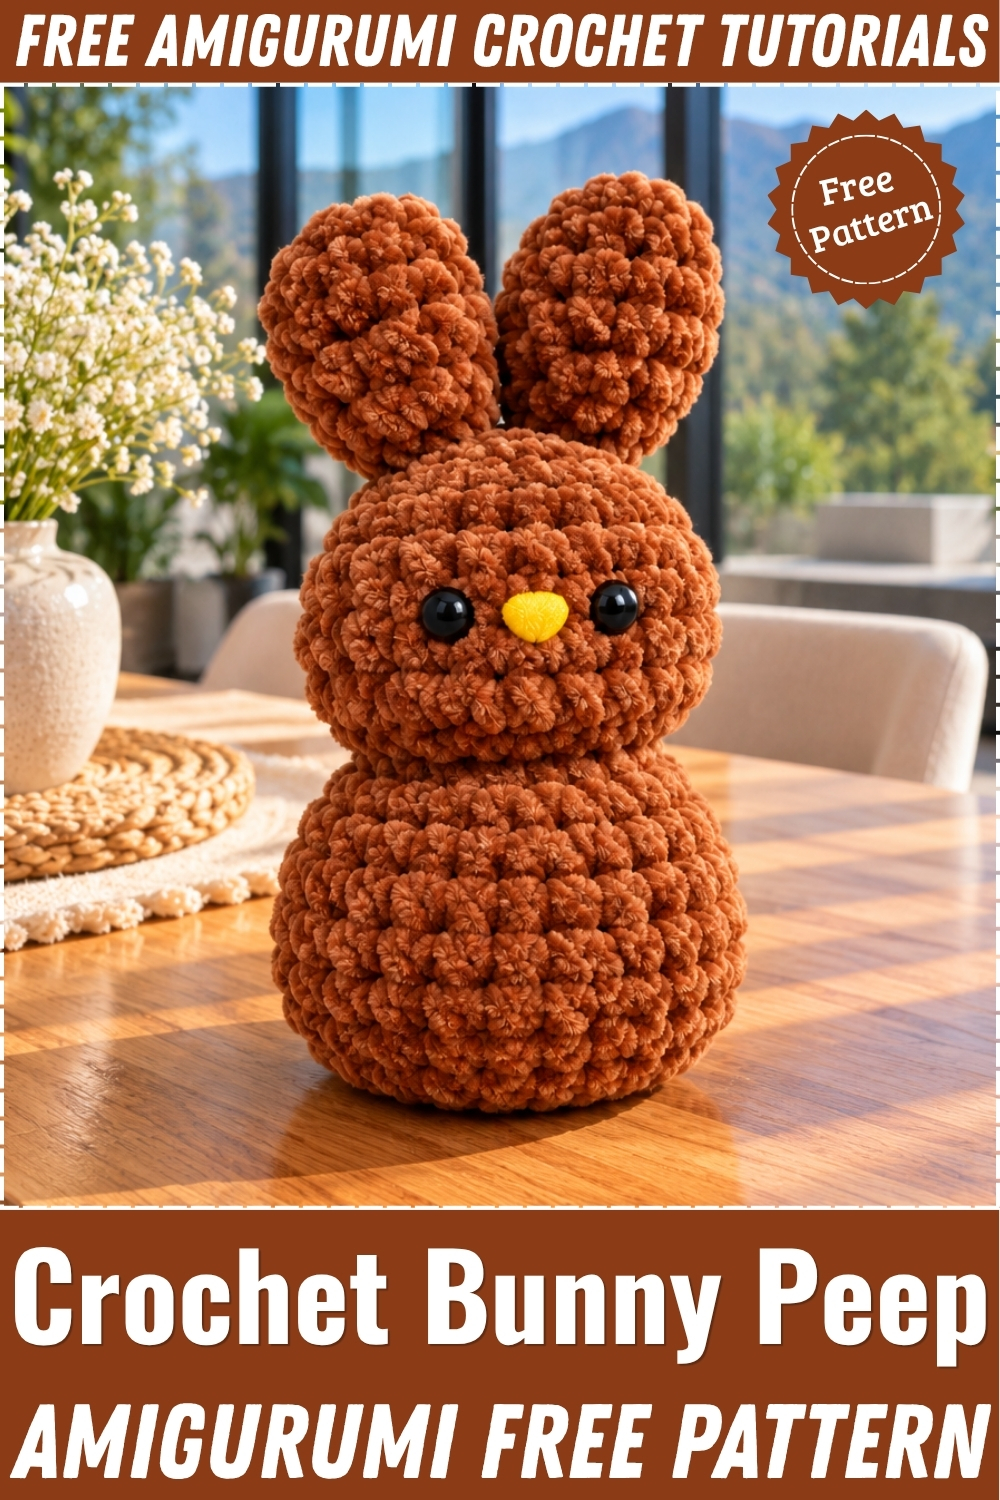
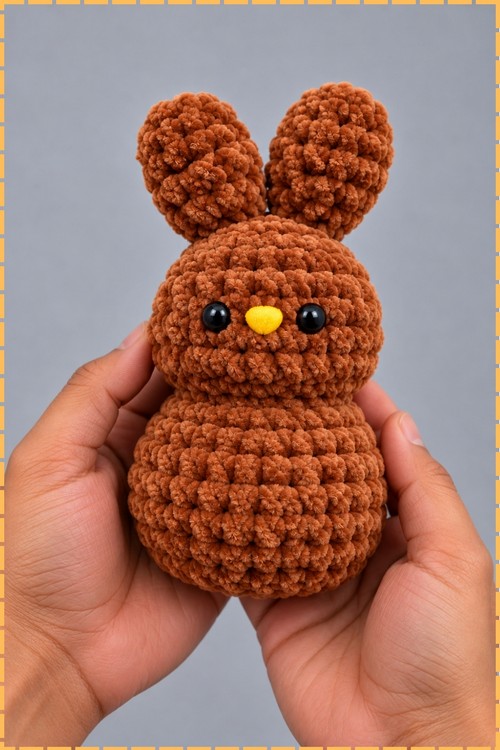
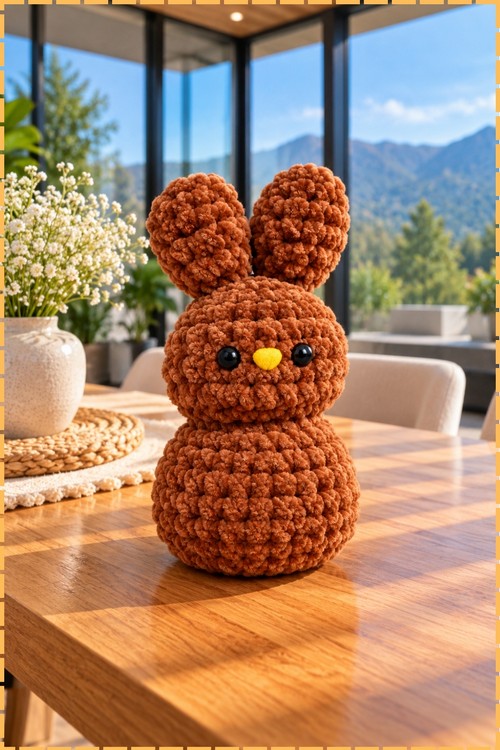
Both ears get made first and joined together, which is what gives this crochet bunny peep amigurumi its one piece construction with no sewing at the end. Working from the ears down into the head and straight on into the body means you finish with a single closing seam at the base. Velvet yarn in a deep rust brown keeps the stitches plush and rounded, and a yellow triangle nose sits between two small black safety eyes. Palm sized and weighted with firm stuffing, it stands on its own without a flat base or any added feet.
Materials and Tools
- Chunky or bulky plush velvet yarn in rust brown, one small skein is plenty
- 6.0 mm crochet hook
- Two 10 mm to 12 mm black safety eyes
- One small yellow triangle safety nose
- Fiberfill stuffing
- Stitch marker
- Tapestry needle
Size and Time
Mine sits in the palm of one hand, roughly four to five inches tall including the ears, using bulky velvet and a 6.0 mm hook. Expect around an hour and a half of work. Velvet moves fast because the stitches are large, but it also hides your stitch placement, so budget extra time if you have not used it before.
Abbreviations
- MR means magic ring, and a chain 2 start works just as well with velvet
- sc means single crochet
- inc means increase, which is two single crochet in the same stitch
- dec means decrease, worked as single crochet two together
- st or sts means stitch or stitches
Technique Notes and Tips
Velvet yarn splits and worms if you work it loosely, so keep your tension tighter than you normally would and pull each loop snug before moving on. Mark the first stitch of every round and move the marker up as you go, because the pile hides the round line completely and a lost count is very hard to recover. Work under good light and feel for the V of each stitch with your fingertip rather than trying to see it. Close the magic ring in two pulls rather than one hard tug, since velvet snaps under strain. Keep stuffing in small pinches instead of large handfuls so the surface stays smooth, and push the fiberfill outward toward the sides as you fill the head to get the wide flat peep profile visible in my photo. If a stitch worms after a few days of handling, a light steam from an iron held above the fabric settles it back down.
The Pattern
Ear One
- Round 1: work 6 sc into a MR (6 sts). Pull the ring closed gently, since velvet breaks if you yank it.
- Round 2: [1 sc, 1 inc] repeat around (9 sts)
- Round 3: [2 sc, 1 inc] repeat around (12 sts)
- Round 4: 1 sc in each st around (12 sts). The ear should read as a small rounded oval at this point.
- Round 5: [1 sc, 1 dec] repeat around (8 sts)
- Fasten off ear one leaving a long yarn tail, which you will use later to close the gap between the two ears.
Ear Two and the Joining Round
- Rounds 1 to 5: repeat rounds 1 to 5 exactly as worked for ear one (8 sts), and do not fasten off.
- Round 6: continue directly from ear two and work 1 sc, 1 sc, 1 dec, 1 sc, 1 sc, 1 dec, then move straight onto ear one and work 1 sc, 1 sc, 1 dec, 1 sc, 1 sc, 1 dec (12 sts total around both ears). Hold the two ears side by side with their fasten off points facing each other before you make the first joining stitch, or the ears will end up twisted.
- Use the tail from ear one to weave the small gap at the base of the ears closed, working from the inside so the stitches do not show.
Head
- Round 7: work 1 inc into every st around (24 sts)
- Rounds 8 to 11: 1 sc in each st around for four rounds (24 sts per round). The head should now be a short wide cylinder rather than a ball.
- Round 12: work 1 dec in every st around (12 sts). This sharp decrease creates the pinched neck that separates the head from the body in my photo.
- Insert the safety eyes between rounds 9 and 10, about three rounds above the neck decrease, and set them fairly close together with roughly three stitches between them.
- Insert the yellow triangle nose centred between and slightly below the eyes, with the point facing down.
- Stuff the ears lightly so they hold upright without looking rigid.
- Stuff the head, pushing fiberfill out toward the sides to build full cheeks and the slightly flat peep profile.
Body
- Round 13: work 1 inc into every st around (24 sts)
- Rounds 14 to 19: 1 sc in each st around for six rounds (24 sts per round). The body should look noticeably taller and wider than the head, which is what keeps the piece upright.
- Round 20: [1 sc, 1 dec] repeat around (16 sts)
- Round 21: dec around continuously, then stuff the body firmly while holding the flat marshmallow shape. Overstuffing here rounds the body out and loses the peep silhouette.
- Round 22: work 3 to 6 decreases until the bottom opening pulls tightly closed (12 down to 6 sts). Pack a little extra stuffing into the base before the final decrease so the piece sits flat and stands without tipping.

Finishing
- Cut the yarn leaving a short tail.
- Thread the tail onto a tapestry needle, run it through the front loops of the remaining stitches, and pull tight to close the base completely.
- Weave the end deep into the body and out the side, then trim close so the tail disappears into the pile.
Yarn Substitution
Any bulky chenille or velvet yarn works at this hook size. A plain bulky acrylic also works and is easier to count, though the finished piece looks flatter and less plush than the rust velvet in my photo. Avoid worsted weight unless you drop to a 4.0 mm hook, since the gaps will show stuffing through the fabric.
Customization Ideas
- Skip the safety nose and embroider a small stitched nose in black or cream instead.
- Work the ears in a contrast colour by joining a second yarn for the first three rounds.
- Add a ribbon bow at the neck decrease, which is the natural narrow point.
- Make a set in several colours, since each one takes well under two hours.
- Attach a keyring finding through the top of the head between the ears for a bag charm.
FAQ
Can I use embroidered eyes instead of safety eyes? Yes. Safety eyes must go in before the head is stuffed, so if you are making this for a baby, switch to a few tight satin stitches in black yarn after stuffing instead.
Why do my ears lean outward? Under stuffed ears flop and over stuffed ones splay. Add just enough fiberfill to fill the tip and the top half, and leave the base near the joining round empty so the ears sit upright the way mine do.
How do I count stitches in velvet yarn? Count by touch rather than sight, and place a stitch marker every round without exception. If you lose the count in a straight round, work to the marker and recount from there instead of trying to find the round line in the pile.