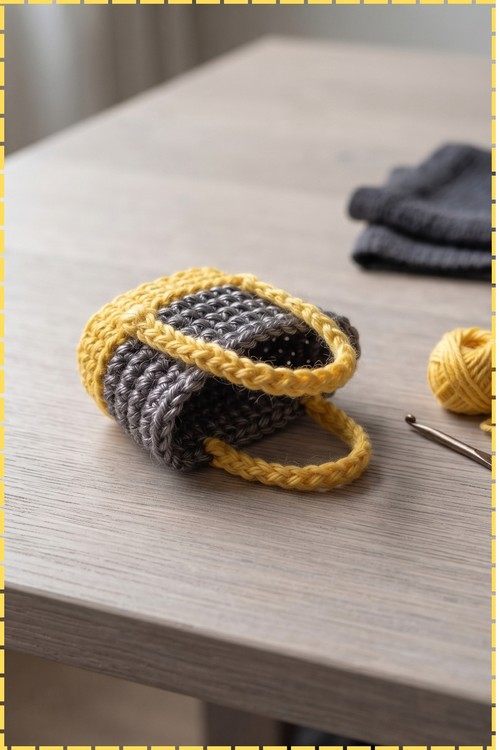
Crochet Mini Backpack Free Pattern With Beaded Cords
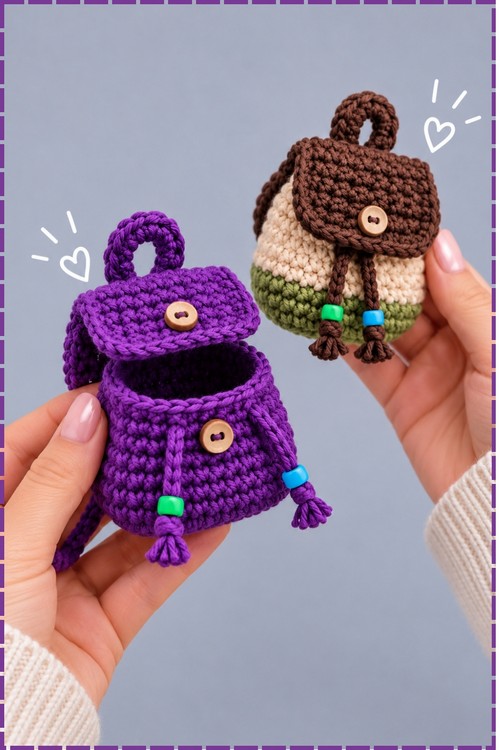
Wooden buttons and drawstring cords give this crochet mini backpack a bit of attitude, small but behaving like real luggage. It wants to be carried, clipped onto a tote, stuffed with coins or a lip balm. Cheeky, useful, and never content to just sit still on a shelf.
Crochet Mini Backpack
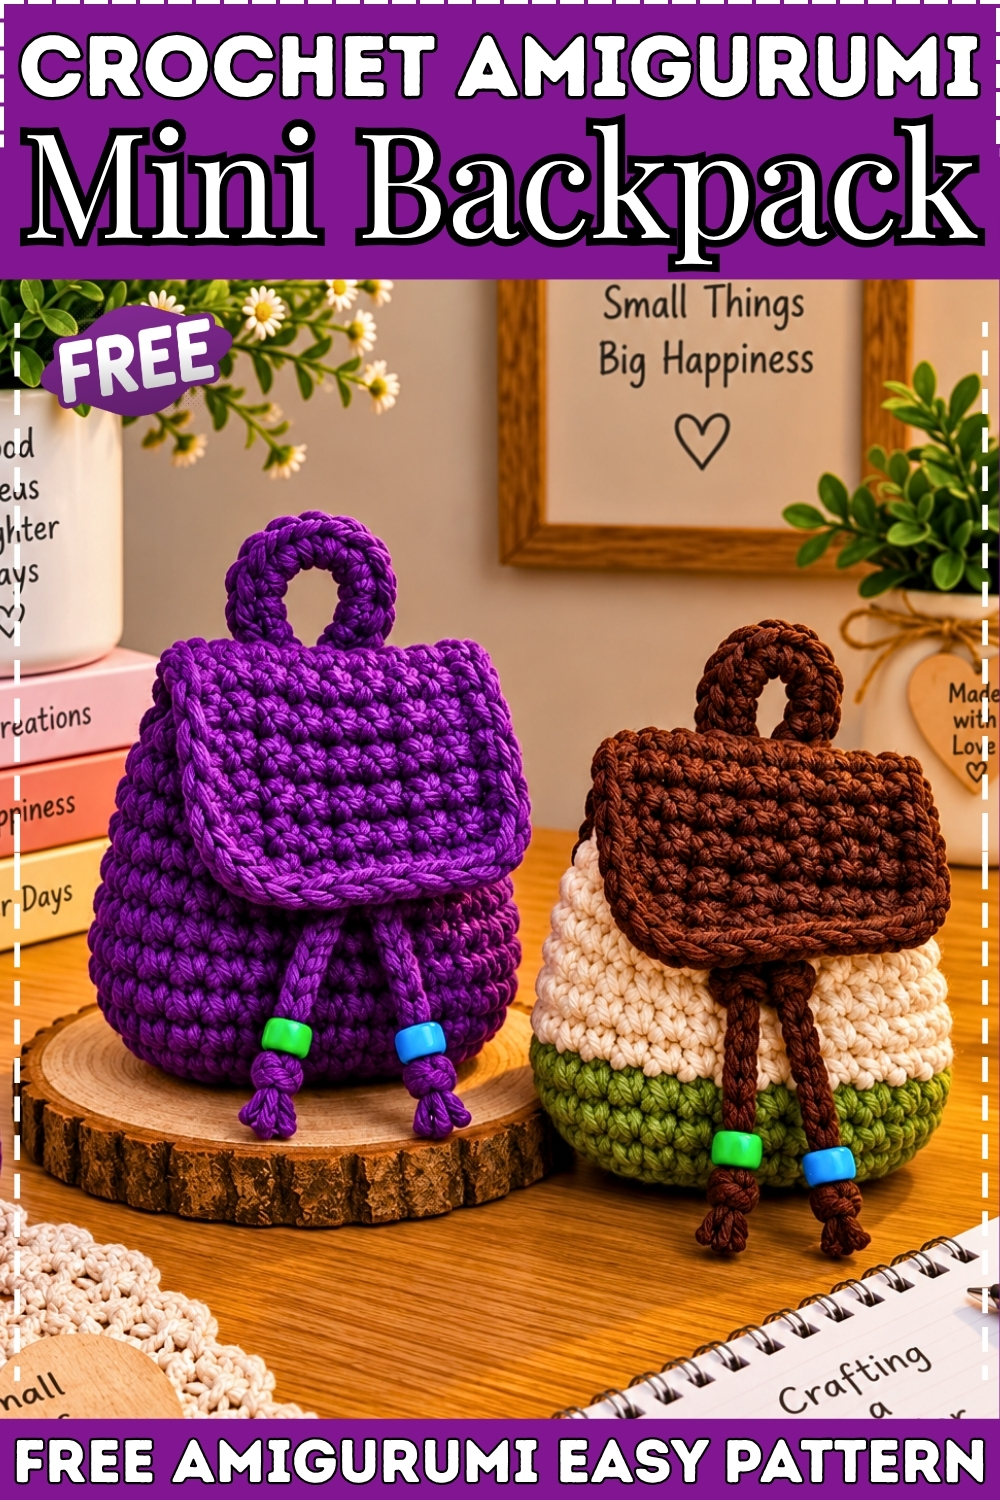
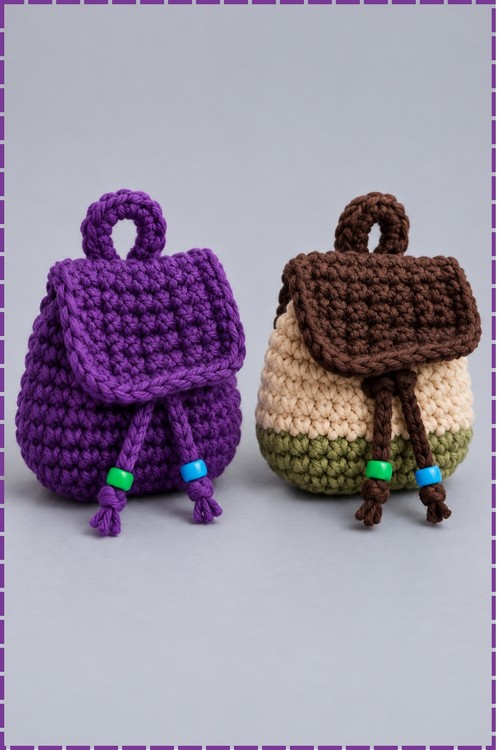
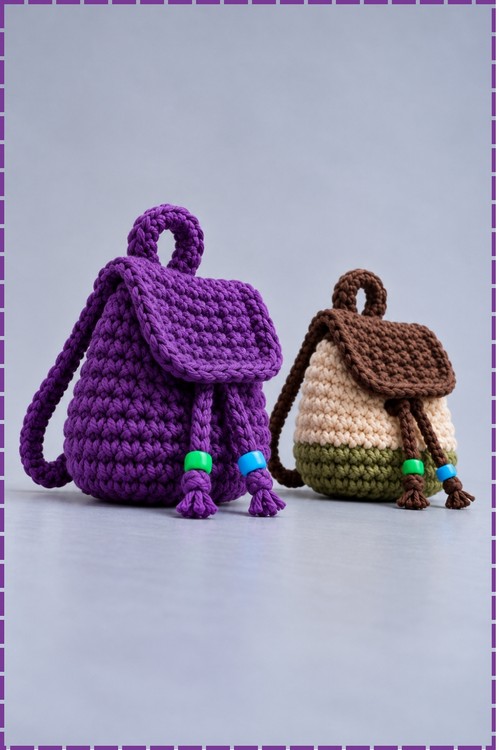
Working a flat rectangle first and then building the walls straight up from its edge gives this crochet mini backpack its neat boxy shape and flat standing base. Single crochet holds the whole bag together, so the fabric stays firm enough to keep its form without any stuffing or lining. My two versions came out about the size of a plum, small enough to clip onto a zipper pull. Beads on the drawstring ends stop the cord slipping back through the front loop. Anyone comfortable with chains and single crochet can finish one in an evening.
Materials and Tools
- Worsted or sport weight cotton or acrylic yarn in your chosen colors. I made one solid purple bag and one colorblock bag using olive green, cream, and dark brown.
- 3.0 mm crochet hook for the base, body, flap, straps, drawstring, and front loop.
- 2.0 mm crochet hook or a small yarn needle for pulling the cord ends through the bead holes.
- Two small plastic pony beads for the drawstring ends. I used one green and one blue bead on both bags so they match as a pair.
- Tapestry needle for sewing and weaving in ends.
- Scissors.
- Stitch markers or sewing pins for holding the flap and straps in place before sewing.
Difficulty and Time
- Beginner level. You only need chain, single crochet, slip stitch, back loop only, and a decrease if your count drifts.
- Roughly two to three hours from first chain to final knot, based on how long mine took. The crocheting goes fast and the finishing takes longer than you expect.
Beginner Technique Notes
- Back bumps are the little horizontal ridges running along the underside of a chain. Working into them gives the base a clean edge that looks the same as the other three sides once the border round is done.
- Back loop only means you insert the hook under just the loop furthest from you. Doing this for one round creates the visible fold line where the base turns up into the walls.
- A single crochet decrease means pulling up a loop in each of two stitches, then pulling yarn through all three loops on the hook to turn two stitches into one.
- Joining with a slip stitch at the end of every round keeps the rounds level, which matters here because the drawstring has to weave through an even top rim.
THE PATTERN
Base of the Backpack
- Row 1: Chain 6. Working into the back bumps on the underside of the chain, single crochet in the 2nd chain from the hook and in each chain across. (5 stitches) Your strip should look like a tiny straight bar with no twist along it.
- Rows 2 to 7: Chain 1, turn, single crochet in each of the 5 stitches across. (5 stitches) After Row 7 you have a small rectangle that is clearly longer than it is wide, and that shape becomes the floor of the bag. I worked mine in olive green for the colorblock bag and purple for the solid one.
Main Body of the Backpack
- Round 8 border round: Chain 1 and do not turn. Work 7 single crochet evenly along the first long side at a rate of 1 stitch per row end, then 5 single crochet along the short bottom edge, then 7 single crochet along the second long side, then 5 single crochet along the remaining short edge. (24 stitches) Count carefully here because every later round depends on this number. If you land on 25 stitches, work 1 single crochet decrease on the next round to bring it back to 24.
- Round 9: Working in back loops only, single crochet in each of the 24 stitches around, join with a slip stitch to the first stitch and chain 1. (24 stitches) The walls will now stand up on their own and you should see a crisp ridge marking the bottom edge of the bag.
- Rounds 10 to 18: Working through both loops, single crochet in each of the 24 stitches around, joining with a slip stitch and chaining 1 at the end of each round. (24 stitches) Keep your joins stacked in the same spot so the seam line sits at the back of the bag where the straps will cover it. For the colorblock bag I changed from olive green to cream at the start of Round 14, which put the color line a little above the middle of the body, and you can change color at whichever round places the line where you want it.
- Fasten off after Round 18 and leave a tail for weaving in. The finished body should sit flat on a table without tipping.
Backpack Flap
- Rows 1 to 7: Repeat the base exactly. Chain 6, single crochet into the back bumps for 5 stitches, then work 6 more rows of 5 single crochet. (5 stitches) I used dark brown for the flap on the colorblock bag and stayed with purple on the solid one.
- Border round: Chain 1 and work around the rectangle placing 3 single crochet in the first corner stitch, 7 single crochet along the long side, 3 single crochet in the next corner stitch, 5 single crochet along the short edge, 3 single crochet in the next corner stitch, 7 single crochet along the other long side, 3 single crochet in the final corner stitch, and 5 single crochet along the remaining short edge. The 3 stitch corners are what stop the flap curling, so do not skip them.
- Fasten off and leave a long tail for attaching the flap.
- Align the flap against the top back edge of the body with the right side facing out and pin it so it hangs straight and centered. Mine covers the back third of the top opening and drops down over the front by about two rounds.
- Slip stitch the flap to the body across the back edge, working through the inner loops of both pieces so the join stays flat and almost invisible from the outside.
- Fasten off and weave in the ends.
Cinch Drawstring
- Chain 45, leaving a tail at both ends, then fasten off. I worked the drawstring in brown for the colorblock bag and purple for the solid one so it reads as part of the bag rather than a contrast cord.
Back Shoulder Straps
- Chain 35.
- Row 1: Single crochet in the back bumps of each chain across, starting in the 2nd chain from the hook. (34 stitches) Fasten off and leave a long tail for sewing.
- This single strip becomes both shoulder straps once it is folded and sewn, so keep the tension even along its whole length.
Carry Loop
- My bags also have a small upright loop standing above the flap at the back, which is handy for hanging the backpack on a hook or a keyring. To add one, join yarn at the top back of the body just behind the flap seam, chain until the loop reaches your preferred height, then slip stitch into a stitch a short distance along the seam to anchor the other end.
- Work a round of single crochet along the chain loop if you want it firmer, then fasten off and sew both ends down from the inside so the loop stands up instead of flopping forward.
Assembly and Finishing
- Place the top end of the strap strip at the upper center of the bag back, just below the flap seam, and sew it down firmly. Anything loose here will sag once the bag carries any weight.
- Bring the strap down, fold it so it forms two shoulder loops, and pin the lower ends near the bottom corners of the back. Check both loops hang the same length before you commit to sewing.
- Sew the lower ends in place and weave in the tails inside the bag.
- Weave the chain 45 drawstring in and out through the stitches around the top rim of the bag, roughly at the level of Rounds 17 and 18. Keep to one round the whole way around or the gathers will pull unevenly.
- Bring both ends out at the front center so they hang down over the flap.
- Attach yarn to the upper front of the body between two stitch posts, chain 5, then slip stitch or single crochet back into a stitch across to form a small horizontal loop. Fasten off and weave in the ends. My loop sits just below the edge of the flap so the hanging cords stay centered.
- Thread one bead onto each drawstring end using the 2.0 mm hook or a small needle. I put a green bead on one cord and a blue bead on the other.
- Tie a firm knot directly under each bead so it cannot slide off, then trim the excess yarn to leave a short tassel below the knot. Mine finish with a chunky knot and a little brush of fringe.
- Pass both beaded ends through the front loop to cinch the opening closed and hold the flap down.
Tips and Troubleshooting
- Count Round 8 twice before moving on. Almost every problem with this bag traces back to a border round that ended on 23 or 25 stitches.
- Use a stitch marker in the joining stitch of each round. Sliding it up as you go keeps the seam in one straight line down the back.
- Pull your single crochets slightly tighter than usual. Dense fabric is what lets a bag this small hold its shape without a lining.
- Pin the flap before sewing and look at the bag from the front. A flap that is one stitch off center is obvious in photos even when it feels fine in your hands.
- Weave the drawstring with a blunt tapestry needle rather than the hook so you do not split the stitches of the rim.
- Knot each bead in place before you trim anything. Cutting first leaves you nothing to grip if the knot slips.
- Plan your color change at the start of a round, not mid round, so the join sits with the back seam and the line stays level.
Yarn Substitution
- Cotton gives the crispest result and is what I would reach for again. It holds the boxy base shape and the stitches stay defined.
- Acrylic works fine and feels softer, though the bag will slouch a little more once the drawstring is pulled tight.
- Sport weight yarn with a 2.5 mm hook makes a noticeably smaller bag that suits a keyring better than a doll.
- Avoid anything fuzzy or loosely plied. Halo hides the stitch texture and makes weaving the drawstring frustrating.
Customization Ideas
- Split the body into three bands instead of two for a striped bag, changing color at the start of any round you like.
- Swap the pony beads for wooden beads or small bells depending on who the bag is for.
- Skip the shoulder straps and keep only the carry loop if you want a pure keychain.
- Add a short chain handle across the top of the flap for a tiny satchel look.
- Embroider initials or a small motif onto the flap before you sew it on, while it is still flat and easy to hold.
FAQ
- What size does this crochet mini backpack come out? Mine measure roughly 7 to 8 cm tall not counting the carry loop, using worsted cotton and a 3.0 mm hook. Your size will shift with yarn weight and tension, so treat that as a guide rather than a promise.
- Do I need to stuff the bag to keep its shape? No. The firm single crochet fabric and the flat rectangular base do the work, and stuffing would stop the drawstring closing properly.
- Can the backpack actually hold anything? It holds small things like coins, a folded note, hair ties, or lip balm. It is a doll accessory and bag charm first, so do not expect it to carry weight on those thin straps.
- Why does my flap curl instead of lying flat? Usually the corner increases were missed or worked as 2 stitches instead of 3. Those extra stitches give the fabric room to turn the corner, and without them the edges pull in.
- Where should the color change go on the colorblock version? I changed at the start of Round 14, which puts the line above the midpoint of the body. Changing a round or two earlier or later still looks deliberate, so pick what suits your yarn.