Crochet Rumi Amigurumi Pattern With Grey Hair
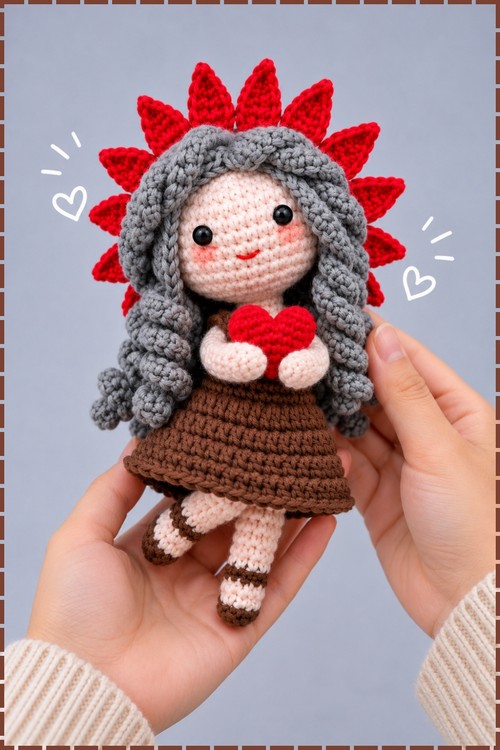
She stands there holding her heart out like she has already decided you are a friend, and the Crochet Rumi Amigurumi carries that whole personality in one little pose. Bold petals, soft curls, a stubborn sort of sweetness. She has opinions, clearly, and she keeps them to herself.
Crochet Rumi Amigurumi
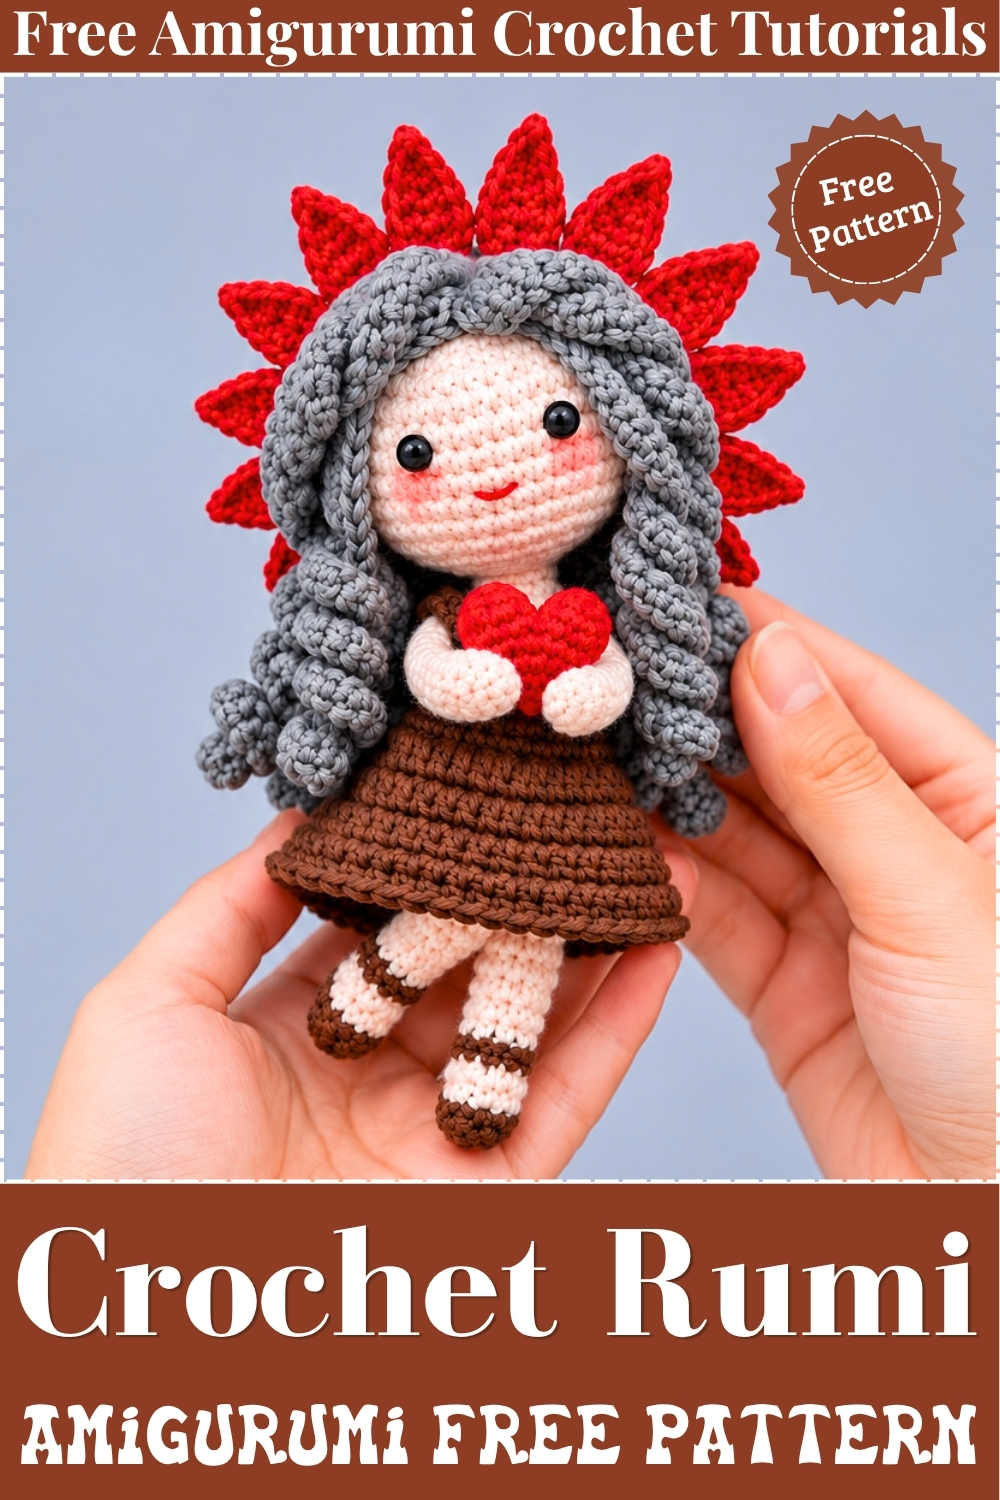
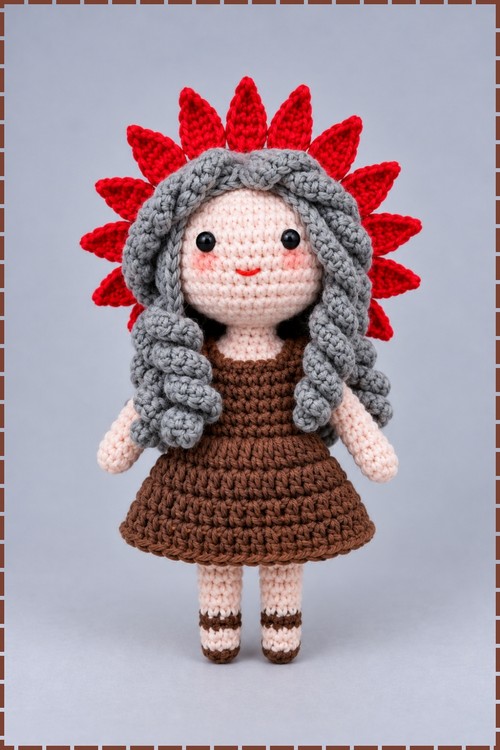
Body, head and legs build in sequence on this crochet Rumi amigurumi, starting from two separate leg tubes that join at the body round and grow upward without a break until the head closes at the top. That one-piece construction is what gives Rumi her solid, poseable stance on a shelf. My version dresses her in red skin tone throughout the face, head and arms, bright yellow hair swept into a high ponytail updo, and a grey open vest over a red body. Grey legs with red boot cuffs complete the look, along with gold hoop earrings and a small chain necklace.
Why I Love This One
Red skin and yellow hair make her read instantly from across a room. Every detail, from the angled eyebrows to the hoop earrings, lands exactly where it should, and the chain necklace is the kind of finishing touch that turns a crochet doll into a character.
Materials and Tools
- Acrylic yarn in deep red for the skin tone, face, arms and body
- Bright yellow yarn for the hair cap and ponytail
- Grey yarn for the jacket vest and legs
- Small amounts of red yarn for the boot cuffs
- White yarn or thread for the eye detail
- Black embroidery thread for eyelashes and eyelid lines
- Red embroidery thread or yarn for the nose and eyebrows
- 10 mm black safety eyes, one pair
- Small gold hoop jump rings for earrings, one per ear
- Short length of fine jewelry chain for the necklace
- Fiberfill toy stuffing
- Fabric glue or hot glue
- Pink blush or makeup for the cheeks
- Tapestry needle, stitch markers and scissors
Difficulty and Time
This is an intermediate project. The body construction is straightforward once the legs are joined, but the facial embroidery, hair updo and metal accessories take patience and add time. Expect four to six hours across two sittings for the crochet, with an extra hour for finishing details.
The Pattern
Abbreviations
- MR means magic ring
- st or sts means stitch or stitches
- sc means single crochet
- inc means single crochet increase, which is 2 sc in the same stitch
- dec means single crochet decrease, which is sc 2 stitches together
- hdc means half double crochet
- BLO means back loops only
- sl st means slip stitch
Legs in Grey then Red Yarn, Make Two
- Round 1: work 6 sc in a MR. [6 sts] The grey boot starts here and forms the foot base.
- Round 2: work 6 inc. [12 sts]
- Round 3, BLO: work 1 sc, then 4 dec, then 3 sc, all in back loops only. [8 sts] The BLO ridge marks the sole edge of the boot.
- Rounds 4 to 6: work 8 sc in each round in both loops. [8 sts per round]
- At the last stitch of round 6, change to red yarn for the boot cuff visible on my doll.
- Rounds 7 to 9: work 8 sc in each round with red yarn. [8 sts per round] The red cuff sits at the top of each grey boot exactly as it appears on my finished piece.
- At the last stitch of round 9, change to grey yarn for the trouser leg.
- Round 10: work 8 sc with grey yarn. [8 sts]
- First leg: sl st, fasten off and cut yarn. Stuff lightly.
- Second leg: do not cut yarn. Sl st 2 extra stitches to reach the inner middle side, ready for joining.
Body in Grey and Red Yarn
- Joining round: chain 1 between the two legs, then join to the middle stitch of the first leg with a sc. Work (2 sc, 1 inc) all around both legs and the middle chain front and back. [24 sts]
- Round 2: work 24 sc around. [24 sts]
- Change to red yarn at the end of round 2 for the upper body and skin tone sections.
- Round 3: work (2 sc, 1 dec) six times. [18 sts]
- Change to red yarn at the end of round 3. My doll uses red throughout rounds 3 onward since the skin tone is red.
- Rounds 4 and 5: work 18 sc in each round. [18 sts per round]
- Round 6: work 18 sc. [18 sts]
- Round 7: work (1 sc, 1 dec) six times. [12 sts]
- Round 8: work 12 sc. [12 sts] Stuff the body firmly now before the head rounds begin.
Head in Red Yarn, Continuing from Body
- Round 1: work (1 sc, 1 inc) six times. [18 sts]
- Round 2: work (2 sc, 1 inc) six times. [24 sts]
- Round 3: work (3 sc, 1 inc) six times. [30 sts]
- Round 4: work (4 sc, 1 inc) six times. [36 sts]
- Rounds 5 to 9: work 36 sc in each round. [36 sts per round] Insert the 10 mm safety eyes between rounds 6 and 7 of the head, leaving 6 stitches between them, before the opening narrows.
- Round 10: work (4 sc, 1 dec) six times. [30 sts]
- Round 11: work (3 sc, 1 dec) six times. [24 sts]
- Round 12: work (2 sc, 1 dec) six times. [18 sts] Stuff the head firmly at this point.
- Round 13: work (1 sc, 1 dec) six times. [12 sts]
- Round 14: work 6 dec. [6 sts] Fasten off, weave the tail through the front loops of the remaining 6 stitches, pull tight to close and hide the end inside.
Ears in Red Yarn, Make Two
- Work 3 sc in a MR, then 1 sl st, and pull the ring tight to form a small half-circle.
- Fasten off and leave a tail for sewing.
- Sew each ear to the sides of the head aligned with the middle row of the eyes, as they sit on my doll.
Grey Jacket Vest
- Using grey yarn, ch 17 plus 2 extra turning chains.
- Row 1: work 17 hdc across. [17 sts]
- Row 2: ch 2, turn, then work 6 hdc, 1 dec, 1 hdc, 1 dec, 6 hdc. [15 sts] The vest tapers at the centre back to shape around the body.
- Border: work a round of sc all around the outer edges of the grey strip with red yarn to make the trim, matching the red accent visible on my doll’s vest edges. Fasten off.
Arms in Red Yarn, Make Two
- Round 1: work 5 sc in a MR. [5 sts] The hand starts here in red skin tone.
- Round 2: work 5 sc. [5 sts]
- Change to yellow yarn. My doll does not wear a yellow sleeve so continue in red here; the arm stays red throughout since the jacket covers the upper arm.
- Rounds 3 to 5: work 5 sc in each round. [5 sts per round]
- Round 6: work (1 sc, 1 inc) twice, then 1 sc. [7 sts]
- Round 7: work 7 sc. [7 sts] Fasten off and leave a long tail for sewing. Stuff lightly.
- Wrap the grey vest around the body and sew the arms to the sides over the vest edges to anchor everything in place, with the hands pointing slightly forward as on my doll.
Yellow Hair Cap and Ponytail
- Round 1: work 6 sc in a MR. [6 sts]
- Round 2: work 6 inc. [12 sts]
- Round 3: work (1 sc, 1 inc) six times. [18 sts]
- Round 4: work (2 sc, 1 inc) six times. [24 sts]
- Round 5: work (3 sc, 1 inc) six times. [30 sts]
- Round 6: work (4 sc, 1 inc) six times. [36 sts]
- Rounds 7 to 11: work 36 sc in each round. [36 sts per round] Sl st into the next stitch and leave a long tail for sewing onto the head.
- For the ponytail, cut several lengths of yellow yarn and fold them in half, attaching them to the top centre of the hair cap using a loop fringe technique until the ponytail is as full as the one visible on my doll. Gather and tie the strands together near the base of the bunch, then let them fan upward and outward. Trim the ends to an even length.
- Sew the hair cap to the head, covering the top and back and stopping just above the forehead so the red face shows clearly at the front. Stitch small vertical yellow lines above each ear for the sideburn detail.
Facial Embroidery and Details
- White eye detail: use thin white thread to stitch a curved arc along the bottom half of each safety eye, giving the eyes their highlight glow.
- Eyelashes and lids: use thin black thread to embroider top eyelash lines and an eyelid crease above each eye.
- Eyebrows: embroider two short diagonal lines in red yarn one row above the eyes, angled inward sharply as they appear on my doll, giving Rumi her signature fierce expression.
- Nose: wrap red yarn or embroidery thread several times across 3 stitches between the eyes to build the raised nose visible on my finished piece.
- Earrings: attach one small gold hoop jump ring through the lower edge of each ear.
- Necklace: attach a short length of fine jewelry chain around the neck, securing it at the back with a small dab of fabric glue or a stitch.
- Blush: apply a sweep of pink makeup blush lightly to both cheeks with a dry brush or cotton swab.

Tips
Work the facial embroidery before sewing the hair cap on, since the cap edge sits very close to the eyebrows and makes the upper face harder to reach afterward. Attach the earring jump rings before the hair cap goes on for the same reason. When building the ponytail, attach slightly more strands than you think you need, because yellow yarn fans out less than it looks in hand and the finished updo can look thin if you under-stuff it.
FAQ
- Can I make her in a different skin tone? Yes. The pattern uses the same rounds regardless of yarn colour. Swap red for any skin tone and the construction stays identical.
- What if I cannot find fine jewelry chain? A short crocheted cord in silver or grey yarn works as a substitute. Chain until the length wraps snugly around the neck and fasten off both ends.
- My ponytail droops forward instead of standing up. What do I do? Thread a short length of armature wire up through the base of the ponytail bundle before tying it off, which lets you bend and hold the angle. A dab of fabric stiffener on the base of the bunch also helps.
- My angled eyebrows look uneven. How do I fix them? Embroider one eyebrow fully, then hold the doll at arm’s length before starting the second. Distance makes it easier to judge the angle and length symmetry than working close up.