
Free Crochet Eyeball Amigurumi Halloween Pattern
The Crochet Eyeball Amigurumi Halloween is a small bold make that lands differently depending on the iris color you choose – unsettling or oddly likeable. A fast Halloween project. Pattern below.
It has one job and it commits fully. The iris color is where most makers make the decision that changes the whole thing – go red and it reads horror, go green and it softens into something almost friendly, and somehow both versions are correct.
Crochet Eyeball Amigurumi Halloween
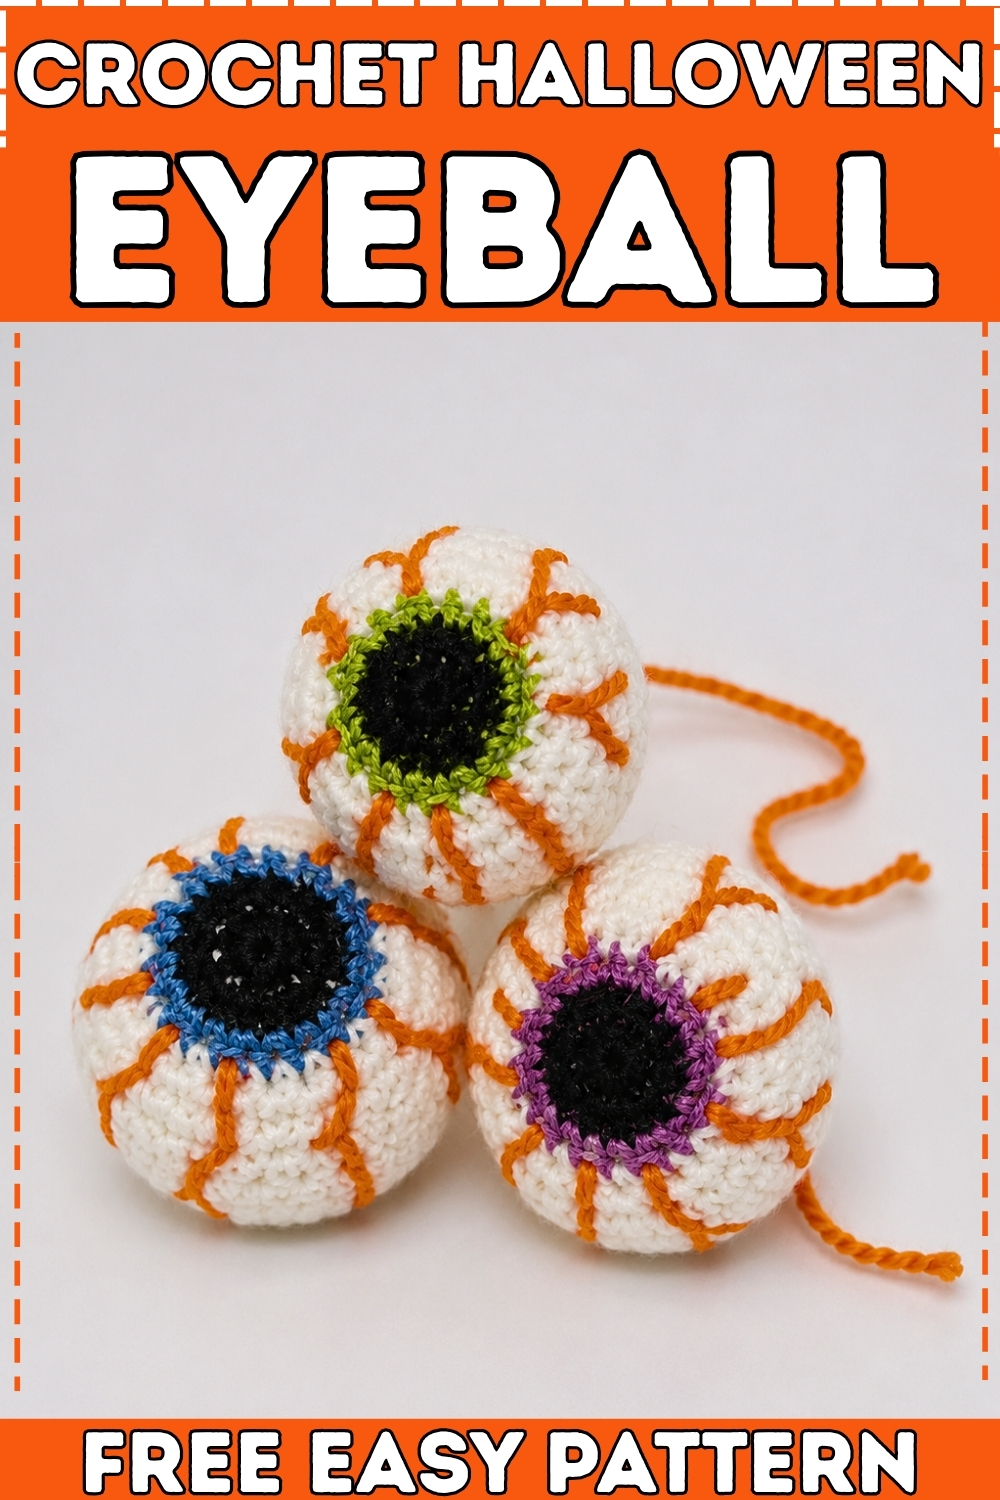
A standalone eyeball sits with a kind of absolute confidence that larger, more complicated amigurumi rarely manage. No limbs to position. No expression to second-guess. Just the stare.
Before You Start: Date Math
Time to make one: 1.5–2 hours including embroidery detail. Batch of six for a class or party: 9–12 hours total; less with the assembly-line method covered below. Last safe start date: Two days before the party gets you one finished eyeball. For a set of six, start five to six days out and do two per evening.
This Is a Kids’ Project — Read Safety First
- For any make going into a child’s hands, a party bag, a classroom prize, or a costume accessory, run through this before you cast on.
- Safety eyes: This pattern has no safety eyes — the pupil and iris are crocheted in colour changes, not plastic hardware. That makes it unusually safe from the start. There’s nothing to pull off, nothing to choke on. If you’re adding any decorative buttons or additional embellishments to personalise each one, leave those off entirely for children under three and for any item going into an unsupervised setting.
- The bloodshot embroidery: Red yarn stitched onto the white surface is secure once woven in properly, but pull each end through at least an inch of the stuffed body before trimming. A loose embroidery tail coming free is a strangling hazard in very small children. Take the extra thirty seconds.
- Stuffing firmness: Overstuffed eyeballs are harder for small hands to squish, which is actually fine from a safety perspective — the seams hold better under pressure. But aim for firm rather than rock-hard.
- Washing: Hand wash in cool water, reshape while damp, and air dry flat. Machine washing on a gentle cycle in a mesh bag also works for the plain yarn version with no embellishments. Do not tumble dry — the fiberfill clumps.
- Name-tagging for groups: If you’re making a set for a classroom exchange or party favour bags, safety-pin a small card with the child’s name to the yarn before distribution rather than attaching a permanent label. A permanent fabric marker on a small ribbon loop tied around a yarn strand is another option that doesn’t require sewing.
Making These for a Group
- A class of twenty-five is about 37–50 hours of work if you’re doing it yourself. Realistic options: recruit two or three other makers to split the load, or scale down to twelve and use the eyeballs as a table centrepiece that kids take home at the end rather than individual favours. Six per maker is a comfortable one-evening batch.
- If you’re running a kids’ craft session where children do some of the making, the embroidery stage is genuinely accessible from around age eight with supervision. Pre-make all the bodies yourself, then let the kids embroider their own bloodshot lines. Every single one will look different. That’s the right outcome.
- For quantity tracking, photograph each finished eyeball before bagging — you’ll lose count otherwise, and the iris colours all start to blur together around eyeball fourteen.
What You’ll Make
- Eyeball body × 1 (pupil, iris, and white body worked continuously)
That’s the whole piece. One single construction from centre out. The bloodshot effect is added at the end with embroidery.
Materials:
- 4.0 mm (US size G) crochet hook
- Black yarn (small amount, for pupil)
- Iris colour yarn of your choice — green, blue, hazel, or go horror-red for full creep
- White yarn (main body)
- Red yarn (for bloodshot embroidery)
- Polyester fiberfill stuffing
- Yarn needle
- Scissors
- Stitch marker
Abbreviations:
- sc — single crochet
- inc — increase (2 sc in one stitch)
- dec — decrease (joining 2 stitches into 1; invisible decrease recommended)
- MR — magic ring
Worked in continuous rounds throughout. Use a stitch marker to track round starts.
Safety Eye Timing
There are no safety eyes in this pattern. The pupil is crocheted in black, the iris in your chosen colour. No hardware is required at any stage. This is one of the reasons it works so well for children’s gifts and classroom makes.
If you want to add a gloss effect or a highlight dot to the pupil, embroider a single white stitch onto the black centre after finishing the whole piece. Secure it well.
The Pattern
Eyeball Body
Centre / Pupil — Black yarn
- MR, 6 sc into ring. Pull tight to close. (6)
- Round 1: Inc in every stitch around. (12)
Fasten off black yarn, leaving a short tail to weave in. Join iris colour.
Shape checkpoint — after Round 1: You have a small flat disc in black with a slightly raised centre. It should lie completely flat. If the edges are curling upward, your tension is too tight — try loosening slightly. This disc becomes the pupil of the finished eye.
Iris — your chosen colour
- Round 2: [1 sc, 1 inc] repeat around. (18)
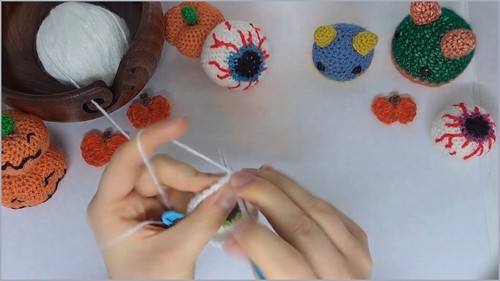
Fasten off iris colour. Join white yarn.
Shape checkpoint — after Round 2: The disc is now slightly larger, with a ring of iris colour around the black centre. Still flat. The colour boundary between black and iris should be a clean circle, not a jagged edge. If your join is visible, tug it to the back when weaving in.
Eyeball Body — White yarn
- Round 3: [2 sc, 1 inc] repeat around. (24)
- Round 4: [3 sc, 1 inc] repeat around. (30)
- Rounds 5–10: Sc in each stitch around. (30 per round — 6 rounds total)
Shape checkpoint — after Round 7: By the middle of the straight rounds, the piece should be sitting in a deep bowl shape with clear sides. The iris and pupil are now at the base of the bowl, visible when you look down into it. If the sides are flaring outward like a funnel, your tension is loose. If they’re pulling inward, slightly tight — but this self-corrects during stuffing.
Just starting out with crochet? The video tutorial below is a great place to begin, or challenge yourself with the written pattern below!
Decreasing
- Round 11: [3 sc, 1 dec] repeat around. (24)
- Round 12: [2 sc, 1 dec] repeat around. (18)
- Round 13: [1 sc, 1 dec] repeat around. (12)
Stuff the eyeball now through the remaining opening. Pack fiberfill firmly until the sphere holds its shape and feels resistant when pressed. The iris and pupil should be fully visible on the front face.
- Round 14: Dec in every stitch around. (6)
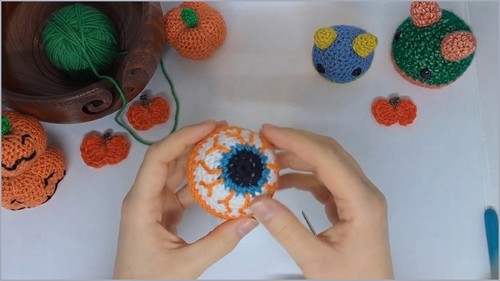
Cut yarn, thread the tail through the remaining 6 stitches with your yarn needle, pull tight to close, and weave the end through the body. Trim.
Shape checkpoint — finished sphere: The closed eyeball should be a full round sphere with no flat spots. The pupil sits centred on the front face surrounded by its iris ring. If it’s lopsided, the stuffing wasn’t even — you can work fibrefill around inside the sphere through the weave of the yarn slightly, or accept the character of it.
Bloodshot Embroidery
- Cut a length of red yarn — about 30 cm is enough for one eyeball. Thread it onto a yarn needle and bring it up from the base of the sphere (anchoring the tail inside the stuffing), emerging at the edge of the iris circle.
- Embroider wavy lines that radiate outward toward the back of the sphere, varying the length. For a convincing bloodshot look: branch some lines partway along so they fork into two. Make some lines longer than others. Avoid making them perfectly evenly spaced — irregular is more realistic and more unsettling.
- When finished, pass the needle deep into the stuffing before trimming the tail. Give it a gentle tug to make sure it’s anchored. For children’s makes, pull harder than you think necessary before trimming.
The Character Dial
The eyeball is already a fairly committed Halloween object — it doesn’t read as anything else. But there’s a real spectrum between gross-out and strangely sweet.
- Push it creepier: Use a deep red or bloodshot-pink yarn for the iris instead of a natural eye colour. Make the bloodshot lines heavier and denser, covering more of the white surface. Work the white rounds with a very slightly off-white or grey-tinted yarn — pure white reads cleaner and less organic. For an unsettling batch effect, make eight eyeballs with slightly different iris colours and sizes and pile them together. The variation is what gets people.
- Pull it sweeter: A bright teal or lavender iris immediately makes the eyeball read more “monster costume accessory” than “actual body horror.” Less embroidery, or very light pink lines instead of red, tips it further toward cute. If you’re making these for younger children or a school Halloween event with a soft dress code, go lighter on the red embroidery and heavier on the iris colour.
- The larger size option: The source pattern notes that starting with a magic ring of 8 stitches (and working multiples of 8 throughout) produces a larger eyeball. A big eyeball is dramatically funnier and more impactful as a prop — if you’re making one for a table centrepiece or a wreath focal point, go large. For party favours, standard size is easier to bag.
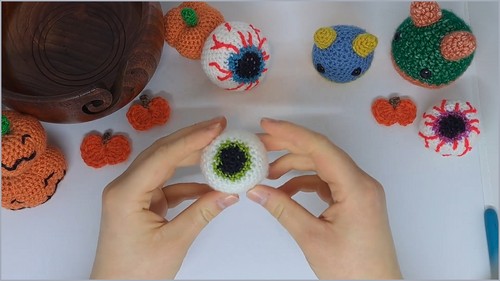
Colourways
- Classic anatomy: White body, black pupil, medium brown iris, red embroidery. Looks most like an actual eye, which is the most unsettling option.
- Alien encounter: White body, black pupil, acid green iris, dark burgundy embroidery instead of red. The green reads more extraterrestrial than human.
- Undead: Off-white or pale grey body, black pupil, cloudy pale blue iris, sparse grey-pink embroidery. This one genuinely looks diseased in the best way.
- Candy horror: White body, black pupil, bright orange iris, red embroidery. Feels like it belongs on a Halloween candy wrapper, which kids tend to love precisely because it’s slightly wrong.
Display Ideas
- A single eyeball sitting in a bowl of black craft sand on a side table is already a strong Halloween moment. A cluster of them spilling out of a carved pumpkin is better. For a kids’ party table centrepiece, pile twelve to fifteen into a large glass bowl — different iris colours, some with heavier embroidery than others — and they read as a prop from a horror film, in the most age-appropriate way possible.
- They also work as wreath accents wired on alongside black ribbon and dried leaves. Pin a few to a mantel garland. Stack them in a tiered tray with black candles. If you make the large version, one sitting next to a small decorative cauldron on a porch shelf is enough.

After Halloween
Eyeballs store flat or loose in a cardboard box without much risk of damage — the sphere shape is robust once stuffed. The main thing to watch is the red embroidery: if eyeballs are stored pressing hard against each other, the red yarn can transfer slightly to the white surface over time. Layer them with a loose sheet of tissue paper between stacks, or store in individual small bags. Pull them out next October and the bloodshot effect will look exactly as fresh as the day you made them.
Quick Answers
Can a child make this pattern? The construction is one continuous piece with no assembly, which makes it more accessible than most amigurumi. A child who already knows basic single crochet and can work in continuous rounds could manage rounds 5 through 10 with supervision. The magic ring and colour changes are the tricky parts — those are better handled by an adult.
Is this safe for a two-year-old? The base pattern has no hard parts and nothing detachable, so yes, with one condition: the bloodshot embroidery tails must be fully secured inside the stuffing, not just trimmed at the surface. Check each one before handing it over.
How do I wash it after a party? Hand wash in cool water, squeeze gently (don’t wring), reshape while damp, and dry flat. For a group of twenty eyeballs after a craft session, a mesh laundry bag on a gentle machine cycle works too.
The iris colours are bleeding onto the white — what went wrong? This usually means the yarn wasn’t colourfast or got wet before the dye set. Test your yarn colours in advance by wetting a small swatch and pressing it against white paper. Acrylic yarn rarely bleeds; some cotton and natural fibre yarns can. Stick to acrylic for kids’ makes.


