
Crochet Christmas Bauble Ornaments Free Pattern Red Ball With White Bow And Hanging Loop
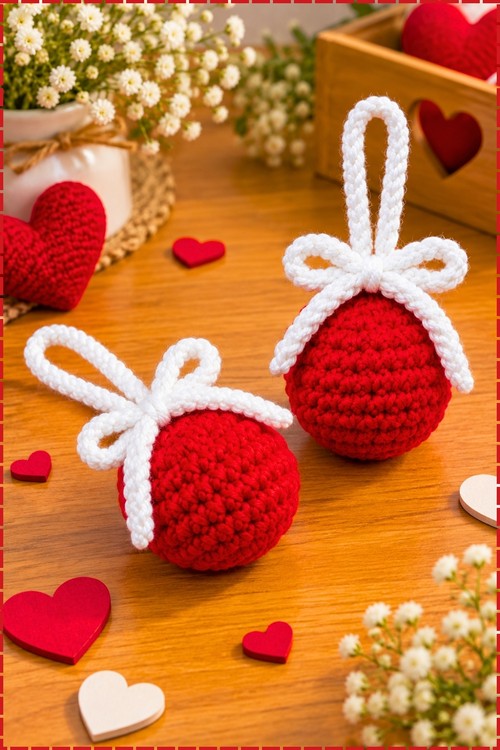
On a crowded branch, a red crochet Christmas bauble ornament stands out with its ribbed texture and crisp white bow tied above the hanging loop. Each ball takes about an hour from scrap yarn, so a full set of tree decorations fits into one weekend.
Every year the requests come back for these crochet christmas bauble ornament sets, mostly because the white bow reads as ribbon from across the room. People want the look without the breakage of glass. Ask any maker why the crochet christmas bauble ornament keeps selling at fairs and you get the same answer, a crochet christmas bauble ornament survives being dropped.
Crochet Christmas Bauble Ornament
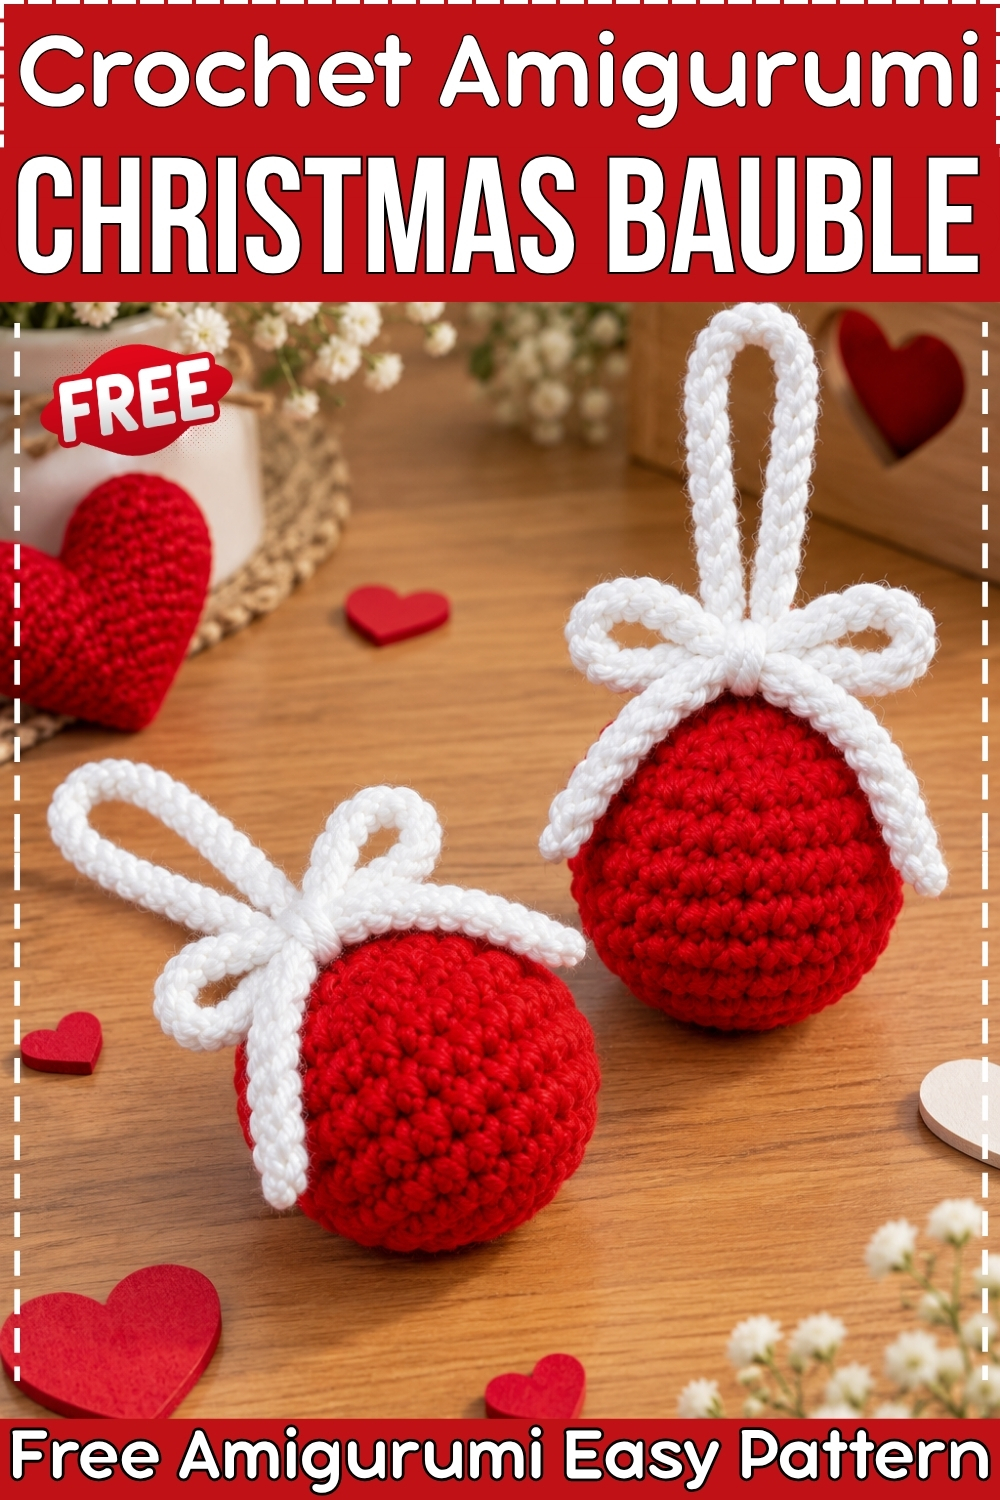
Rows of single crochet worked into the back loop only create a ribbed rectangle, and that rectangle rolls into a stuffed sphere once the short edges are sewn together and both ends are cinched shut. Back loop only crochet is the one technique this crochet Christmas bauble ornament asks you to learn, and it is simple enough for a first project once you know what to look for. My pair uses red yarn for the ball body and white for the bow and hanging loop, which gives a clean two-color finish. Stuff firmly so the sphere holds its shape, then tie the bow at the top before hanging.
Difficulty And Time
Beginner friendly. The stitch is just single crochet, and the only new skill is identifying the back loop. From my own making, each bauble took me around an hour from the first chain to the finished bow.
Materials And Tools
- 3.5 mm crochet hook
- Scrap yarn in red for the ball body
- Scrap yarn in white for the bow and hanging loop
- Polyester fiberfill stuffing, leftover scrap yarn, or a small sphere ornament for filling
- Yarn needle
- Scissors
Beginner Technique Notes
What Is Back Loop Only Crochet?
Every stitch has two loops at the top when you look down at your work. The back loop is the one sitting furthest away from you. Working into only that loop leaves the front loop free and creates a ridged texture, and those ridges run horizontally across the panel. That texture is what gives the finished bauble its ribbed look.
To find the back loop, turn your work at the end of each row and look at the top of the stitches. The loop closest to you is the front loop. Skip it and insert your hook into the one behind it. If your work feels stiff or your hook catches, slow down and check you are going into the right loop before pulling through.
How To Count Your Rows
Each row of this pattern is one turn of the work. Mark with a stitch marker or a small piece of scrap yarn every fifth row so you do not lose your place between rows 3 and 18. Counting finished rows is easier when the ribbed ridges are visible because each ridge is one completed back-loop row.
Cinching The Ends Shut
Weaving in and out around the edge stitches and pulling tight is called cinching. Go slowly and pull evenly all the way around rather than jerking one side closed, or the base will pucker to one side instead of closing in a flat point. Passing the needle through the center a couple of times after cinching locks everything in place.
Turning Inside Out
The right side of back loop only crochet shows the ridges. After you cinch and knot the bottom, flip the tube so the smooth side faces out and the ridge texture faces in. This gives the finished ball its cleaner appearance.
The Pattern
Step 1: Crochet The Ribbed Panel (Red Yarn)
- Make a slip knot, insert the hook, and chain 11.
- Row 1: starting in the 2nd chain from the hook, work 1 single crochet (sc) in each chain across. (10 sc) You now have a short flat strip.
- Row 2: chain 1 and turn your work. Work 1 sc in the back loop only (BLO) of each stitch across. (10 sc) Check after this row that your hook went into the back loop on every stitch, because rows 3 to 18 repeat this exactly.
- Rows 3 to 18: repeat row 2, working chain 1, turn, then 10 sc in BLO across, for a total of 18 rows. The finished rectangle should measure approximately 9.5 cm by 4.5 cm. If you want a larger bauble, start with a longer chain such as 15 or 20 and work more rows to stay proportional.
- Fasten off by chaining 1, cutting a long tail for sewing, and pulling the loop through.
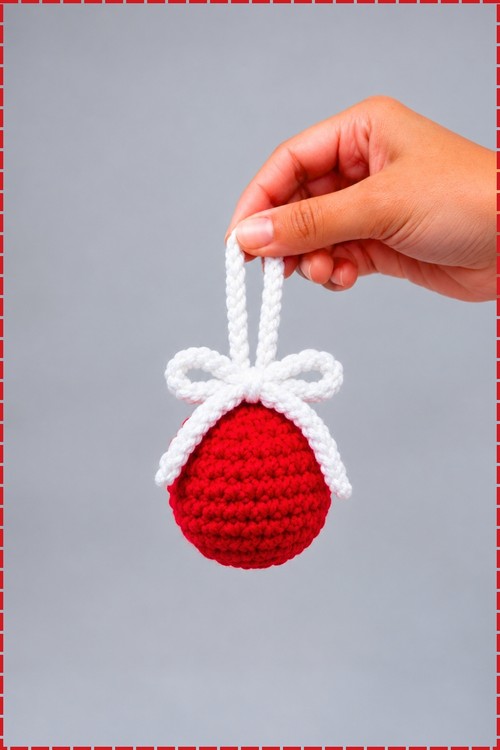
Step 2: Assemble The Tube And Close The Bottom
- Fold the rectangular panel in half so the short edges meet. Thread the long yarn tail onto a tapestry needle and whip stitch the edges together to form a tube. Keep the seam tight so no gap shows in the finished ball.
- Weave the needle in and out through the top loops along the bottom rim of the tube, going all the way around.
- Pull the yarn tail firmly to cinch the bottom hole completely shut.
- Pass the needle through the center of the closed bottom a few times to secure it, tie off the yarn, and then flip the tube inside out so the smooth surface faces outward.
Step 3: Stuff The Ornament
- Pack fiberfill, scrap yarn, or a small sphere ornament through the open top of the tube. Fill it firmly and evenly so the ball stays round rather than lumpy. Keep adding small amounts and shaping the sphere in your palm as you go.
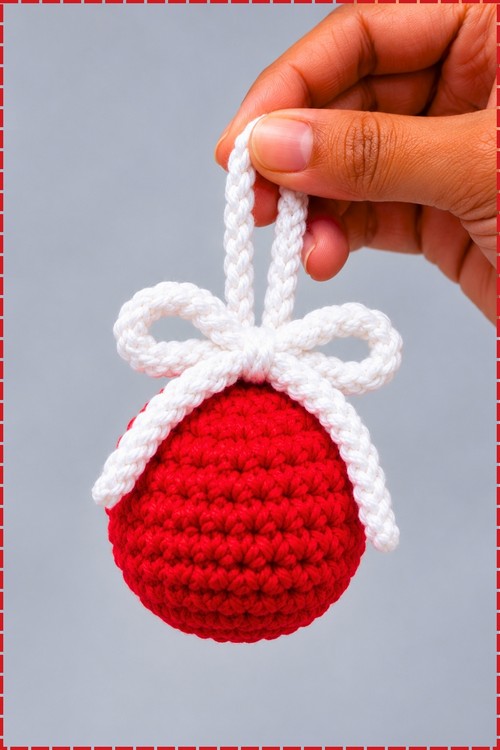
Step 4: Close The Top And Add The Hanging Loop
- Thread a new piece of red yarn onto your needle. Weave in and out around the open top edge all the way around, then pull tight to close the hole. Secure with a double knot and weave in the ends inside the ball.
- Attach white yarn with a slip knot, then chain 25 to 30 stitches or to your preferred hanging loop length. Fasten off, leaving short tails on both ends.
- Thread the tails through the closed top of the ornament, tie a secure triple knot, and hide the yarn ends inside the body so only the loop sits above the ball.
Step 5: Bow (White Yarn)
- With white yarn, make a slip knot and chain a length long enough to tie into a small bow. Fasten off and trim the loose yarn.
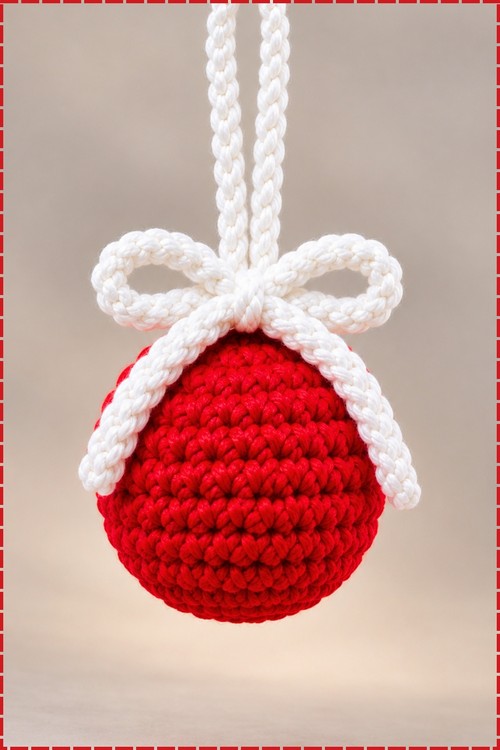
- Tie the chained length into a bow shape. My bows are white rather than the pattern’s optional red, and each one sits at the top base of the ball right below where the hanging loop exits.
- Using a needle and yarn, attach the bow securely to the top of the ornament just below the loop.
- Weave remaining ends inside the ornament to hide them completely.
Tips And Troubleshooting
- If your ball comes out lumpy, the stuffing went in unevenly. Pull it out, break the fiberfill into smaller pieces, and repack it a pinch at a time while rolling the ball between your palms.
- A gap at the seam usually means the whip stitch was too loose. Redo that section with smaller stitches or go over it a second time with the same tail.
- The hanging loop wants to slide around before knotting. Hold it in position with a pin while you tie the triple knot, then check the knot sits flat against the inside of the ball before hiding the ends.
- Work your back loop rows at an even tension. Tight rows make the tube hard to turn inside out, and loose rows let the stuffing show through.
- Make the bow last. Tying it after assembly means you can adjust its size and position to match what looks right on your finished ball.
Yarn Substitution
Any smooth yarn in a weight that suits your hook works here. Cotton gives a crisper ribbed texture, acrylic gives a softer, squashier ball. Avoid anything fuzzy, which blurs the BLO ridges and makes the finished bauble look less structured. If you shift to a thicker yarn, size up your hook and expect a larger ornament from the same row count.
Customization Ideas
- Make a set in two contrasting colors and alternate them on the tree for a matched look.
- Try gold or silver yarn for the bow and loop for a more traditional ornament finish.
- Add a small button or bead at the very top before attaching the loop for a cap detail.
- Work the panel in a self striping yarn and keep the bow solid to add color without changing colors manually.
- Make the bauble larger by starting with chain 15 or 20 and adding more rows proportionally.
FAQ
I keep losing track of which loop is the back loop. How do I remember? Turn your work and look down at the stitches from above. The two loops look like a tiny V. The back loop is the one sitting away from you, the far side of the V. Some makers place a finger on the front loop to remind themselves to skip it before inserting the hook.
My cinched bottom has a small bump instead of lying flat. Did I do something wrong? A small bump is normal and will be hidden inside the ball once you flip it inside out. If the bump is large, pass the needle through the center a few more times and pull firmly before knotting.
Can I skip flipping the tube inside out? Yes, but the outside surface will show the back side of the stitches, which looks rougher and less smooth. Flipping is what gives the clean red surface you see in my photo, so I recommend the extra step.
How do I attach the bow so it does not fall off? Pass the needle through the bow knot and into the ball body several times rather than just catching the surface yarn. Working through the bow and the ball together and finishing with a knot inside is what holds it securely even with repeated handling.
What if I run out of yarn before row 18? Join a new piece of the same color at the start of a row, leaving a tail long enough to weave in. The join lands at the seam edge when you assemble the tube, so it stays hidden inside the ball.


