Crochet Amigurumi Puppy Free Pattern In Red Plush Yarn
Soft chenille and no hard edges make the Crochet Amigurumi Puppy right for babies, toddlers, and anyone who needs something safe to squeeze. New makers manage it too. The paw pads are the only fiddly bit. Hand it over as a first birthday gift and it survives the chewing.
Crochet Amigurumi Puppy
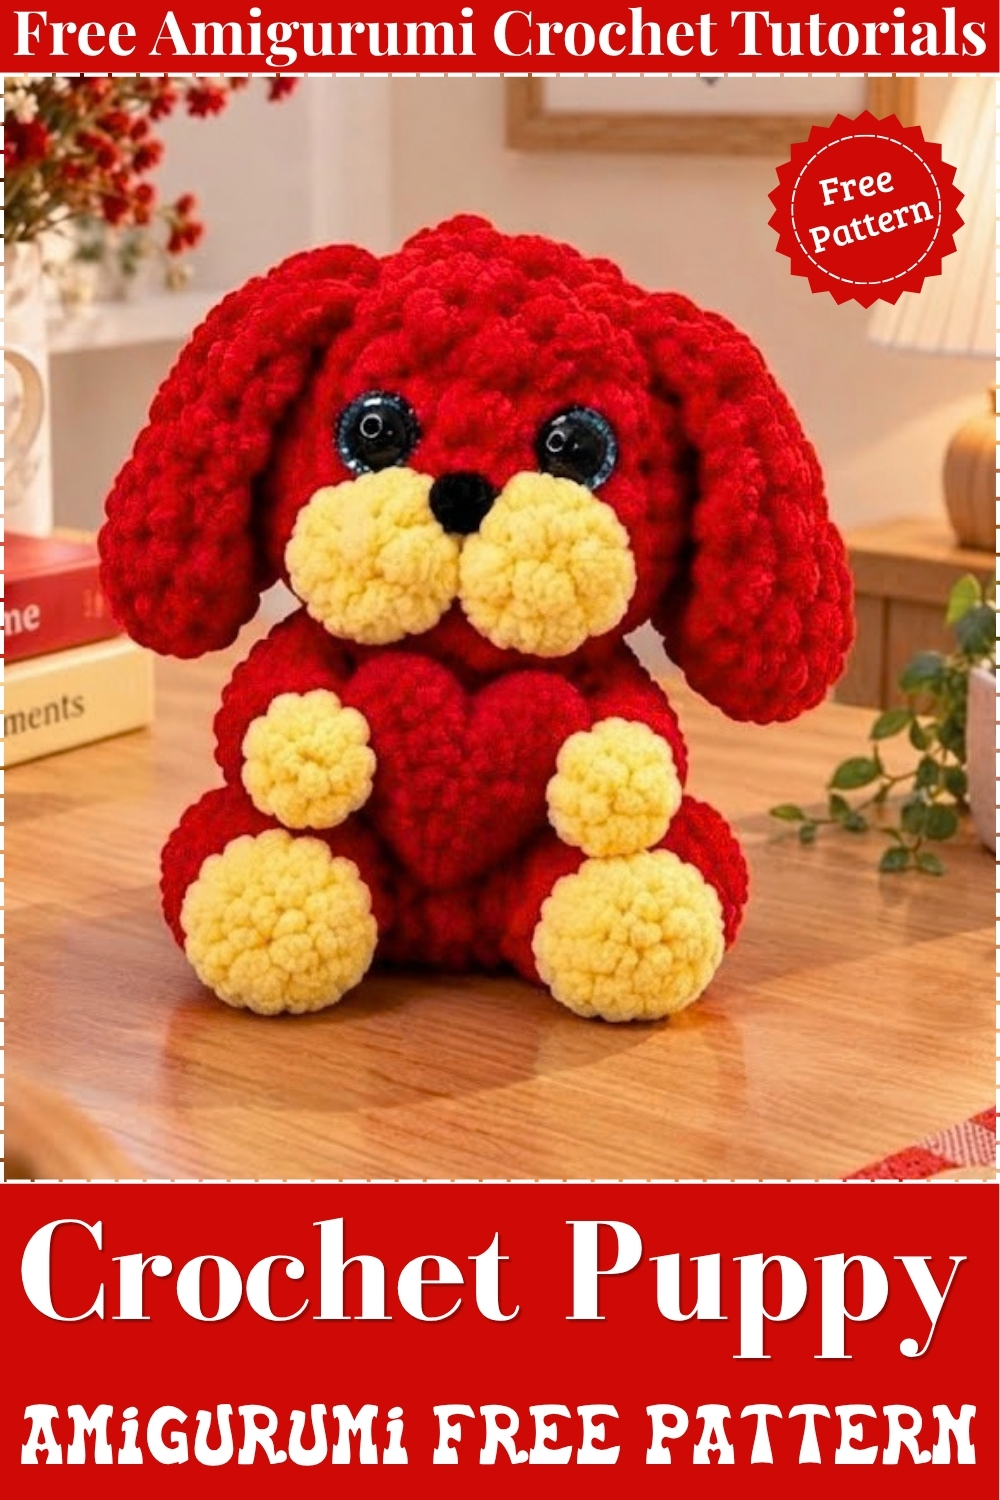
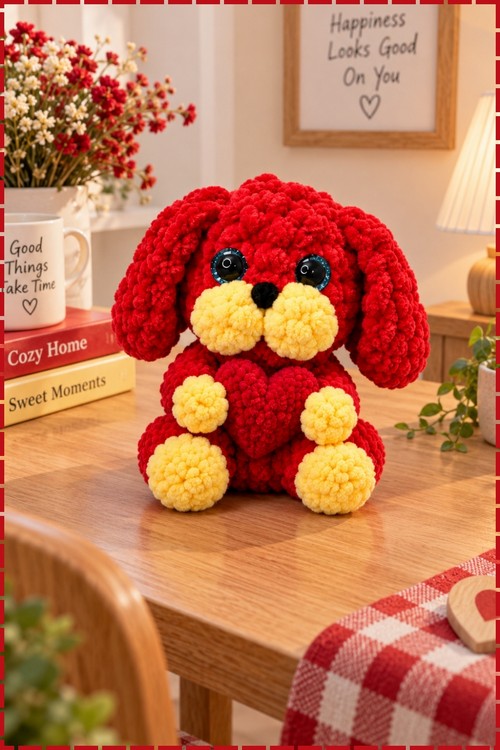
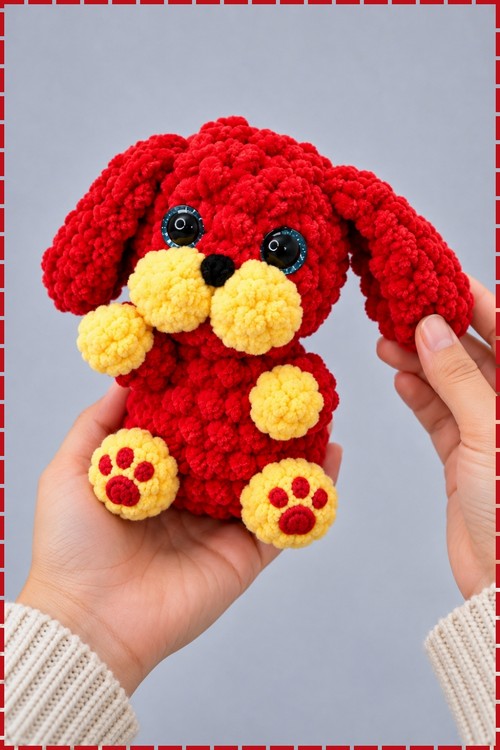
Legs, arms and muzzle cheeks grow directly out of the body rounds on this crochet amigurumi puppy, so the finished piece has no separate limbs to sew on and the silhouette reads round and compact from every angle. Bubble stitches build the paws and muzzle in one pass without stopping, which is the technique that gives the face its popped, sculptural look. My version uses bold red plush yarn throughout the main body and bright yellow for all the bubble sections, including both muzzle cheeks, all four paws and the tail base. Blue shimmer safety eyes complete the face against the black safety nose.
Quick Facts
Difficulty: Easy to intermediate. The body rounds are straightforward and the colour changes for each bubble stitch follow a clear rhythm once you work the first one.
Time: Expect around two to three hours at a comfortable pace. Plush yarn moves quickly and the piece is small enough to finish in a single sitting.
Customisation Ideas
- Try cream or tan instead of yellow for a softer, more natural palette
- Use any plush or velvet yarn in the colour combination of your favourite dog breed
- Add a small keychain loop or ribbon at the tail to turn the puppy into a bag charm
- Work the ears in a second colour for a two-tone look
- Embroider small toe lines onto each paw bubble for extra detail
Materials and Tools
- Plush or chenille yarn in bold red for the main body, head, ears and tail
- Plush or chenille yarn in bright yellow for the paws, arm bubbles and muzzle cheeks
- 3.5 mm or 4.0 mm crochet hook to suit your yarn weight
- One pair of blue shimmer safety eyes, sized to suit your gauge
- One black safety nose, 4 mm
- Fiberfill toy stuffing
- Stitch markers, yarn needle and scissors
The Pattern
Abbreviations
- MR means magic ring
- ch means chain
- sc means single crochet
- inc means increase, which is 2 sc worked into the same stitch
- dec means invisible decrease
- sl st means slip stitch
- 3-dc-bo means a 3-double crochet bubble stitch used for the paws and arms
- 4-dc-bo means a 4-double crochet bubble stitch used for the muzzle cheeks
Ears in Red Yarn, Make Two
- Row 1: ch 7, then starting from the 2nd chain from the hook, work 6 sc. Ch 1 and turn. [6 sts]
- Row 2: starting from the 2nd chain from the hook, work 2 sl st, then 3 sc, then 2 inc, then 3 sc, then 2 sl st.
- Fasten off and tie the two yarn ends together to shape the ear into a gentle curve. The ears on my puppy are long and floppy, falling forward past the sides of the head.
Body, Legs, Arms, Head and Muzzle in Red and Yellow Yarn
- Round 1: work 6 sc in a MR using red yarn. [6 sts]
- Round 2: work 6 inc. [12 sts]
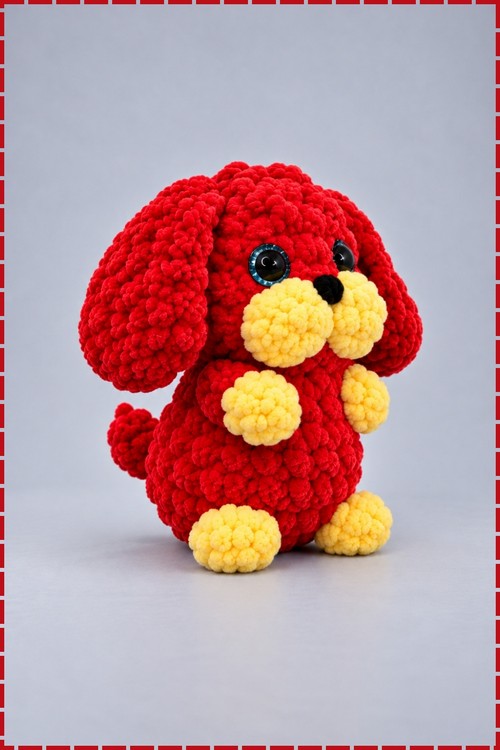
- Tail creation: ch 3, then from the 2nd chain from the hook work 2 sl st back down the chain to form the small curled tail visible on my puppy, then continue the round with 2 inc. [12 sts total at end of round]
- Round 3, legs: work 1 sc in red, then switch to yellow and work a 3-dc-bo for Leg 1, then switch to red and work 1 inc and 1 inc, then switch to yellow and work a 3-dc-bo for Leg 2, then switch to red and work 2 sc, skip the tail, then work 2 sc, 1 inc and 1 sc. [16 sts] The yellow bubble paws sit at the bottom front of the body exactly as they appear on my finished piece.
- Rounds 4 and 5: work 16 sc around in red for two rounds. [16 sts per round]
- Round 6: work (2 sc, 1 dec) four times in red. [12 sts]
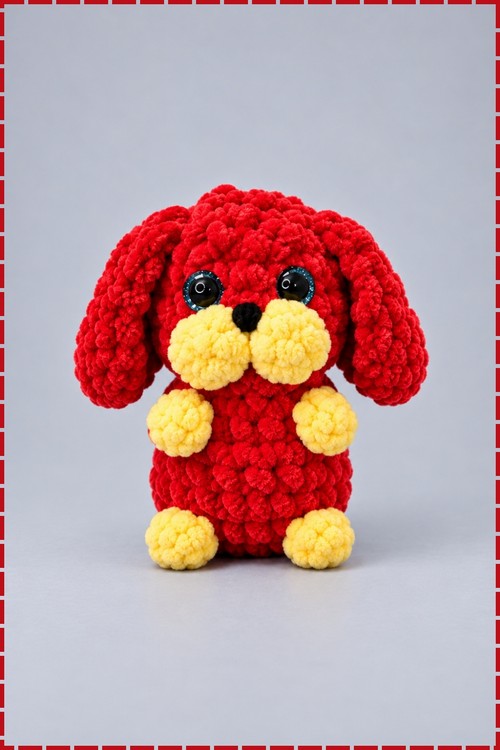
- Round 7, arms: work 1 sc in red, then switch to yellow and work a 3-dc-bo for Arm 1, then switch to red and work 3 sc, then switch to yellow and work a 3-dc-bo for Arm 2, then switch to red and work 6 sc. [12 sts] The yellow arm bubbles sit at mid-body height on either side, matching their position on my doll.
- Round 8: work (2 sc, 1 dec) three times in red. [9 sts]
- Round 9: work 9 inc in red. [18 sts] The piece expands here into the head, and the sudden increase gives the puppy its distinctive large round skull.
- Round 10, muzzle face: work 5 sc in red, then switch to yellow and work a 4-dc-bo, then switch to red and work 1 sc, then switch to yellow and work a 4-dc-bo, then switch to red and work 11 sc. [18 sts] The two yellow muzzle cheek bubbles sit side by side at the front centre of the face, large and prominent as they are on my puppy.
- Rounds 11 and 12: work 18 sc around in red for two rounds. [18 sts per round] Insert the blue shimmer safety eyes between rounds 12 and 13, approximately 3 stitches apart, and attach the black safety nose centrally between the two muzzle bubble stitches. Stuff the lower body and head firmly with fiberfill before the round 13 ear join closes the opening further.
- Round 13, joining ears: work 1 sc in red, then work 1 dec crocheted together through the first ear and the head, then 1 sc through ear and head, then 1 dec, then 2 sc, then work 1 dec crocheted together through the second ear and the head, then 1 sc through ear and head, then 1 dec, then 1 sc, then 1 dec. [12 sts] Working through both the ear and the head simultaneously locks the ears in place without sewing.
- Round 14: work 6 dec. [6 sts] Add any extra stuffing needed through the remaining hole, then cut the yarn and leave a long tail. Weave the tail through the front loops of the final 6 stitches with a needle and pull tight to close the hole, then hide the end inside the body.
Tips
- With plush yarn the individual stitches are nearly invisible, so count by feel rather than by sight. Move your stitch marker up every single round without skipping, since losing count on a plush project means unpicking many rounds of indistinguishable fabric.
- Work each bubble stitch loosely enough that the cluster pops outward rather than flattening against the body. Tight tension collapses the bubble and the paw reads as a flat patch of colour.
- Stuff the body before round 13 rather than after, since the ear join round closes the opening significantly and makes it hard to push filling in afterward without distorting the stitches.
FAQ
- Do I need to use plush yarn specifically? No, but the soft looped texture of plush yarn hides colour change tails effortlessly and gives the bubble stitches extra definition. Standard acrylic works too; the bubbles will just look slightly crisper and more geometric.
- Why do my colour changes look messy? Pull the new colour through on the very last yarn-over of the stitch before the colour change, not after completing the stitch. Carry the unused colour loosely inside the fabric between bubbles rather than cutting and rejoining for each one.
- Can I add a safety nose if I don’t have one? Yes. Embroider a small triangle of black thread at the centre between the two muzzle bubbles, which gives the same visual result and is the safer option for young children.
- My bubble stitches point inward instead of outward. What went wrong? You may have worked into the wrong side of the fabric or pulled the yarn over too tightly when closing the cluster. Try holding the bubble with your thumb from the outside as you draw the final loop through, which pushes it forward as it sets.