Bucket Head Zombie Amigurumi Crochet Pattern
Milk cotton in 4 ply runs through every piece of the bucket head zombie amigurumi, worked on a 2.0 mm hook with a 1.5 mm hook saved for the purple tie. Black embroidery thread adds pupils, teeth and expression lines, and the finished figure measures roughly four to five inches.
Fans of odd little characters rather than cute ones will take to this crochet bucket head zombie straight away. Teens asking for something to hang on a bag. Halloween crafters who want colour instead of gore. The bucket head zombie also suits makers ready to practise colour changes on a figure.
Crochet Bucket Head Zombie
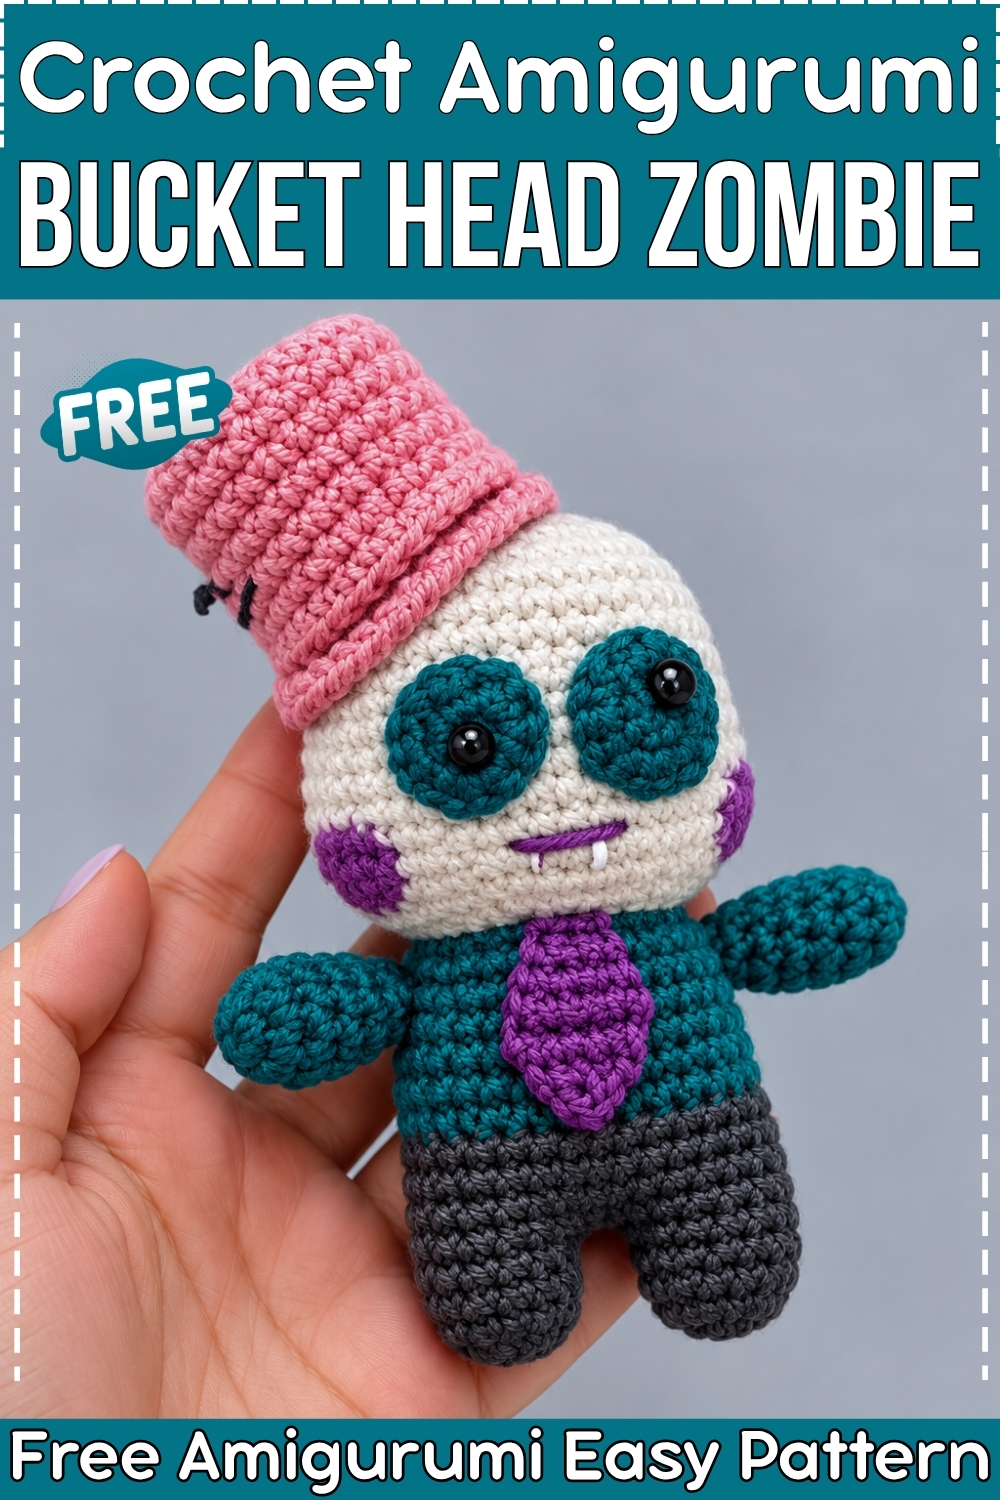
Seven separate parts make up this crochet bucket head zombie amigurumi, and almost all of them join during the body rounds rather than being sewn on afterwards. Legs connect to the body through a chain bridge in round 5, arms lock in flat at round 14, and the head sews onto the finished torso in one seam. Cream yarn for the head and teal for the shirt and eye patches give my version its distinctive look, while the pink bucket sits on top loose enough to tilt. A purple tie and charcoal grey legs complete the palette visible in my photo.
Materials and Tools
- 4 ply milk cotton yarn in cream for the head and hands
- 4 ply milk cotton yarn in teal for the shirt and eye patches
- 4 ply milk cotton yarn in charcoal grey for the pants legs
- 4 ply milk cotton yarn in pink for the bucket
- 4 ply milk cotton yarn in purple for the tie
- 2.0 mm crochet hook for the body, head, arms, legs and bucket
- 1.5 mm crochet hook for the tie
- Two black safety eyes or black beads
- Black embroidery thread for pupils, teeth and expression lines
- Polyester fiberfill stuffing
- Tapestry needle and stitch markers
Size and Time
Mine fits comfortably in one hand, roughly four to five inches tall with the bucket on. In my experience the full build takes around four to five hours, since the head alone has twenty rounds and the tie is worked flat in rows on a smaller hook.
Abbreviations
- MR means magic ring
- ch means chain
- sl st means slip stitch
- sc means single crochet
- inc means increase, 2 sc in the same stitch
- dec means decrease, sc 2 stitches together
- BLO means back loop only
- FLO means front loop only
- st or sts means stitch or stitches
The Pattern
Head
Worked in cream throughout. Each round joins with a slip stitch and begins with ch 1, which does not count as a stitch.
- Round 1: MR, 8 sc, sl st [8 sts]
- Round 2: ch 1, 8 inc, sl st [16 sts]
- Round 3: ch 1, (1 sc, 1 inc) x 8, sl st [24 sts]
- Round 4: ch 1, (2 sc, 1 inc) x 8, sl st [32 sts]
- Rounds 5 to 6: ch 1, 32 sc around, sl st [32 sts per round]
- Round 7: ch 1, 8 sc, 1 inc, 14 sc, 1 inc, 8 sc, sl st [34 sts]. The two increases sit at the sides of the head and begin building the wider cheek area.
- Round 8: ch 1, 34 sc around, sl st [34 sts]
- Round 9: ch 1, 9 sc, 1 inc, 14 sc, 1 inc, 9 sc, sl st [36 sts]
- Rounds 10 to 11: ch 1, 36 sc around, sl st [36 sts per round]
- Round 12: ch 1, [10 sc, 3 inc] repeat once more, 10 sc, sl st [42 sts]
- Round 13: ch 1, [10 sc, (1 sc, 1 inc) x 3] repeat once more, 10 sc, sl st [48 sts]. Rounds 12 and 13 build the widest part of the head at the cheeks, which is where the large teal eye patches sit on my piece.
- Round 14: ch 1, 48 sc around, sl st [48 sts]
- Round 15: ch 1, [10 sc, 1 sc, (1 sc, 1 dec) x 3] repeat once more, 10 sc, sl st [42 sts]
- Round 16: ch 1, [10 sc, 3 dec] repeat once more, 10 sc, sl st [36 sts]
- Round 17: ch 1, (4 sc, 1 dec) x 6, sl st [30 sts]
- Round 18: ch 1, (3 sc, 1 dec) x 6, sl st [24 sts]
- Round 19: ch 1, (2 sc, 1 dec) x 6, sl st [18 sts]
- Round 20: ch 1, (1 sc, 1 dec) x 6, sl st [12 sts]. Fasten off leaving a long tail, stuff firmly, then weave the tail through the front loops to pull the hole closed.

Arms, Make 2
Starts in cream, changes to teal for the sleeve.
- Round 1: MR, 6 sc, sl st [6 sts]
- Round 2: ch 1, (1 sc, 1 inc) x 3, changing to teal on the last stitch of this round, sl st [9 sts]
- Rounds 3 to 5: ch 1, 9 sc around, sl st [9 sts per round]. The teal sleeve covers the upper two thirds of the arm exactly as visible on my piece.
- Round 6: ch 1, (1 sc, 1 dec) x 3, sl st [6 sts]. Stuff lightly and fasten off.
Legs, Make 2
Worked in charcoal grey throughout.
- Round 1: MR, 6 sc, sl st [6 sts]
- Round 2: ch 1, 6 inc, sl st [12 sts]
- Rounds 3 to 4: ch 1, 12 sc around, sl st [12 sts per round]. Fasten off the first leg. Do not cut yarn on the second leg.
Body, Joining from the Legs
The body continues directly from the second leg in charcoal grey, then changes to teal for the shirt.
- Round 5: ch 4, join to the first leg with sc, 12 sc around the first leg, 1 dec on the chain bridge, 3 sc along the chain, repeat around [32 sts]. Keep the two legs parallel and pointing the same direction before working the joining chain, since a twist here is permanent.
- Rounds 6 to 9: ch 1, 32 sc around, sl st, changing to teal on the last stitch of round 9 [32 sts per round]
- Round 10: ch 1, BLO 32 sc around, sl st [32 sts]. The BLO round leaves a visible ridge that marks the waistband line between the grey trousers and the teal shirt.
- Round 11: ch 1, 5 sc, 1 dec, 14 sc, 1 dec, 9 sc, sl st [30 sts]
- Round 12: ch 1, 30 sc around, sl st [30 sts]
- Round 13: ch 1, 5 sc, 1 dec, 13 sc, 1 dec, 8 sc, sl st [28 sts]
- Round 14: ch 1, 4 sc on the body, attach the first arm by flattening it and crocheting 3 sc through both arm and body simultaneously, 11 sc on the body, attach the second arm with 3 sc through both layers, 7 sc on the body, sl st [28 sts]. Flatten each arm with the seam facing toward the body before the joining stitches so the arms point outward rather than forward.
- Round 15: ch 1, 5 sc, 1 dec, 12 sc, 1 dec, 7 sc, sl st [26 sts]. Fasten off leaving a long tail. Stuff the body firmly with fiberfill.
Bucket
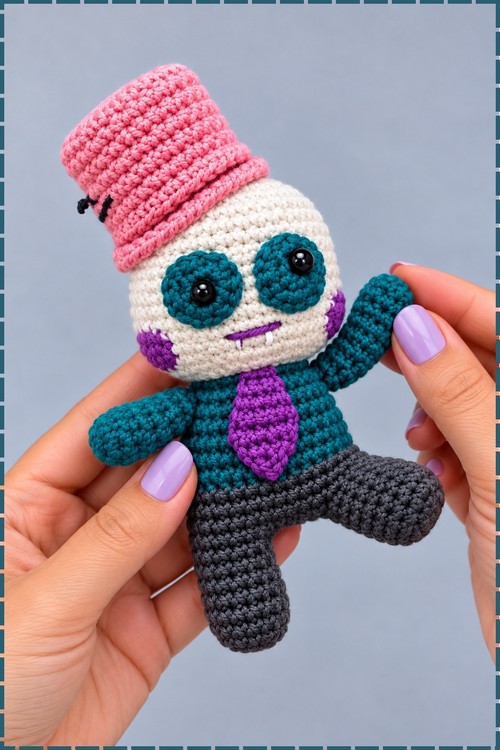
Worked in pink throughout.
- Round 1: MR, 6 sc, sl st [6 sts]
- Round 2: ch 1, 6 inc, sl st [12 sts]
- Round 3: ch 1, (1 sc, 1 inc) x 6, sl st [18 sts]
- Round 4: ch 1, (2 sc, 1 inc) x 6, sl st [24 sts]
- Round 5: ch 1, BLO 24 sc around, sl st [24 sts]. The BLO round forms the flat bottom edge of the bucket and is what gives it its container shape.
- Round 6: ch 1, 24 sc around, sl st [24 sts]
- Round 7: ch 1, (11 sc, 1 inc) x 2, sl st [26 sts]
- Round 8: ch 1, 26 sc around, sl st [26 sts]
- Round 9: ch 1, (6 sc, 1 inc, 6 sc) x 2, sl st [28 sts]
- Rounds 10 to 11: ch 1, 28 sc around, sl st [28 sts per round]
- Round 12: ch 16, skip 14 sts, sl st into the 15th stitch to form the rim opening. Fasten off and hide the yarn tail inside the bucket.
Eyes
Both eyes are worked in teal on my piece, which is different from the white in the plain pattern.
Small eye:
- Round 1: MR, 6 sc, sl st [6 sts]
- Round 2: ch 1, 6 inc, sl st [12 sts]. Fasten off leaving a tail for sewing.

Large eye:
- Round 1: MR, 8 sc, sl st [8 sts]
- Round 2: ch 1, 8 inc, sl st [16 sts]. Fasten off leaving a tail for sewing.
Tie
Worked flat in rows using purple yarn on a 1.5 mm hook.
- Row 1: leave a 15 cm tail, ch 4, starting in the 2nd ch from hook work 3 sc, turn [3 sts]
- Row 2: ch 1, turn, 1 sc, 1 inc, 1 sc [4 sts]
- Row 3: ch 1, turn, 1 inc, 2 sc, 1 inc [6 sts]
- Rows 4 to 5: ch 1, turn, 6 sc across [6 sts per row]
- Row 6: ch 1, turn, 1 dec, 2 sc, 1 dec [4 sts]
- Row 7: ch 1, turn, 2 dec [2 sts]
- Row 8: ch 1, turn, 1 dec [1 st]. Fasten off and weave in the end.
Assembly and Finishing
- Sew the head to the body using the long tail left on the body, stitching through the neck opening and pulling firmly so the head does not wobble.
- Sew the large teal eye and the small teal eye to the face, placing them side by side in the wide cheek region at roughly rounds 12 to 14, as seen on my piece. My zombie has one large and one small eye set close together near the centre of the face.
- Embroider black pupils with black thread centred on each teal eye circle.
- Embroider two small white tooth lines below the eyes and a curved mouth line using white or black thread to match the expression on my piece.
- Embroider teal cheek patches on either side of the face below the eyes using teal yarn and a few satin stitches, as visible on my finished zombie.
- Sew the purple tie just below the neck seam at the front centre of the body.
- Place the pink bucket loosely on top of the head. It sits at a slight tilt on my piece and does not need to be sewn down.
Yarn Substitution
Any smooth 4 ply cotton or cotton blend holds stitch definition well at 2 mm and keeps the colour patches crisp. Acrylic 4 ply also works and is easier to source in a full colour range. Avoid any yarn with texture or sheen, since the teal eye patches need clean edges to read clearly against the cream head.
Customization Ideas
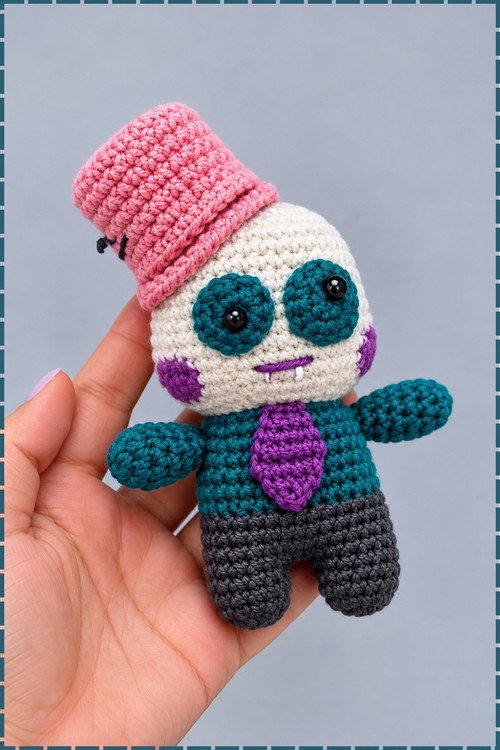
- Change the bucket to grey or silver to make the classic Plants vs Zombies version.
- Swap the teal shirt for any solid colour to make a different zombie variant.
- Add a small black button at the base of the tie for a dressier look.
- Make the eyes the same size by using two large eye circles for a more symmetrical face.
- Embroider a scar line across the cheek for a more distressed zombie expression.
FAQ
Can I glue the eyes instead of sewing them? Hot glue holds firmly enough for a display piece, but a sewn eye stays put better on a toy that gets handled. Sewing through the centre of each circle and knotting inside the head is more secure long term.
Why does my bucket slide off the head? The bucket is designed to sit loose, which is part of the character’s look. If yours falls off completely, work a few slip stitches through the bucket base and the top few stitches of the head to anchor it at the back without pinning the tilt.
What is the BLO round in the body for? That round 10 BLO row creates a clean ridge that separates the trousers section from the shirt section without a colour join row. It is the waistband line and it is worth getting right, since a missed back loop makes the ridge disappear.