
Crochet Butterfly Amigurumi Free Pattern With Stuffed Wings
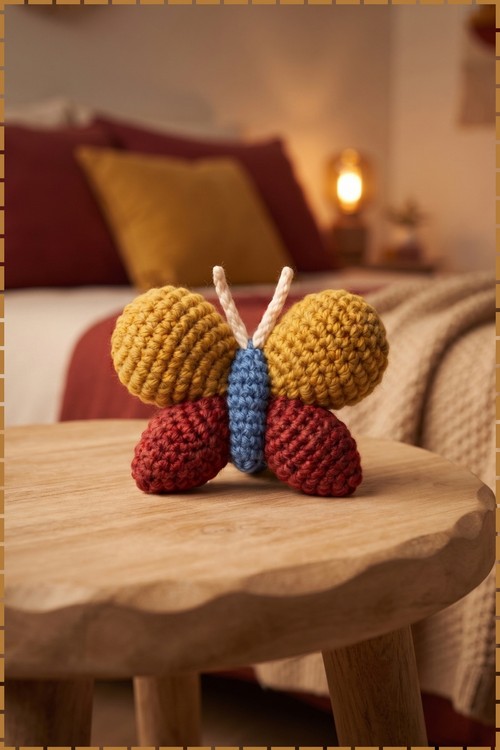
Nursery shelves and baby gift baskets both suit a stuffed butterfly amigurumi with wings that start from a six-stitch magic ring. Each top wing grows to 24 stitches in spiral rounds, takes a light fill of fiberfill, and joins the others under a wrapped blue body.
Stuffed wings in mustard and red make the Crochet Butterfly Amigurumi a soft first toy for babies grabbing at colour. Toddlers get something with no small parts. Anyone learning to join pieces gets easy practice, since this butterfly amigurumi repeats one oval shape four times before assembly.
Crochet Butterfly Amigurumi
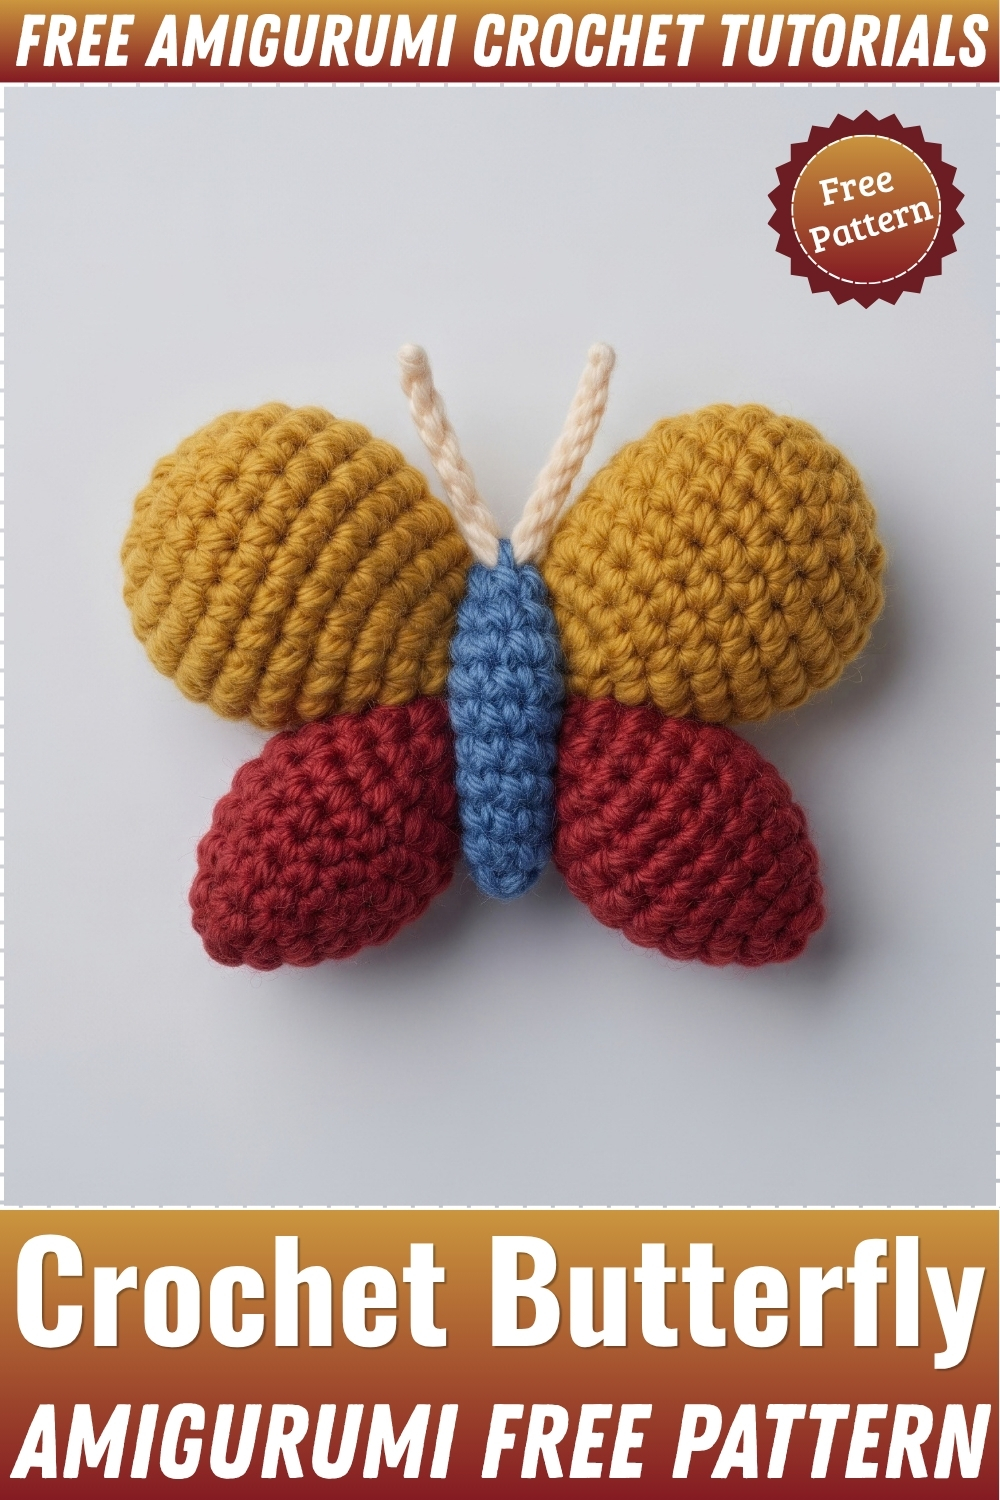
Four separate stuffed pieces sewn together at the centre are what give this crochet butterfly amigurumi its three-dimensional shape. Two larger top wings and two smaller bottom wings each get worked independently in continuous spiral rounds, lightly stuffed, then joined and cinched at the middle with a wrapped body yarn that creates the torso without any extra crocheted piece. My version uses mustard yellow for both top wings, deep red for both bottom wings, and a mid blue for the body wrap and antennae. The cream chain antennae thread through the body wrap and tie into a small knot at the top to suggest the head.
Materials and Tools
- Mustard yellow yarn for the two top wings
- Deep red yarn for the two bottom wings
- Mid blue yarn for the body wrap
- Cream or off white yarn for the antennae
- Crochet hook to suit your yarn weight
- Fiberfill stuffing
- Stitch marker
- Yarn needle and scissors
The original pattern uses a main colour, a secondary colour and a contrasting colour without specifying which. My version assigns mustard to the top wings, deep red to the bottom wings, blue to the body and cream to the antennae, all of which match the photo. Keep the stuffing light on all four wings so they stay flattened rather than fully spherical, which is what makes the butterfly read as a butterfly rather than four separate balls.
Difficulty and Time
Beginner friendly. All four wings are worked the same way, just with different stitch counts for the two sizes. The trickiest step is the body wrap, which needs steady, even tension to sit neatly. From my own making, the whole butterfly takes around two hours, mostly because of four wing pieces rather than any complex shaping.
THE PATTERN
Top Wings (Make 2 in Mustard Yellow)
Work in continuous spiral rounds. Place a stitch marker in the first stitch of each round and move it up as you go. Do not slip stitch at the end of rounds.
- Round 1: With mustard yellow yarn, make a magic ring (MR) and work 6 single crochet (sc) into the ring [6 sts]. Pull the ring tight.
- Round 2: Work 2 sc in each stitch around [12 sts]. An increase (inc) here means 2 sc in the same stitch.
- Round 3: Work (1 sc, 1 inc) 6 times around [18 sts].
- Round 4: Work (2 sc, 1 inc) 6 times around [24 sts].
- Rounds 5 to 8: Work 1 sc in each stitch around for 4 complete rounds with no increases [24 sts each round].
- Round 9: Work (2 sc, 1 decrease) 6 times around [18 sts]. A decrease means 2 sc worked together into 1.
- Round 10: Work (1 sc, 1 decrease) 6 times around [12 sts].
- Round 11: Work 1 sc in each stitch around with no decreases [12 sts].
- Stuffing: Lightly fill the wing with a small amount of fiberfill now, before closing. The wing should feel gently padded and flatten easily under light pressure, not round out like a ball.
- Round 12: Work 6 decreases around [6 sts].
- Finishing: Cut yarn leaving a short tail, then use a yarn needle to weave through the front loops of the remaining stitches to close the hole, tie off, and weave in the end. Press the wing flat between your palms. Repeat for the second top wing.
Bottom Wings (Make 2 in Deep Red)
Work in continuous spiral rounds with a stitch marker as above.
- Round 1: With deep red yarn, make a magic ring and work 4 sc into the ring [4 sts].
- Round 2: Work (1 sc, 1 inc) twice [6 sts].
- Round 3: Work (1 sc, 1 inc) 3 times [9 sts].
- Round 4: Work (2 sc, 1 inc) 3 times [12 sts].
- Round 5: Work (1 sc, 1 inc) 6 times around [18 sts].
- Rounds 6 to 8: Work 1 sc in each stitch around for 3 complete rounds with no increases [18 sts each round]. The bottom wings are noticeably smaller than the top wings at this point, which is correct.
- Round 9: Work (1 sc, 1 decrease) 6 times around [12 sts].
- Round 10: Work 1 sc in each stitch around [12 sts].
- Stuffing: Add a small amount of fiberfill before closing, keeping the shape lightly padded and flat rather than puffy.
- Round 11: Work 6 decreases around [6 sts].
- Finishing: Fasten off and weave the tail through the remaining stitches with a yarn needle to close. On the second bottom wing, leave a longer yarn tail for sewing. Press flat.
Assembly and Body
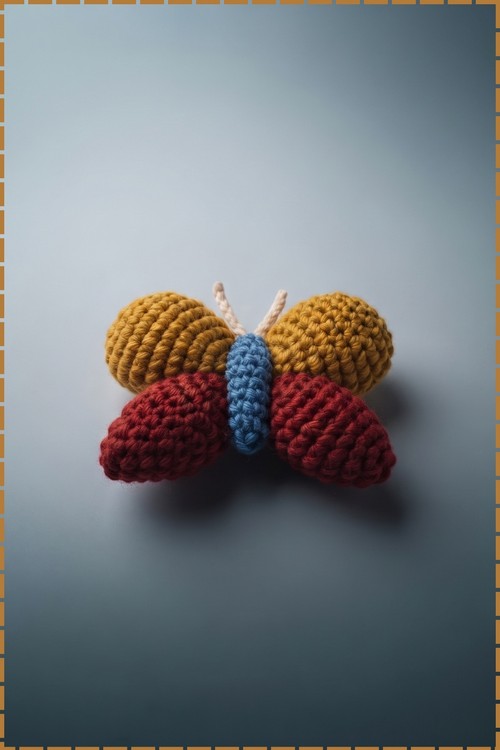
- Wing join: Place one top wing and one bottom wing together with their flat faces touching, top wing above and bottom wing below, and sew their adjacent sides together with a yarn needle and a few simple stitches. Repeat for the second top and bottom wing pair. Then sew the two joined pairs together at their inner edges to form the full four-wing shape, with all wings radiating outward from the centre.
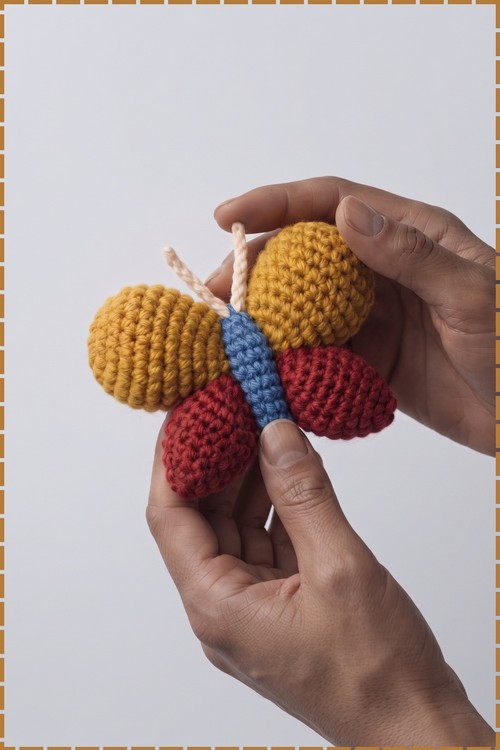
- Body wrap: Thread a yarn needle with mid blue yarn and pass it through the centre point where all four wings meet. Wrap the blue yarn snugly around the centre multiple times, covering the join and building up a neat vertical body shape between the top and bottom wings. Keep the tension even so the body does not twist to one side. Pass the needle back through the wings to secure and trim the excess.
- Antennae: With cream yarn, crochet a simple chain of 25 to 26 stitches, then fasten off. Thread the chain under the wrapped blue body stitches using a yarn needle so that both ends extend upward from the top of the body. Tie a small double knot at the base of the chain at the top centre to form the head shape. Trim the two ends of the chain antennae to your preferred length. On my piece the antennae extend straight upward and are slightly different lengths, which reads naturally rather than looking like a mistake.
Troubleshooting
- Wings that round out instead of staying flat are usually overstuffed. Remove some fiberfill and press the wing firmly before closing.
- A body wrap that slides toward one wing instead of sitting central usually means the wraps were not pulled through the same centre point each time. Undo the wrap and start from a single fixed anchor stitch through the very middle of the join.
- Antennae that separate and droop can be tacked together with one small stitch at the knot point before trimming.
- Uneven wing sizes on the same pair mean the stitch count drifted somewhere in rounds 3 to 5. Count before each round starts, not after, since a miscounted round compounds quickly.

Customisation Ideas
- Use a single yarn colour for all four wings and a contrast for the body only
- Work the top and bottom wings in the same colour family but different shades
- Add safety eyes to the body wrap section before cinching it fully closed
- Sew a brooch pin to the back of the body for a wearable version
- Attach a keychain ring through the body wrap at the top between the antennae
- Make a set of three in coordinated colours for a garland or a mobile
FAQ
Do I need to use a stitch marker? Yes, and it matters more than it sounds. Working in continuous spirals means the round start shifts slightly with each row, and without a marker you lose it after round 3 or 4. Move the marker up every single round.
How much stuffing is right for the wings? A small pinch per wing is usually enough. The goal is a shape that feels gently padded but flattens under light pressure. If the wing bulges outward when you press it, remove some stuffing before closing.
My body wrap looks lumpy. How do I fix it? Work each wrap pass through the same central point and keep the tension consistent, pulling neither tight nor loose. A few extra wrap passes smooth out any uneven spots before you secure the end.


