Crochet Big Strawberry Pattern Free
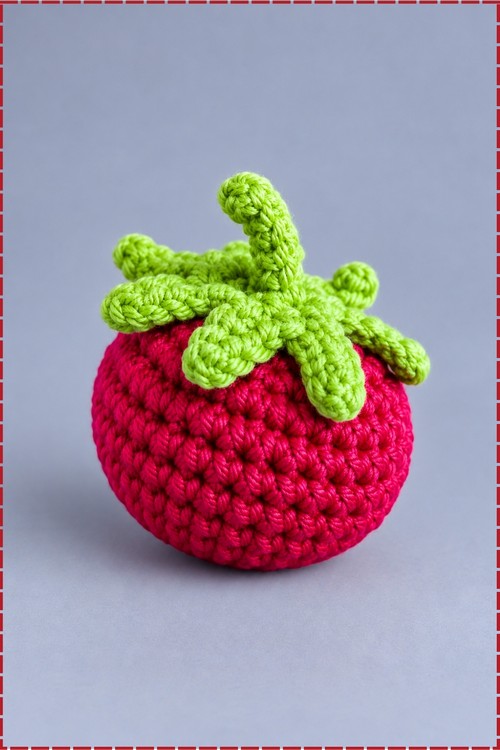
Little chefs reach for the crochet big strawberry first, its plump red body crowned with five leafy green points that stand up on their own. Tabletop displays gain a pop of color when the big strawberry amigurumi sits beside a crochet cactus on a sunny windowsill.
Cream seeds stitched across the Crochet Big Strawberry give it the look of real fruit. Two pieces, a body and a leafy top. Fill a bowl with them or hand one to a child for play kitchen use. The Crochet Big Strawberry works up with no shaping tricks and no fiddly sewing at the end.
Crochet Big Strawberry
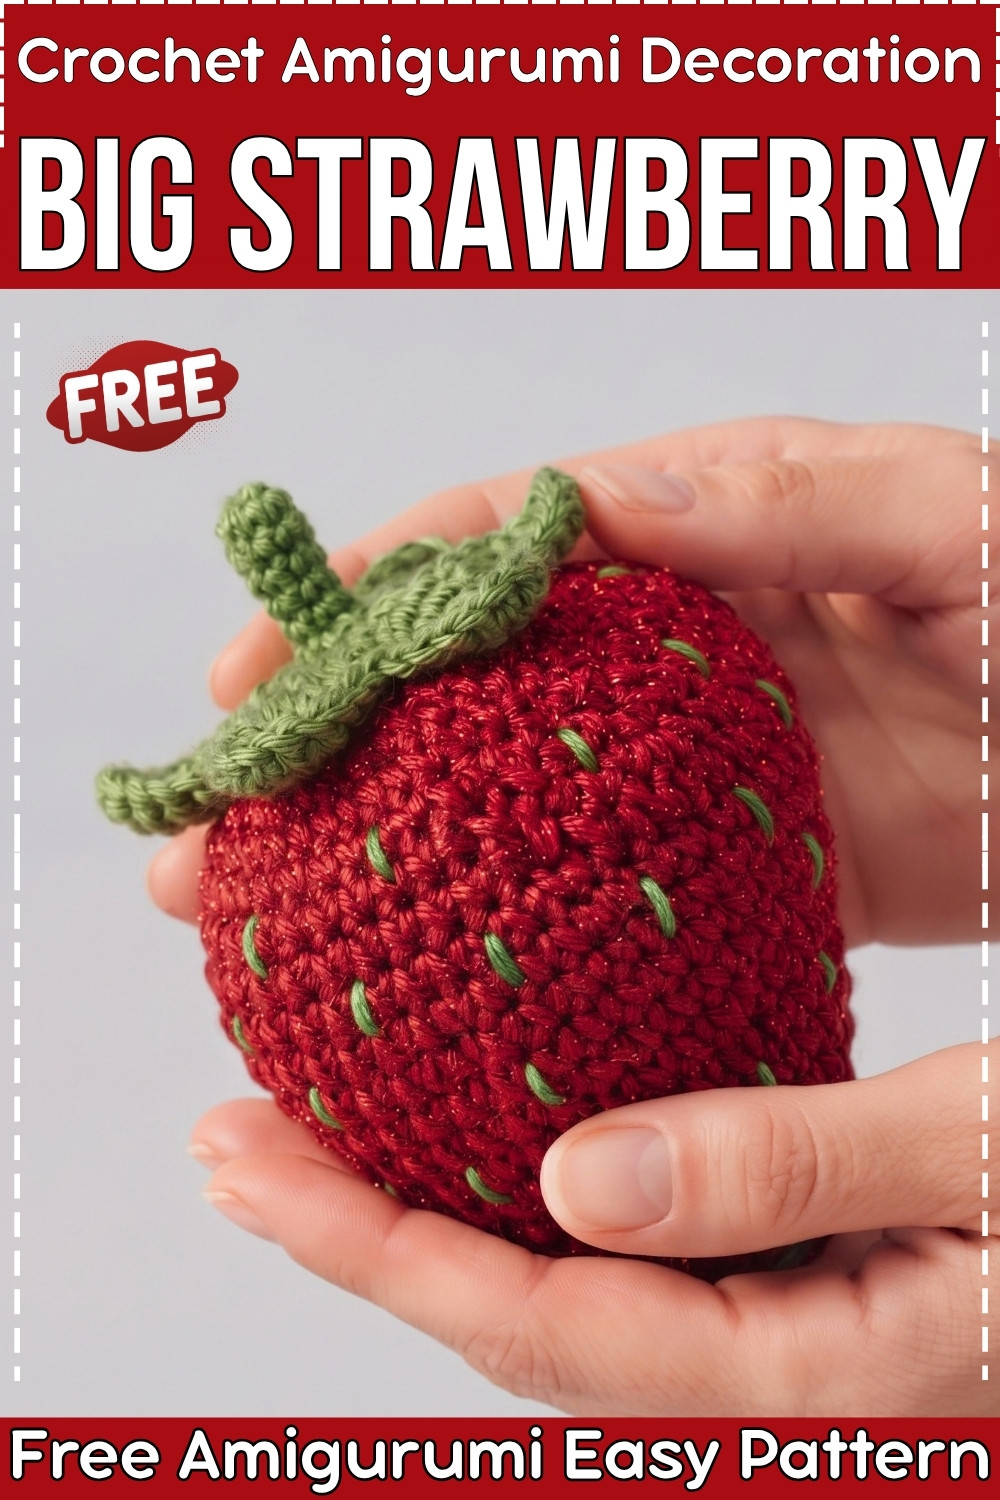
Spiral rounds expand from a tight eight stitch start and keep adding until the body reaches its full width, then straight rounds hold the shape before the closing decreases pull it into a point. That top to bottom build is what gives this crochet big strawberry its clean silhouette without any shaping seams. Cream stitches sit across the surface as seeds, and a cream leaf piece crowns the top with five free standing points. My version works in chocolate brown with cream throughout, trading the usual red and green for something quieter and shelf ready.
Materials and Tools
- Chunky or bulky weight yarn in chocolate brown for the body
- Chunky or bulky weight yarn in cream for the leaves
- Accent yarn in cream for the seed embroidery
- 5.0 mm crochet hook
- Fiberfill stuffing
- Tapestry needle
- Stitch marker
Difficulty and Time
Intermediate in practice, because the stitch count climbs high and the leaf round requires reading ahead. From my own session, the body takes the most time and the leaves the most focus. Budget an afternoon and an evening, though your speed with large stitch counts will decide most of it.
The Pattern
Strawberry Body
- Work in continuous spirals. Place a stitch marker in the first stitch of each round and move it up as you go.
- Round 1: ch 2, work 8 single crochet (sc) into the first chain. (8 sts)
- Round 2: [1 sc, 1 increase (inc)] repeated around. (12 sts)
- Round 3: [2 sc, 1 inc] repeated around. (16 sts)
- Round 4: [3 sc, 1 inc] repeated around. (20 sts)
- Round 5: [4 sc, 1 inc] repeated around. (24 sts)
- Round 6: [5 sc, 1 inc] repeated around. (28 sts)
- Round 7: 3 sc, 1 inc, then [6 sc, 1 inc] repeated around until 3 sts remain, then 3 sc. (32 sts) This staggered placement stops the increases from stacking into a visible seam line.
- Round 8: [7 sc, 1 inc] repeated around. (36 sts)
Rounds 8 to 24
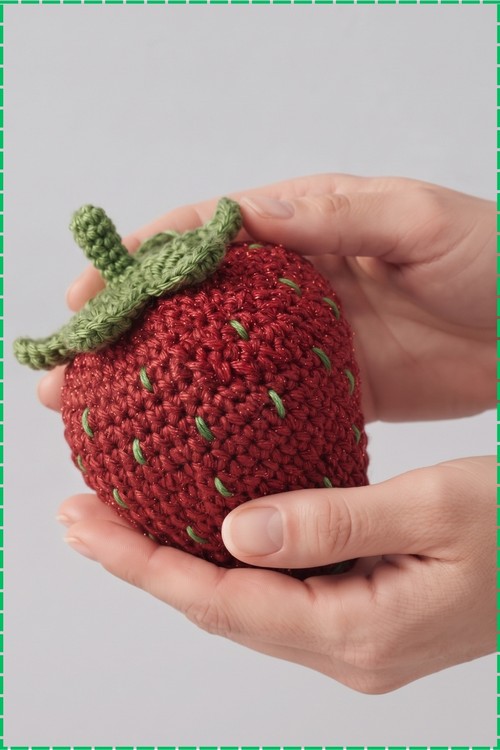
- Round 9: 4 sc, 1 inc, then [8 sc, 1 inc] repeated around until 4 sts remain, then 4 sc. (40 sts)
- Round 10: [9 sc, 1 inc] repeated around. (44 sts)
- Round 11: [10 sc, 1 inc] repeated around. (48 sts)
- Round 12: [11 sc, 1 inc] repeated around. (52 sts)
- Round 13: [12 sc, 1 inc] repeated around. (56 sts)
- Rounds 14 to 18: sc in each st around for 5 complete rounds. (56 sts each round)
- Round 19: [6 sc, 1 decrease (dec)] repeated around. Use an invisible decrease worked in front loops only throughout all the closing rounds.
- Round 20: [5 sc, 1 dec] repeated around.
- Round 21: [4 sc, 1 dec] repeated around.
- Round 22: [3 sc, 1 dec] repeated around.
- Round 23: [2 sc, 1 dec] repeated around.
- Round 24: [1 sc, 1 dec] repeated around.
- Fill the body generously with fiberfill before the opening closes too far to reach inside. Press the stuffing firmly into the point at the bottom so the tip holds its shape.
- Continue working dec around until 6 to 7 sts remain.
- Fasten off leaving a long tail, thread it through the remaining sts, pull tight to close, then run the end inside.
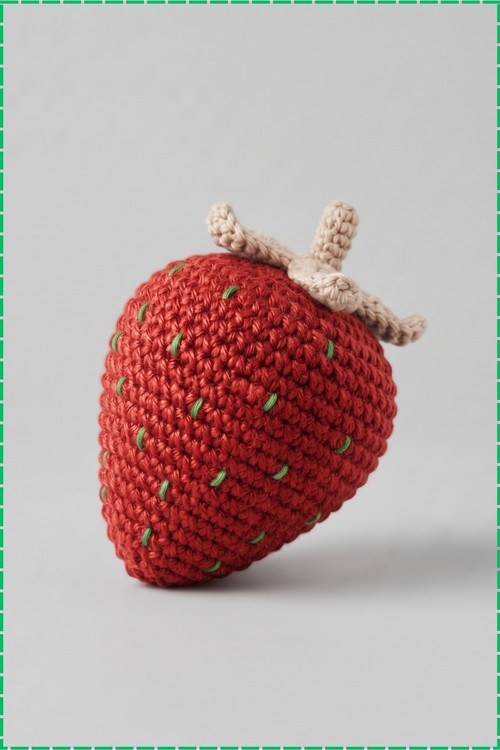
Leaf Top
- Use cream yarn throughout.
- Round 1: ch 2, work 5 sc into the first chain. (5 sts)
- Round 2: 2 sc in each st around. (10 sts)
- Round 3: [1 sc, 1 inc] repeated around. (15 sts)
- Round 4: [2 sc, 1 inc] repeated around. (20 sts)
- Round 5: [3 sc, 1 inc] repeated around. (25 sts)
- Round 6: repeat the following sequence 5 times around to create the leaf stem bases: 2 sc, 1 sc in the next st then ch 7, work 6 sc back down the chain, then work 1 more sc into that same base st as an increase, 2 sc. Keep the chain loose so each stem lies flat rather than pulling inward.
- Round 7: work around each leaf stem as follows: 2 sc across the base gap, then on the side of the chain work 1 half double crochet (hdc) and 1 double crochet (dc) and 4 sc, then at the tip hole work 3 sc all into the tip space, then down the other side work 4 sc and 1 hdc and 1 dc, then skip 1 st at the base and work 4 sc between leaves, then repeat the same shaping on the next stem. Repeat until all 5 leaves are shaped. Slip stitch (sl st) into the nearest sc after the last leaf.
- Fasten off leaving a long tail for sewing.
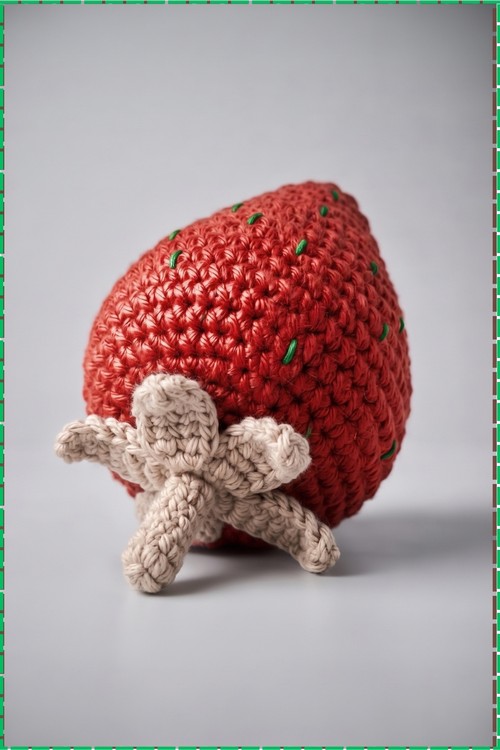
Assembly
- Centre the cream leaf piece over the closed top of the strawberry body.
- Using the long tail and the tapestry needle, stitch through the centre ring and down the lower half of each leaf, leaving the outer tips free so they stand up and curl naturally as they do on my piece.
- Weave all ends inside the body.
- Thread cream accent yarn onto the needle and embroider small vertical stitches scattered across the brown surface for seeds. On my strawberry the seeds sit in loose diagonal rows and show clearly against the dark body. Secure and hide all yarn ends inside.
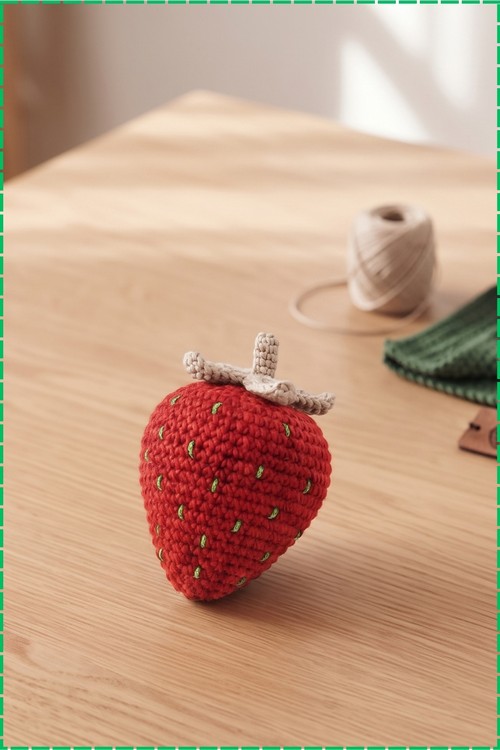
Tips
- Count every increase round twice before moving on. At 56 stitches a missed increase is hard to spot by eye and throws every closing round off.
- Stuff before Round 22, not after. The opening shrinks fast and getting enough fill in late means uneven shaping.
- Leave the leaf tips unsewn. Tacking them down flattens the piece and loses the dimensional look you can see in the photo.
FAQ
- Can I use a different yarn weight? Yes, but drop or raise the hook to match. A lighter weight with the same 5.0 mm hook gives a lacy, loose fabric that shows the stuffing. Go tighter than the yarn label suggests for anything that needs to hold stuffing.
- My body came out lopsided. What went wrong? Usually a drifting stitch marker. Move it on every single round, not every few rounds, and always mark the same position so the spiral stays true.
- How do I keep the seeds from pulling loose? Run the needle through two or three horizontal stitches before coming back up for each seed, and tie a firm knot before burying the tail. A single pass pulls out over time.