Crochet Christmas Hat Keychain Pattern Free
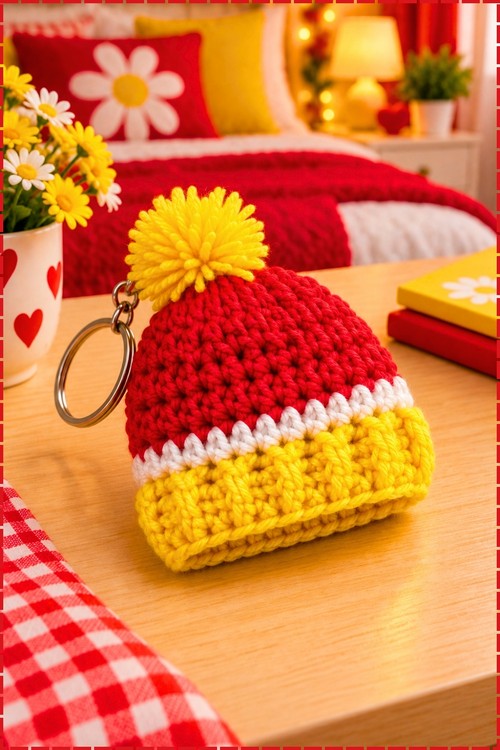
Red, white and yellow stripes shape this crochet Christmas hat keychain, and a split ring through the pom pom clips it onto keys or a zipper. The mini beanie needs no stuffing and takes under an hour, one of the quickest holiday makes to finish.
Tiny and cheerful, the crochet Christmas hat acts like a beanie that never got to be worn. It swings off keys with a pom pom that refuses to sit still. The crochet Christmas hat has the energy of something too small to take seriously, which is exactly why people keep it clipped on all winter.
Crochet Christmas Hat
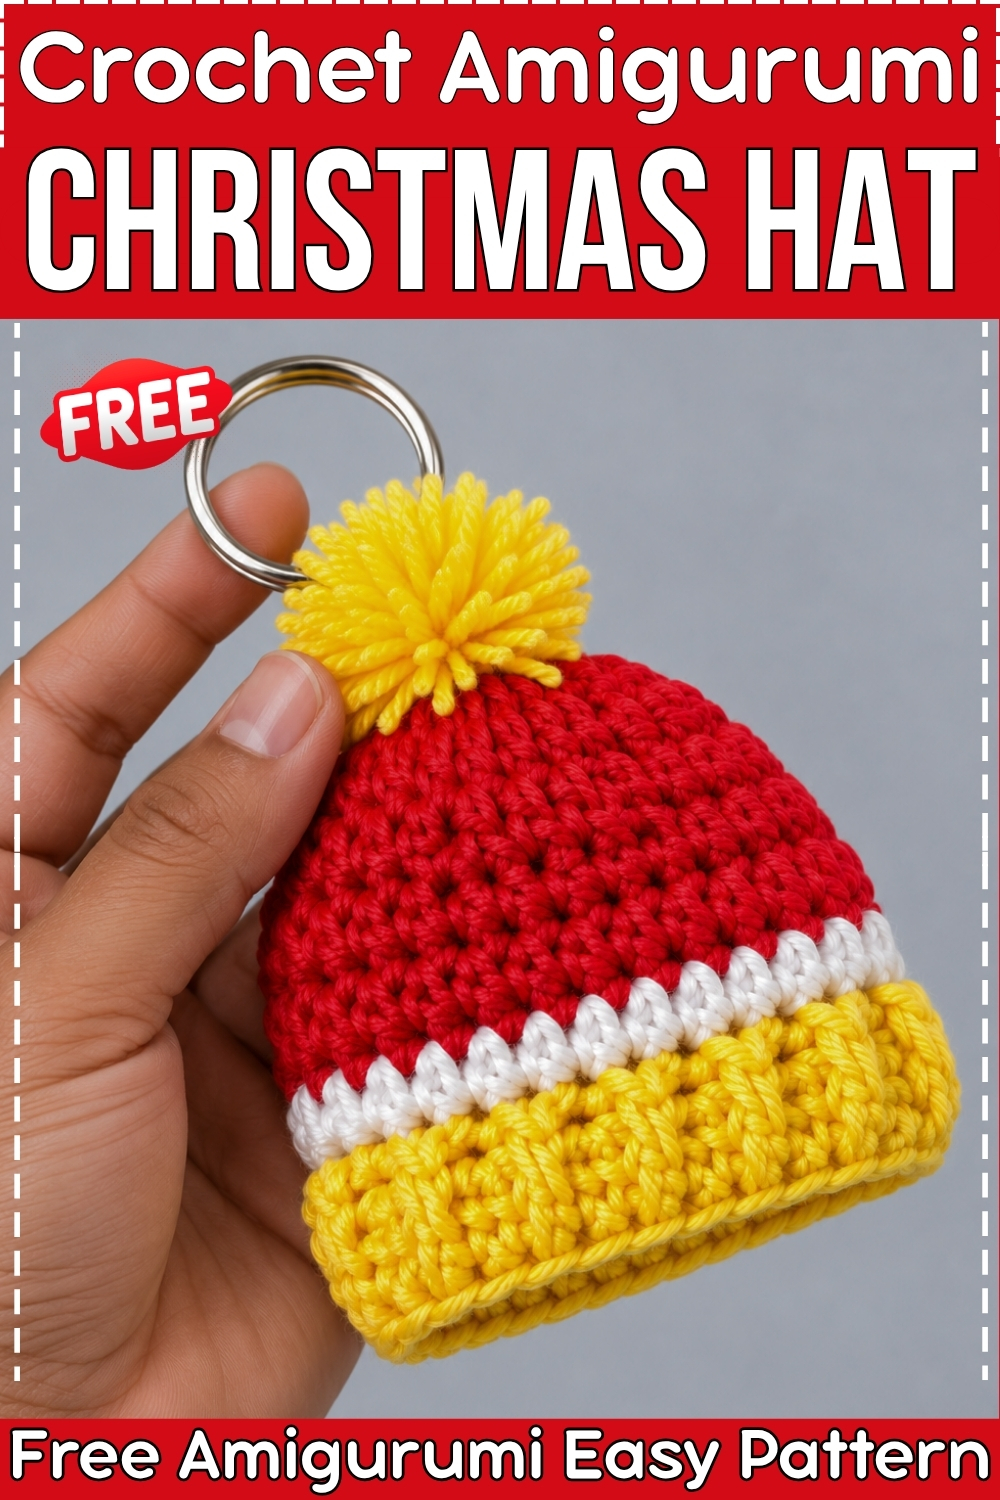
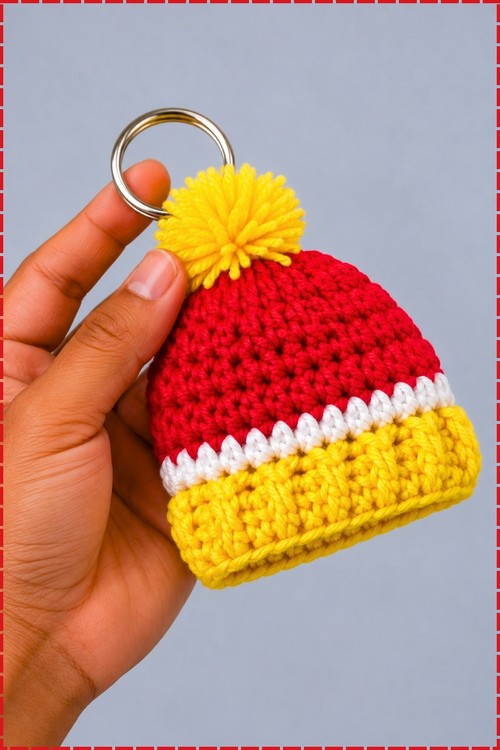
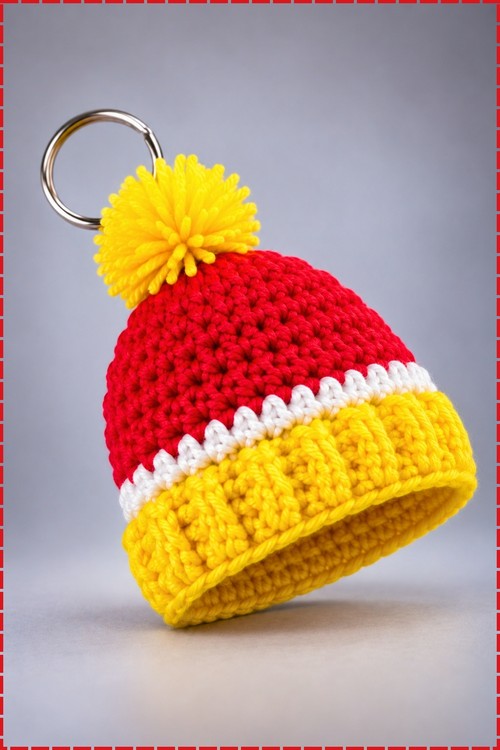
Miniature enough to sit between two fingers, this beanie has a red crown, a white stripe, and a folded yellow brim worked in raised stitches. Yellow pom pom on top, split ring through it, so the whole thing hangs off keys or a zipper. Construction is one continuous piece. Start at the crown, work down through the colour changes, then switch stitch texture for the cuff and fold it up at the end. The pom pom is made separately and tied on. There is no shaping to get wrong and no stuffing, which makes this one of the easier holiday makes to finish in a sitting.
Materials And Tools
- Fine or sport weight cotton yarn in red for the hat body
- Fine or sport weight cotton yarn in yellow for the brim and pom pom
- Fine or sport weight cotton yarn in white for the accent stripe
- Crochet hook in 2.50 mm
- Split ring keychain finding, plain metal as in my version
- Mini pom pom in yellow to match the brim, or make your own from yellow yarn
- Darning needle
- Scissors
My version uses yellow where the pattern specifies green, and a plain split ring rather than a ball chain finding. White stays white. Red stays red. All counts and rounds are unchanged.
Difficulty And Time
From my own experience this sits at easy intermediate. The ribbing round needs your attention the first time through, but once you feel the difference between working around the front post and the back post it becomes automatic. I finished each hat in around forty five minutes to an hour with this hook and yarn weight, and the second one took noticeably less time than the first.
Beginner Technique Notes
Front post double crochet means you wrap the yarn, then insert your hook from the front of the work, going around the post of the stitch below from right to left and back to the front again, then complete the double crochet as normal. Back post double crochet is the same idea but you insert from the back of the work, going around the post from left to right and back to the back. Working these alternately around the brim is what creates the raised ribbing ridges you can see in my photo.
The ch 3 at the start of each round counts as one double crochet throughout, so when the pattern says to sl st into the top of the ch 3 at the end of a round, you are closing a complete set of 26 stitches including that chain. Do not also work a stitch into the ch 3 base when you begin the next stitch, or you will gain an extra stitch each round.
The Pattern
Abbreviations
- ch means chain
- sl st means slip stitch
- dc means double crochet
- hdc means half double crochet
- fpdc means front post double crochet, insert hook around the front of the post
- bpdc means back post double crochet, insert hook around the back of the post
- US crochet terms throughout
Brim And Ribbing In Yellow
- Make a slip knot with yellow yarn and ch 26
- Join with a sl st into the first chain to form a ring, making sure not to twist the chain before joining
- Round 1: Ch 3 to count as the first dc, then work 25 dc around the chain loop, then sl st into the top of the starting ch 3 to close the round [26 sts including the ch 3]. The 26 chain forms a wide enough ring to give the brim its full depth, and a twisted join here is the most common first mistake since the chain is long enough to flip on itself
- Round 2: Ch 3, then alternate 1 fpdc into the next stitch and 1 bpdc into the stitch after that all the way around, then sl st into the top of the starting ch 3 [26 sts]. As you work this round you should see the ribbing ridge beginning to rise on the right side of the fabric with each pair of post stitches
- Fasten off yellow yarn and cut
White Accent Stripe
- Attach white yarn into the top of any stitch from Round 2
- Round 3: Ch 3, then work 25 hdc around the entire circle, then sl st into the top of the starting ch 3 [26 sts]. The half double crochet sits a little shorter than the double crochet on either side of it, which is what creates the slight pinch at the stripe and gives the hat its clean band
- Fasten off white yarn and cut
Hat Body In Red
- Attach red yarn into the round
- Round 4: Ch 3, then work 25 dc across all stitches, then sl st into the top of the ch 3 [26 sts]
- Round 5: Ch 3, work 25 dc around, then sl st into the top of the ch 3 [26 sts]
- Pull a long tail of red yarn, approximately 20 to 25 cm, for sewing, then cut and pull through the final loop
Assembly And Finishing
- Thread the long red yarn tail onto your darning needle
- Weave the needle in and out through the top loops of the final round of red double crochets all the way around the circle
- Pull the yarn tight to cinch the top completely closed, then pass the needle to the inside of the hat and knot securely to hold the closure. Cinching evenly is easier if you pause to pull the thread snug every four or five stitches rather than all at once at the end
- Take the needle with the remaining tail and thread it through the center base of the yellow mini pom pom, then pass the needle through the bottom ring of the split ring keychain finding. On my version the split ring sits directly at the top tip of the hat with no chain between the ring and the pom pom, which gives a clean minimal look
- Anchor the pom pom and the keychain ring firmly against the top tip of the hat by sewing back and forth through the hat fabric, the pom pom base and the keychain ring several times, then pull tight, tie off on the inside, cut the excess yarn and weave in any remaining loose ends

Tips And Troubleshooting
- Count your stitches at the end of Round 1 before moving on to the ribbing. Losing a stitch in the first round shifts every post stitch in Round 2 by one position, and you end up with an odd stitch at the join that does not have a pair.
- Work Round 2 loosely. Post stitches naturally pull tighter than regular double crochet because the hook is going around a post rather than through a loop, and a tight ribbing round makes the hat hard to pull down into shape after cinching.
- When attaching the white yarn for Round 3, join it in the same spot where you fastened off the yellow rather than moving to a different stitch. Joining in the same spot keeps the colour change join invisible from the outside.
- Weave all yarn tails completely inside the hat before attaching the pom pom, since tails trapped under the pom pom base cannot be reached after the assembly is sewn down.
- If your hat looks more like a tube than a hat, the cinching step probably did not close the top fully. Re thread the tail, weave through the same loops a second time pulling from a different angle, and the top will close the rest of the way.
Yarn Substitution
Sport or fine weight cotton gives the clean stitch definition visible in my photo. Light acrylic in the same weight works and is easier to find in a wide range of colours, though the surface is slightly less crisp. Avoid anything with stretch, since the post stitches pull tighter on elastic yarn and the ribbing loses its ridge. If you use a heavier yarn you will need to go down one hook size to keep the hat from becoming too large for a keychain, and the stitch count will give you a correspondingly larger hat.
Customization Ideas
Swap yellow for the traditional green brim to make a classic Santa hat version. Working the body in green and the brim in red reverses the palette and reads as an elf hat instead. Adding a second white stripe just below the brim gives the hat a more layered look. Making three or four in different colour combinations and stringing them on a single cord turns them into a mini garland. The plain split ring can be replaced with a lobster clasp to clip onto a bag strap, a zipper pull, or a planner ring.
FAQ
What do fpdc and bpdc feel like if I have never worked them before? Both stitches wrap and work the same way as a regular double crochet, except the hook goes around the vertical post of the stitch below rather than through the loops at the top. Front post goes around from front to back to front again, and back post goes around from back to front to back again. Practicing on a swatch of four or five stitches before starting the hat makes the motion feel natural by the time
you reach the ribbing round.
- Why does my brim look flat instead of ribbed? Almost always because the fpdc and bpdc are worked into the same position rather than alternating. Make sure each fpdc and bpdc pair goes into two consecutive stitches, not both into the same one.
- Can I make this without a keychain ring? Yes. Skip the ring at the assembly step and sew the pom pom directly to the cinched top. The finished hat works as an ornament, a gift tag, or a package decoration on its own.
- How do I make my own pom pom to match? Wrap yellow yarn around two or three fingers about thirty times, slip the bundle off, tie it tightly around the center with a separate length of yarn, and cut all the loops. Trim the pom pom into a round shape and use the tying tails to attach it to the hat.
- My hat is too small or too large. What went wrong? Hook size and yarn weight together control the finished size. Going up a hook size or using a slightly heavier yarn makes the hat larger. Coming down a hook size makes it smaller. The stitch count stays the same, so just adjust your hook until the size suits what you want it to hang from.